Dactyl Keyboard: Entry 1

After getting my first real programming job, I have found that I type very slowly and that the mechanical keyboard I had purchased is too sensitive for my sloppy style. So, in the usual fashion, I have decided to shoot myself in the foot and create a keyboard to learn on.

I had first heard about ergonomic keyboards from some white-collar salesmen at my first office job and decided to see how deep the rabbit hole currently is for ergonomic keyboards. I looked at this one, the Ergodox, the MoonLander, and finally the Dactyl. While the Dactyl has had several iterations, and I could use my prior knowledge of Blender to freehand a more customized keyboard, I decided to use the original method of using Clojure and OpenCad.

Step 1: Linux Environment

Load Ubuntu onto a laptop or set up a docker environment.

Tried both. My laptop is more feasible to use. It also helps to have a second computer with a Linux to run a wider variety of software.

Step 2: Learn Clojure or enough to modify

Have a rudimentary understanding of Clojure and use it to set up OpenCad system. The directions from the original Dactyl repo are easy enough to understand without a deeper understanding of Clojure. I was able to run the REPL from Leiningen and watch the model change in real-time. However, I was unsure how the keyboard would fit my hand and decided to use the bog-standard models.

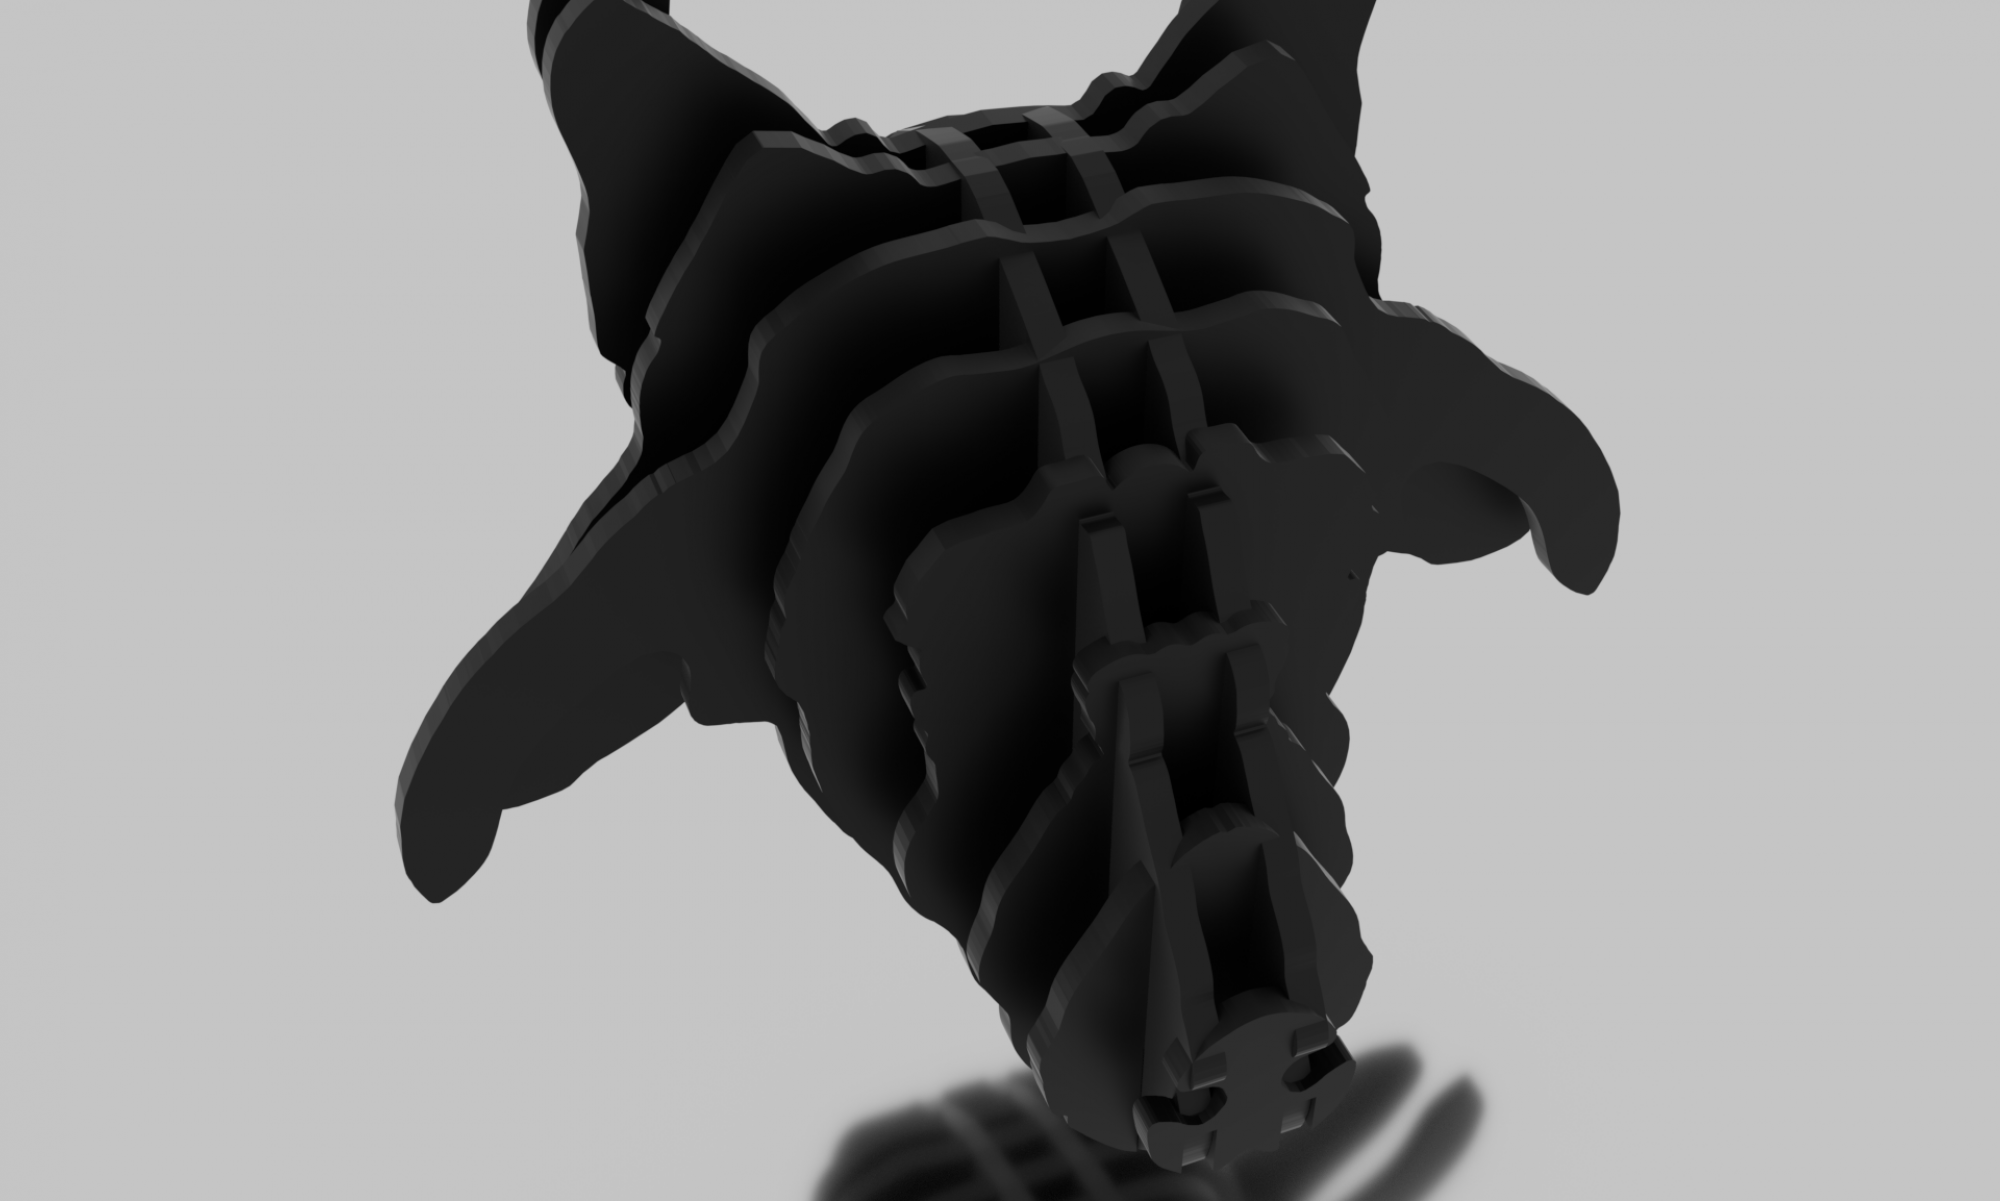
Step 3: Printing and assembling

Having just moved to Baltimore I was unsure what resources were here for 3D printing. I initially looked in OpenWorks but, after a few attempts with using their printers, I was unable to get a single successful print. The printers were not in regular use and had various minor issues that prevented my prints from finishing.

Instead, I opted to use a 3d printing service. The Dactyl repo recommended Shapeways. Other options included: Xometry and ProtoLabs. However, these were all in the $300 – $400 range. At that price point, it would be cheaper for me to buy a Crealty Ender 3 and print it myself. I did strongly consider this option. The option I went with was Craftcloud3D, which subcontracts jobs to various small printers.

Now, I just have to wait for all my parts to arrive.

Motion: Entry 15

Final Project

Creative Brief

For this project, I will be creating a short but informative video on how people can create and order their own PCBs using software like Eagle.  I will do a short voiceover that covers the subject more in-depth that the animation with the animation adding and emphasizing phrases. The video will progress also have some light explainer music, maybe something more techno to go with the subject matter. The colors and icons will also be from the manufacturing process and transitions will use traces of “copper” wire to bring the project together.

Script

So, you want to make a custom PCB.

Let’s take this typewriter for example. We want to make it work as a printer for our computer.

First, we need to figure out how the PCB will work and draw a schematic for it.

Next, we need to figure out what manufacturer we want to use and the parts they will have available. Alternatively, we can buy the parts and solder them ourselves

Now, we can start designing our PCB.

Start by finding the parts we will be using in our PCB.

For this PCB, we will only need 2n3904 Transistors and 0805 resistors.

Add all the parts to the schematic file and add connections in the correct places.

Now, we will move on to the board.

Put all the parts in the right places and add the traces where we want them.

Make sure there are can overlaps and that all the parts can be soldered

After sending off the PCB to be printed, it will be ready in a few weeks.

Congratulations on your first PCB.

Video

Object Round 2: Entry 6

Final Project

Description

The Turkish Typewriter is an interactive object that will take words spoken near it and convert them into poems. I was inspired to create this creation because it is a nice combination of technological fabrication, coding, and art. While it wasn’t my first idea, I had planned on creating something far more controversial and purely code-based, the idea for a physical installation stuck with me. I wanted this project to at least give people pause, to stop and consider what the project meant and what art is as a whole.

The project works by capturing sound and sending it to IBM’s Watson to convert it to text. The resulting text is then returned and entered into a poem generator. The poem generator creates poems using Markov chains. Markov chained text takes a couple of words from a corpus and then finds what words go after that string in a given corpus. Then the last two or three words of the resulting string are used to repeat the process until the desired length is reached.

The poem generator works backward from the end of a line and creates Markov chains of two words until 5 or 7 syllables are reached. The lines are built backward in order to accommodate rhyming functionality.

After the length is reached, the poem is sent character by character to an Arduino which triggers the two relevant pins in a matrix. For example, when an ‘n’ is sent, the Arduino triggers transistor 1 and 11. These transistors then close a circuit, trigger the typewriter’s carriage to print an ‘n’. In addition, the triggered transistors close the circuit for an led. The LEDs should ideally give additional feedback to the users and the appearance that the system is working

There was a single issue with there not being the keys not firing when on the same board as the lights. This issue may have been the typewriter pins being grounded by the lights or there not being enough power to power both the lights and the transistors.

Interactions

Users are able to interact with the machine by reading the given prompt and responding to it in a verbose manner. The more verbose and diverse the resulting corpus is, the better the resulting poem will be.

Schematics

The schematics for this project were created in Eagle and printed by JLCPCB. There is an issue on the board that the ‘T’ and ‘Y’ keys are switched.

Video

Video of Interaction
Video of Lights

Code

Half of the code for this project was written in Python. The Arduino half was written in Arduino. All code (including prototypes and further iterations can be found here

Capstone 2: Entry 2

An Unbiased Written Review of a Public Exhibition of a Capstone Project as Written by its Creator

In the same vein as the most famous critics will rave about the paintings of Mark Rothko, poetry critics will someday expound upon the virtuoso poet, Azariah Kierson-Galeano, that was able at the young age of 23 to produce an algorithm that produced poems on the same level as famed haiku author Basho Matsuo. The poems were both enigmatic and surrealist combining the best qualities of the short form poems with a certain Dali-esque flair.

If you are lucky enough to be in the same room as the working Turkish Typewriter prepare to be delighted by the simple, yet tactful selection of words. The project is an ambitious look at how we are monitored in everyday life as well as how our words can be twisted and turned in meaning. There is no better example of subversion in fabricated form yet to date.

Exhibition goers gave such praise as expounding on how the project utilizes the Analog and moves away from today’s heavy saturation of computers whose form lacks function. Praise was also given for the 1980’s storeroom aesthetic, which perfectly encapsulated the viewer’s feelings about monitoring and the surveillance state we are entering.

After users began experimenting with the machine, they quickly took to explain it to other users, who, in turn, spread the news like wildfire. Using focused phrases, users began to move away from simplistic poems and began to utilize concise phrasing to produce works of art aided by the wonderous machine.

Object Round 2: Entry 5

Lab 5: Motor Lab

For this lab, we made circuits to control a DC motor and a stepper motor using an H-bridge

The DC Motor

The DC motor was controlled using the H-bridge to switch the polarity of the motor and switch the direction.

The Stepper Motor

The stepper motor was a small 28byj-48. The number of steps per revolution varied from what the datasheet said.

Motion: Entry 12

Mood Board: Audio Visualizer

I was always a fan of trippy animation. While After Effects is not the best medium for hand-drawn animation, I think that by using only a few frames of drawn animation and interpolation between the frames using keyframed shapes, I will be able to achieve an approximate effect.

Motion: Entry 11

Creative Brief: Audiovisualizer

For this project, I will be using a piece of music I made for Sound. While the music is not very good, the rhythms and movements are easily discernable and I will be able to map all of the different tracks to their own shapes.

The song is fairly upbeat and has a lot of varying sounds in it. I think I used a bottle opener and a lighter and a few other physical items to craft the song. For this, I want to use short repetitive graphics of the physical objects using path shaping. The shapes will also morph and scale as they fade and are changed in the song. Lastly, I want the colors to be vivid and bright on a black background to contrast the melody from the electric guitar.