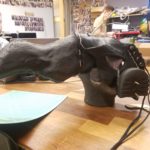
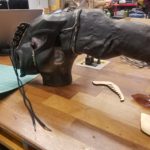
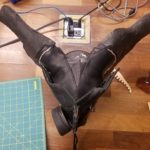
Fabrication: Entry 6

Project Milestone Final

So you want to make a mask? Well here’s how I did it in a nutshell.

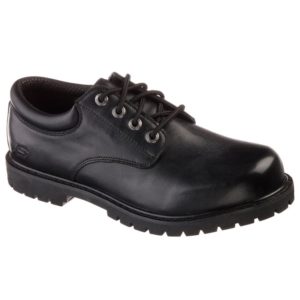
First, get your shoes. New, used, doesn’t matter as long as they are clean and not too complex. I got an old pair of these Sketchers. Don’t worry, if Sketchers aren’t cool now, they weren’t when I made these and I was able to cover most of the branding.

Cost: $15.00
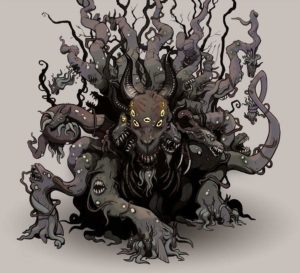
Next, find some inspiration. Have you been playing Behemoth not stop while telling yourself you’re not an edgelord. Maybe, try some Lovecraftian mythos. Too edgy? too bad! I went for Shub-Niggurath, The Black Goat of the Woods with a Thousand Young.

I liked the hircine aspect while not being too intensely Satanic. I also liked the added horns and eyes which could be added in the form of lights.
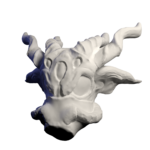
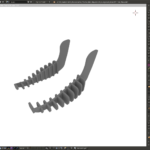
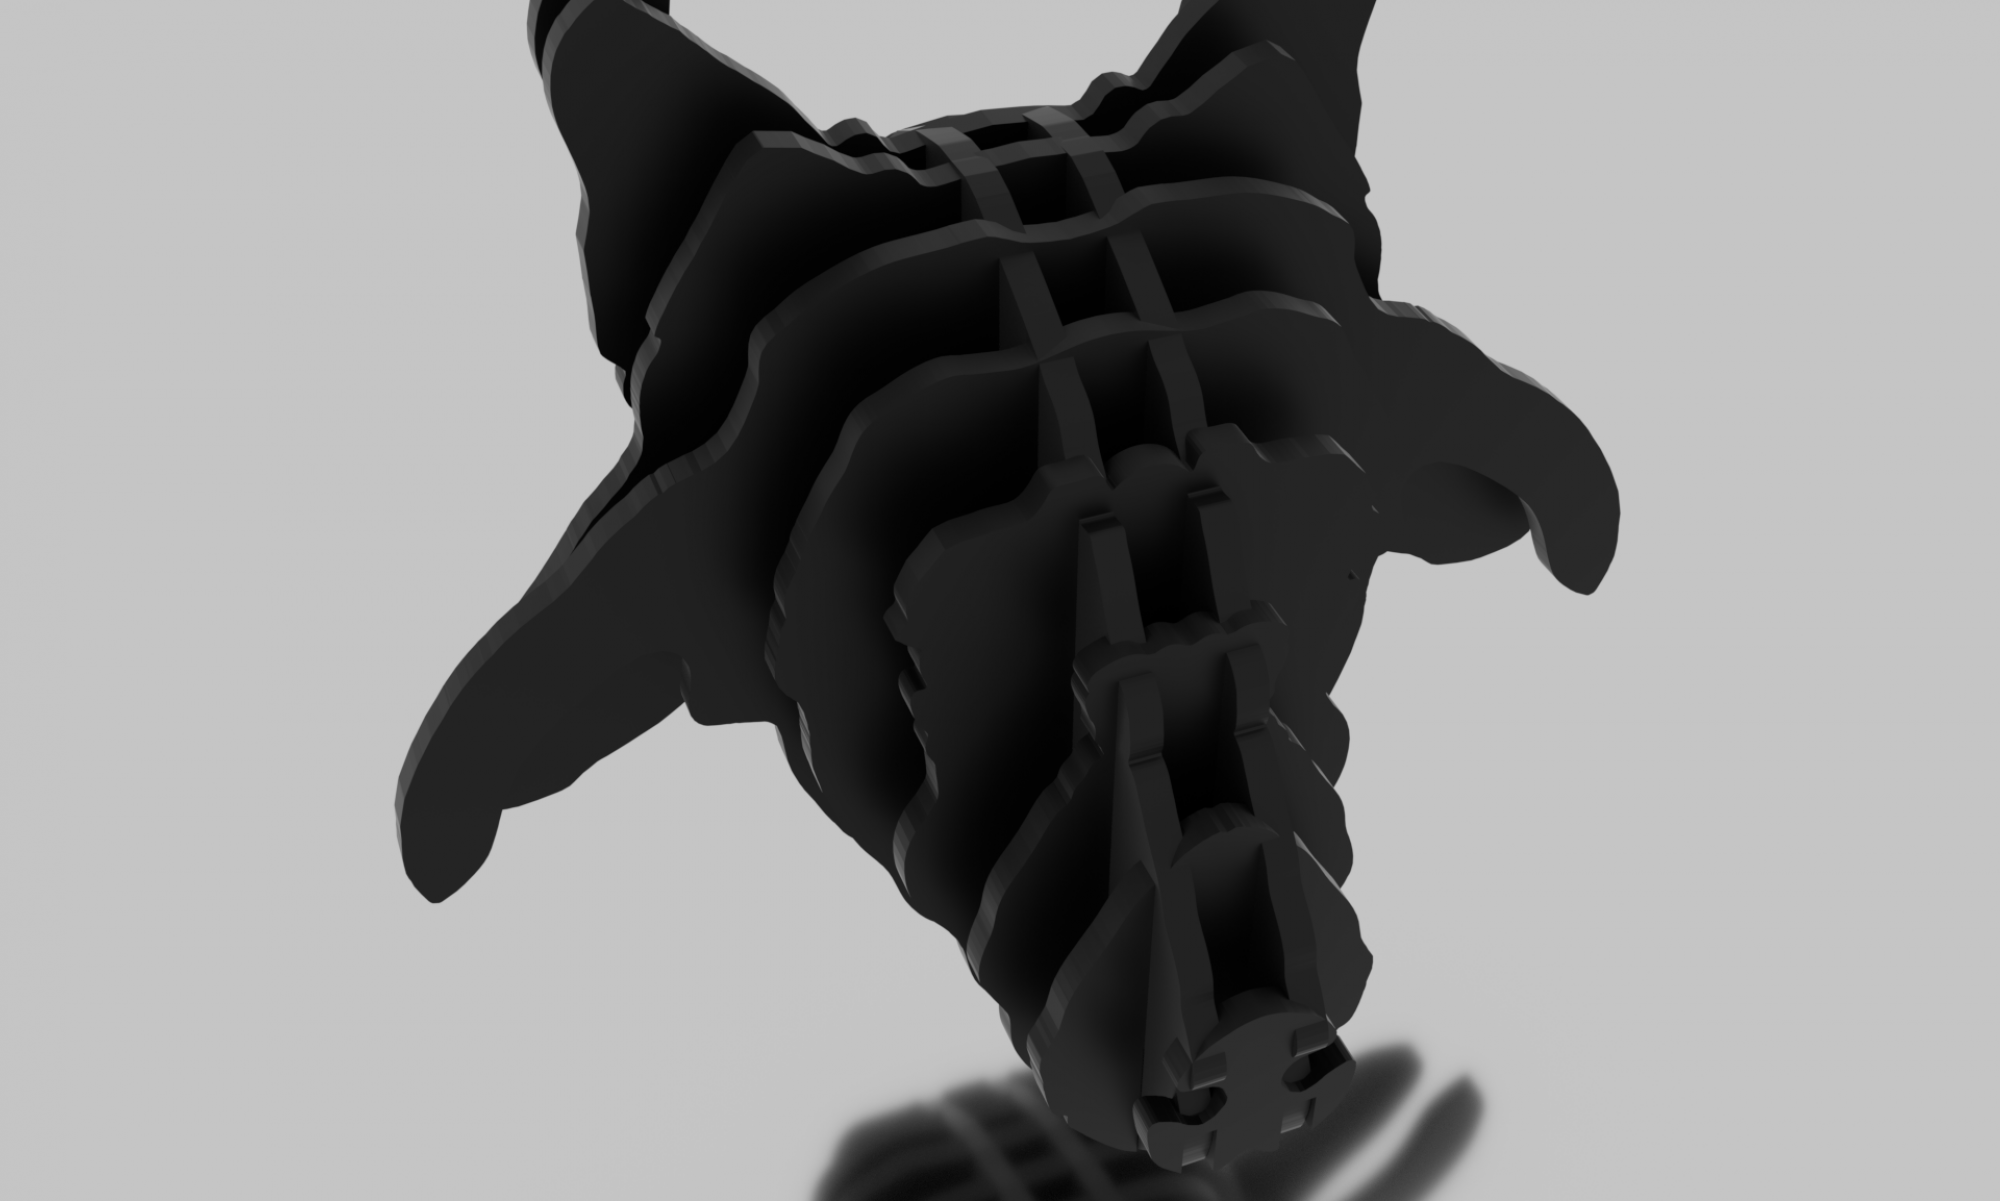
Next, make a sketch. Start with paper and pencil. It’s the easiest thing to use. If you want to step it up a notch and you can use some modeling software, do that. I used Blender to sketch the ideal mask: many eyes, many horns, impossible to fulfill.
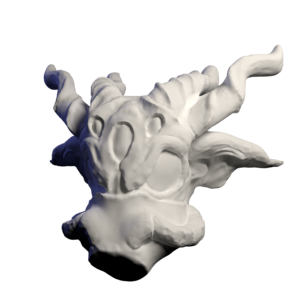
Model of Mask

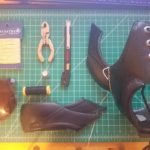
Now, slice apart your shoes. I started at the base and removed the sole from the leather. Next, take apart each panel and cut it to match its counterpart on the other shoe. I used two pairs of shoes for maximum material.

Next, map out the mask with the shoe parts. I started with the face and used the most interesting parts of the shoes to create the snout and eye sockets of the mask. The parts of the shoes should inform how the mask gets assembled. Trying to force the shoes to conform to the mask will inevitably lead to destroyed parts and extra waste.

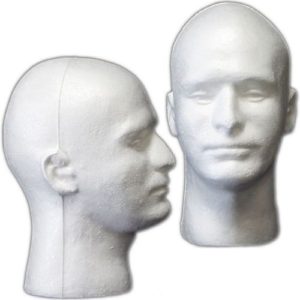
Next, get a Styrofoam head and hope you have a small head. I don’t, so I only used the head as a rough model. It worked well enough and it definitely helps map out the mask. It also assisted in storing and assembling later on.

Cost:

  • Styrofoam head: $7.00
  • X-Acto knife: $6.00
  • Cutting mat: $10.00

After the shoes have been disassembled and a rough map has been made of the mask, it’s time to start gathering the extras. The horns, eyes, teeth, and extra details of the mask. I opted for a wooden jaw bone and fiberglass horns as well as plastic eyes. While fiberglass horns do look cool, they are a pain to make and real horns are probably more functional and easier to get.

Cost:

  • Ski mask for eyes: $15.00
  • Wood for jaw bone: $2.50

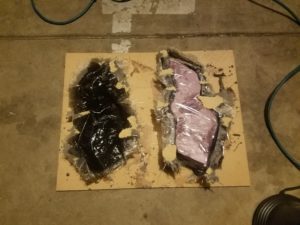
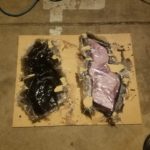
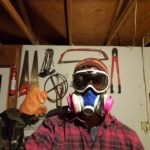
If you still want to make fiberglass horns, make sure you have a respirator, goggles, and gloves. To begin making fiberglass horns, I used this video and this one.  As suggested in the second one, I used insulation foam and a hacksaw to create a plug. As I don’t have a spare car battery to make a hot saw, I used a propane torch after cutting the foam with a hacksaw to seal it. Next, I taped the plugs to a board and started layering the fiberglass and resin.

In order to make the resin black, I used black 100% strength acrylic paint. Other pigments may work as well. I tried oil paint but it didn’t mix with the resin and came out uneven.

Cost:

  • Resin and fiberglass: $50.00
  • Foam: $30.00
  • Respirator: $40.00
  • Googles: $25.00
  • Black paint: $7.00
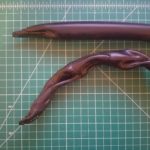
Fiberglass horns after finished drying

Make sure you do all this in a well-ventilated area, preferably outside. Additionally, the fiberglass resin needs to be mixed and stored at room temperature so working outside in the cold may cause the resin to solidify prematurely or cause the fiberglass to crack while drying.

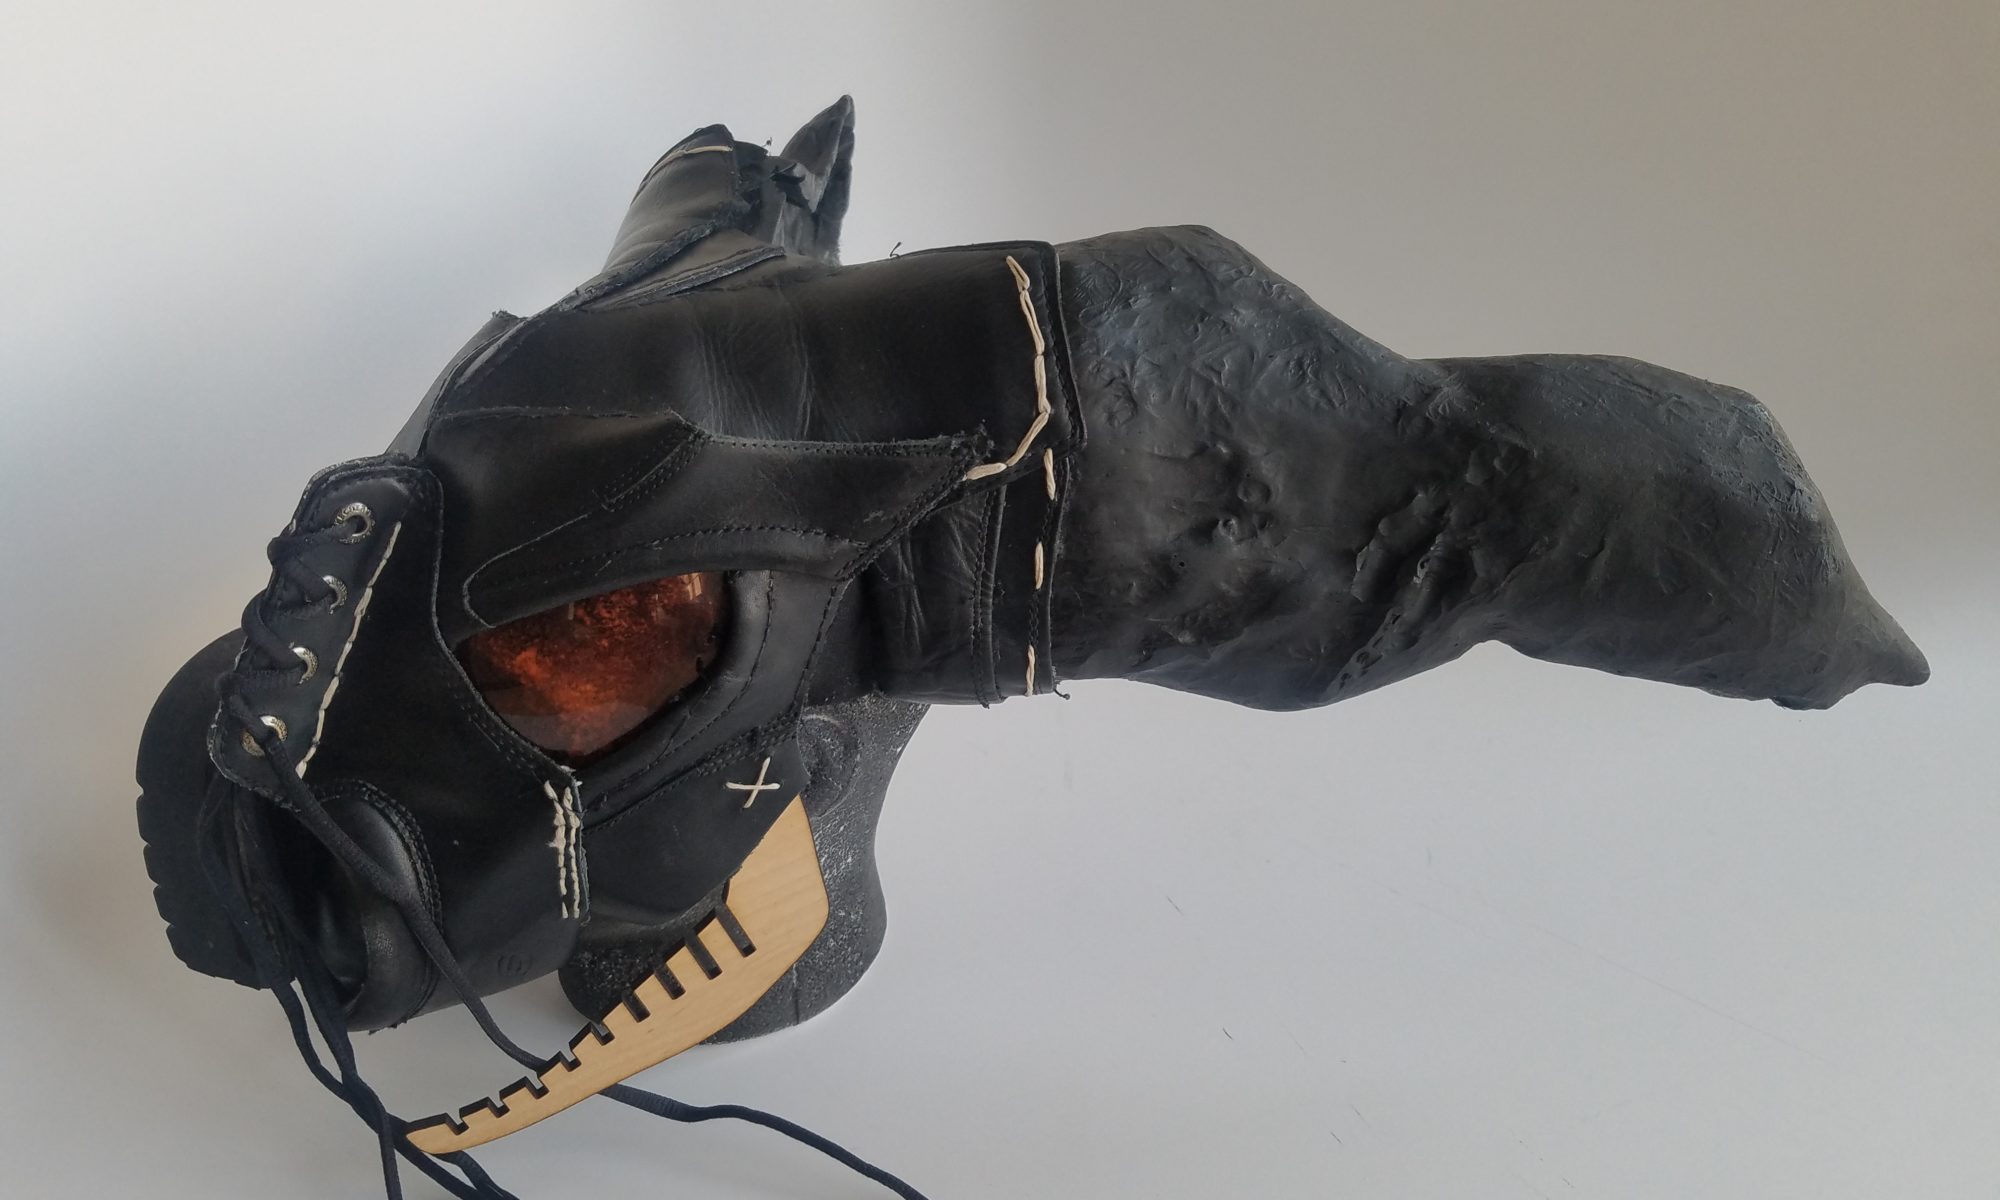
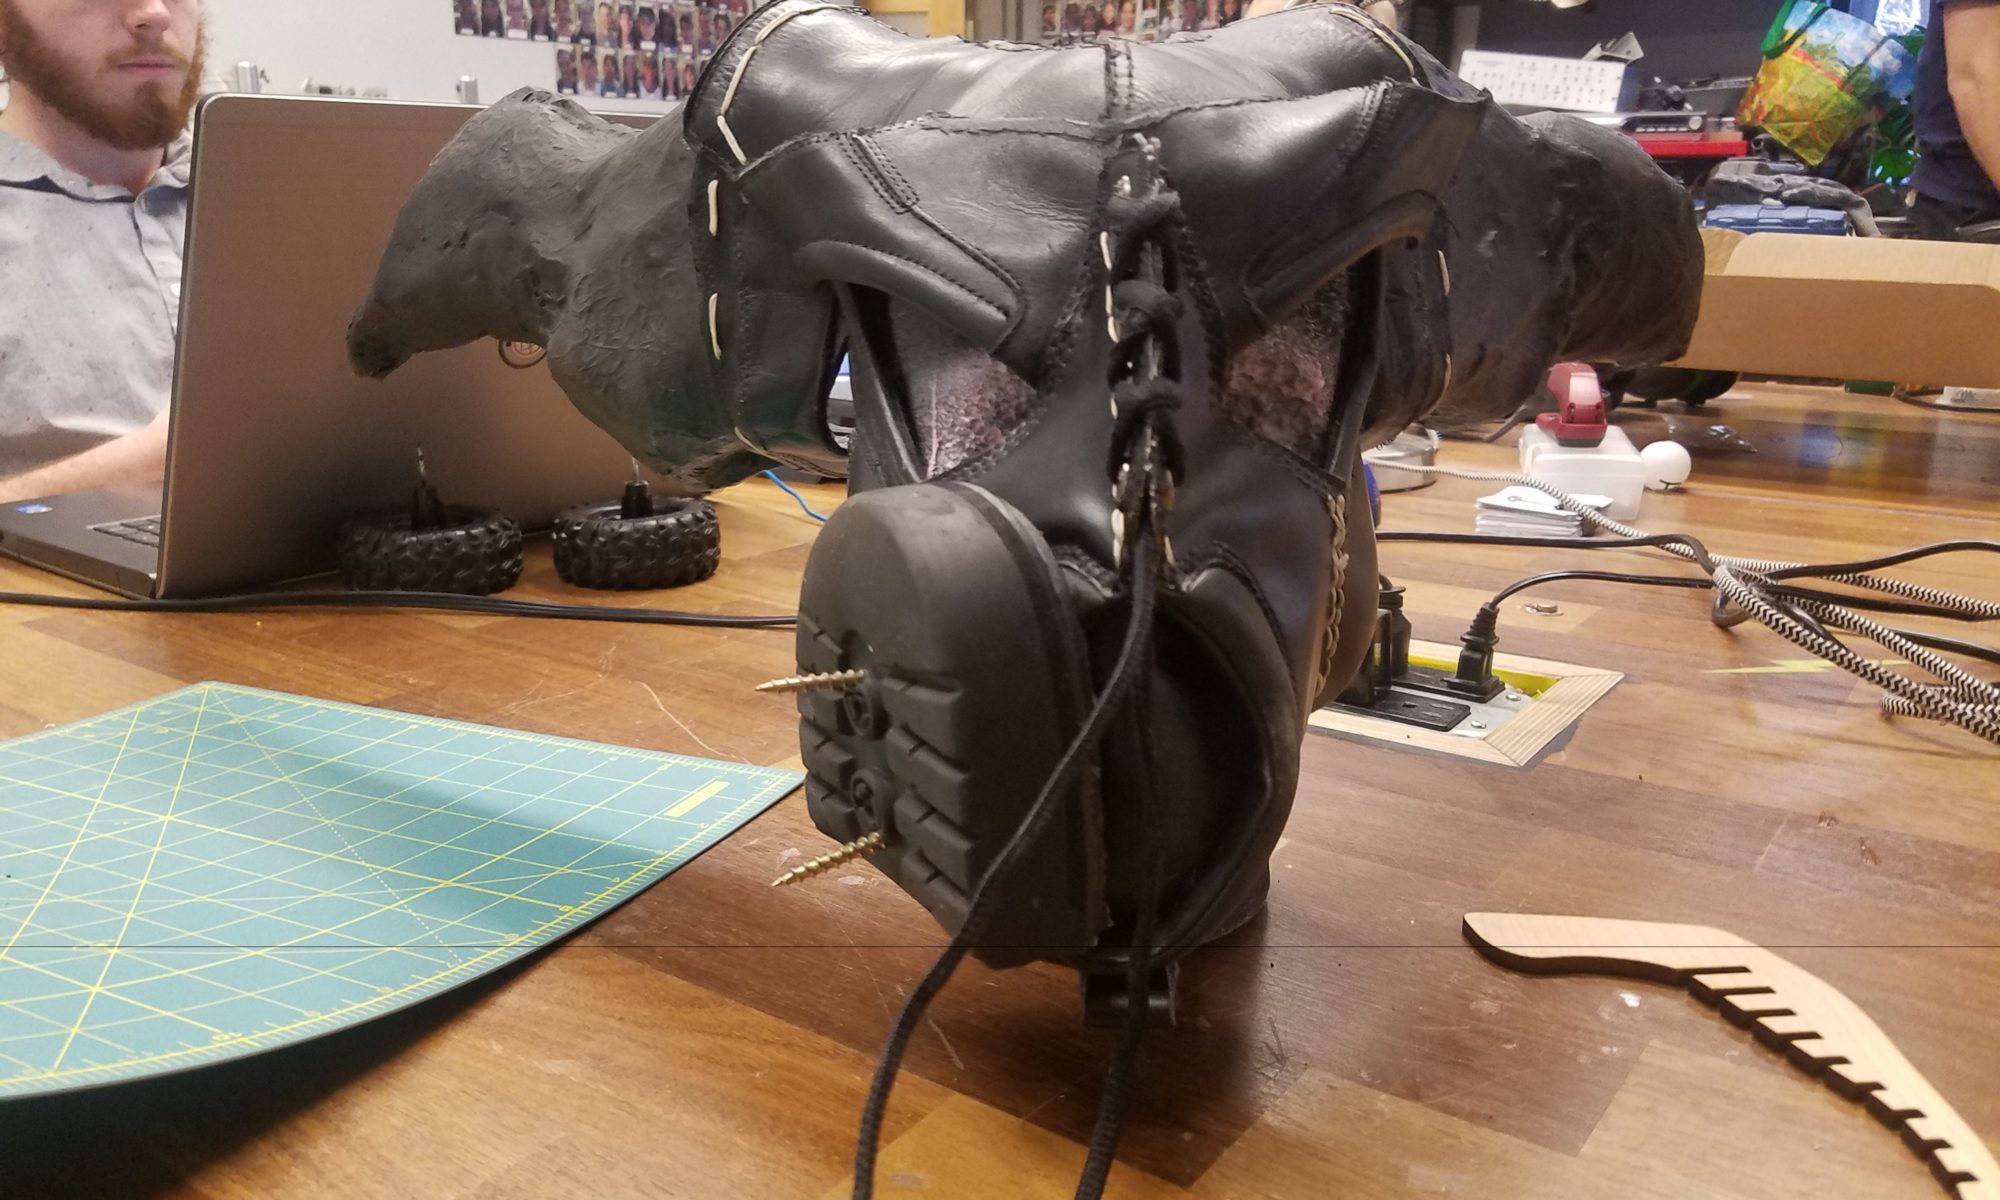
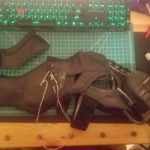
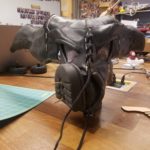
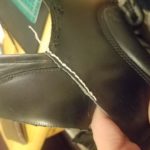
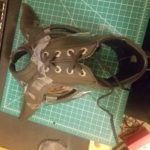
Now that all the parts have been assembled, its time to fully assemble the mask. I started by stitching the panel that goes around the back of the shoes together and the same parts from the other shoe around the eyes. Next, I drilled holes into the horns and glued strips of leather to the base of the horns to create a fluid transition from the leather mask to the horns. I then attached the tongues of the shoes to the base of the horn and the forehead of the mask.

Make sure that the thread you are using is sufficiently strong to hold the leather together. I glued the pieces with Bish glue then punched holes with a large tack before stitching the pieces together. I also tried to add two lines of stitching to each seam for added strength. In addition, to the thread being functional, it can also be decorative. I used a waxed beige thread to add accents to certain parts of the mask.

After adding the horns, I added more leather between the tongues on the horns so they would rest evenly on the head. I then attached the front of one shoe into the snout of the mask.

For the ‘filter’ of the mask, I used the heel of one of the shoes. The rubber of the sole was hard to work with and required a lot of sawing and sanding to look right. It was then screwed onto one side of the mask.

Next, it was onto the eyes. I split the ski mask in half and traced the eye holes onto the halves. Using a drill press, I added the stitching holes and stitched them in.

Lastly, I added the jaw bones I had laser cut earlier. These, I created using similar techniques to this trophy head

Problems

As originally intended, there would have been lights in the eye sockets as well as behind the horns. Maybe, a speaker would have been added to the front. Unfortunately, my head as was too big to fit all that and my head.

I also ran into problems with the symmetry of the mask. The parts were hard to work with as most of the leather had an insulation component which made hole punching an inexact science.

Lastly, there was the problem of cost. the whole things cost around $200 dollars including the tools I had to get. For a project of this size, the cost could have been reduced if there were some patterns to follow.

Final

Name: Sold Soles

Tagline: For when old soles.

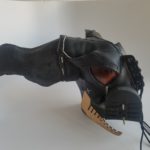
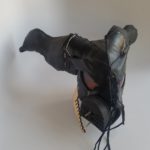
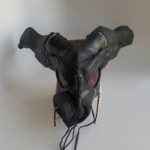
Artist’s Statement: This piece is inspired by the work of Freehand Profits as well as my eternal love for Lovecraft. Most parts of the mask are made from old and recycled objects. It speaks to our consumerist culture that demonizes the waste as a byproduct of society as opposed to materials to be utilized.


Fabrication: Entry 5

Project  Milestone 2

After a few initial attempts to work with the leather shoes, I was able to punch holes through the leather with a thumbtack and use a heavy thread to saw parts of the mask. I also used the waxed thread as an accent. I sawed the front part of the mask together to create a frontal crest.

As the initial propyl ethylene piping did not work well for horns, I decided to use fiberglass for the horns as it can conform to what plug I use as well as be a shiny coat. I watched some YouTube videos on how to use fiberglass. One of the videos  I watched suggested using foam insulation as a plug and then tape the exterior to allow for easy removal. I bought some foam insulation and attempted to glue it using regular Elmer’s glue. Unfortunately, it was too cold for the glue to congeal. Next, I attempted to use a spray on glue. Unfortunately, this also did not work as it melted the foam when put on too thick. Lastly, I used the Elmer’s glue to tack the layers together and then used a propane torch to melt the layers together. Lastly, I took a hacksaw and shaped the layers into a single horn shape. I then layered clear Gorilla Tape onto the plug and spread it out to the board I was working on

I bought some fiberglass and resin as well as gloves, brushes, and a respirator. In order to dye the resin, I looked at a  variety of paints and dyes. I settled on using 100% pigment acrylic paint for one horn and 100% oil based paint for the other. The acrylic paint worked better as the oil didn’t mix fully into the resin and created an inconsistent coating.

The horns finished drying after 24 hours. They also detached from the board easily, given the tape under them. I then used a Dremel to sand the horns and cut them down to size. Lastly, I used black spray paint to cover over the inconsistencies from the oil paint pigment.

The process of applying the fiberglass and resin was surprisingly simple and was easy enough with the brush. However, fiberglass is awfully toxic and fumigated my house even though the whole process was done outside.


Fabrication: Entry 4

Project Milestone 1

While the project has taken a  drastic turn from my initial plans when starting my warm-up project, it has come together nicely with manageable pitfalls.

The first pitfall I came across was my lack of skill in working with leather. I have previously sewed several items with cloth, including pants, blankets and a doll. Leather, unlike cloth, is a very tough material that usually requires specialized tools to score the leather,  punch holes, and then stitch the leather. After looking into leatherworking most of the serious tools were more necessary for heavy leather, which the shoes I bought were not.

Another problem I came across was how to create the horns for the mask. My initial thought was to buy plastic tubing and then stretch the plastic into tapered horns. The type of plastic was fairly easy to decide on after a quick search on the available plastics at McGuckin’s. A propylethelene works best as it is thermoplastic, meaning it can be reshaped after heating, and does not release chlorine like thermoset PVC.

Unfortunately, plastic does not melt like metal and instead of stretching with gravity it tends to bunch up and become lumpy because of the uneven heating of a propane torch. I was able to create both a curled horn and a tapered one but both will need to be wrapped with cloth or leather. I may use metal or plastic piping to give a more stylized look instead of the quasi-realistic look I was hoping for with the plastic.

I still have a few changes which I may make going forward, including how the back of the mask looks, what the lights will light up to,  and how the jawbone will connect to the leather.


Fabrication: Entry 3

Project Details

I want to make a mask that will light up and play a sound whenever a specific hashtag is used on Twitter. The mask will be made from recycled materials and in the shape of Shub-Niggurath, The Black Goat of the Woods with a Thousand Young, from Lovecraft’s mythos. Most of the mask will be made from recycled shoes and other leather items from thrift stores. The horns will likely be made from PVC painted black, unless I find some other horns, real or not. Lastly, the main eyes will be made from goggles, while the secondary eyes will be made from glass over LED lights. The electronics will be powered via battery pack and light up the eyes and play sound from speakers in the ears. Most of the mask will the held together by glue with additional decorative stitching as needed.

I took inspiration for this from Freehand Profits, who makes gas masks out of sneakers. I also wanted to keep continuity within my body of work and dark, goaty, Lovecraftian masks fit in nicely.

Materials:

Mask

  • Shoes/jackets/purses (mask material) – $50
  • Goggles – $10
  • Chicken wire (for structure) – $10
  • Glue – $10
  • Plastic piping (for horns) – $10
  • Glass marbles/pieces (for extra eyes) – $10

Electronics:

  • Led strip – $40
  • Battery pack – $8

Timeline:

  • Milestone 1: Finished schematics, bought materials
  • Milestone 2: Finished Electronics, all mask parts made
  • Final: Finished mask

Fabrication: Entry 2

Warm-up project.

I spent most of the past three weeks learning about how Arduinos work and howTwitter’ss API can be utilized. Unfortunately, I underestimated the amount of debugging that would be required for the final assembly as well as the consistency of learning materials out there. Initially, I attempted to build from Sparkfun’s LED-connected Cloud but I decided against that and instead tried to recreate a twitter reader using the same setup. I was able to get the code to where I believed it would work and relegated the Twitter API and parsing to a web server.

The web server was actually the easiest part as most of the code was already written by someone else here. (Thank God for good documentation). Unfortunately, I cannot put it in here due to WordPress being written in PHP as well.

For the Thing, I used the HTTPClient and WiFi libraries from ESP8266, the chip on the Thing. The Thing would ping my web server every 5 seconds and the server would respond with the number of seconds since the last twitter I sent.

// Included Libraries
#include <ESP8266HTTPClient.h>
#include <ESP8266WiFi.h>

void setup() {
     // put your setup code here, to run once:
     // Set up Wifi
     Serial.begin(9600); //Serial connection
     WiFi.begin("", ""); //WiFi connection
     while (WiFi.status() != WL_CONNECTED) { //Wait for the WiFI connection completion
          delay(500);
    }
}
void loop() {
     // put your main code here, to run repeatedly:
     if(WiFi.status()== WL_CONNECTED){ //Check WiFi connection status
          HTTPClient http; //Declare object of class HTTPClient
          http.begin("http://api.akierson.com"); //Specify request destination
          http.addHeader("Content-Type", "text/plain"); //Specify content-type header
          int httpCode = http.GET(); //Send the request
          String payload = http.getString(); //Get the response payload
          http.end(); //Close connection
          // Send out to LED
         Serial.write(payload.toInt());
         Serial.write("\r\n");
    }
    delay(5000);
}

The Mini would then take the Serial input and put it to the LEDs as the number of lit up LEDs.

#include 

// Pin definitions
#define CLOUD_A_PIN       6

// Number of lights, pin number (6), 
Adafruit_NeoPixel strip_a = Adafruit_NeoPixel(60, CLOUD_A_PIN, NEO_GRB + NEO_KHZ800);

int ledsLit;

void setup() {
  Serial.begin(9600);
  
  // Configure LED pins
  pinMode(CLOUD_A_PIN, OUTPUT);
  pinMode(8, INPUT);
  
  // Clear LED strips
  strip_a.begin();
  strip_a.show();
}

void loop() {
  char outputLED[3];
  char inChar;
  int index = 0;
  while(Serial.available() > 0)
  {
      if(index < 2) // One less than the size of the array { inChar = Serial.read(); // Read a character outputLED[index] = inChar; // Store it index++; // Increment where to write next } outputLED[index] = '\0'; // Null terminate the string } String input = String(outputLED); if (input.toInt() > 0){
    ledsLit = input.toInt();
  }
  int i;
  for(i=0; i < ledsLit; i++){
    strip_a.setPixelColor(i, 127, 127, 127);
  }
  for(i=ledsLit; i < 60; i++){
    strip_a.setPixelColor(i, 0, 0, 0);
  }
  delay(2500);
}

The physical creation was surprisingly easy to create from the supplied schematics and I assumed that the original creators would use some standard practices with their schematics. Unfortunately, they didn’t use the attached serial pins and opted for digital ones and their images of the project didn’t match the schematics. The final problem I ran into was the power supply. A 5V 4A power supply is hard to find. Luckily, I was able to find one at the last second in my junk drawer.

Ultimately, this project was a failure for me as I have no experience with electronics and the jargon surrounding it. I also severely underestimated how long debugging would take when using physical components. I think, given another few attempts, I will be able to create a functioning prototype.

Fabrication: Entry 1

Inspiration

Today, I start my warmup project for Studio: Fabrication. For my final project, I hope to make an Internet-connected lamp that will light up based on some data stream. Currently, I am looking at the larger data streams such as Facebook, Google, and Twitter. However, as the lamp is likely not going to be an installation piece, I am leaning toward more localized data, such as weather, tides, or personal Twitter/Facebook feeds.

My first idea for this was a small lamp/oversized paperweight that would mimic local tides with a miniature wave pool. Similarly, I was thinking to simulate the weather with an automated snowglobe that would start snowing when snow was forecasted for the next, say, five days. Unfortunately, both of these require an airtight container for continued functioning.

As for larger data feeds, I was thinking about doing a twitter happiness indicator. Maybe a globe that shows where people are using the happy emojis in real time. This would be similar to Jell-O’s happiness billboard they did a while back. Other similar globe based ideas would present a challenge as I can only feasible have so many lights on the globe due to monetary constraints.  Similar, I could have a light up book that shows updates to Wikipedia.

Alternatively, I could focus more on the representation of the incoming data in a unique and artist way as opposed to finding an interesting data stream.

In the end, there are certain constraints I need to hold to: the project can’t be too large,  the data stream needs to change multiple times a day, the data stream can only have a few dimensions, the final form of the lamp needs to be related to the data stream displayed