Project Milestone Final
So you want to make a mask? Well here’s how I did it in a nutshell.
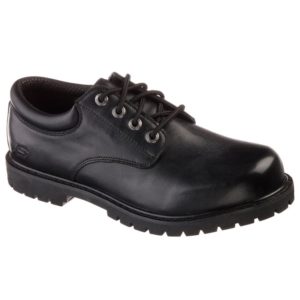
First, get your shoes. New, used, doesn’t matter as long as they are clean and not too complex. I got an old pair of these Sketchers. Don’t worry, if Sketchers aren’t cool now, they weren’t when I made these and I was able to cover most of the branding.
Cost: $15.00
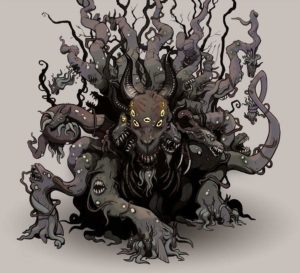
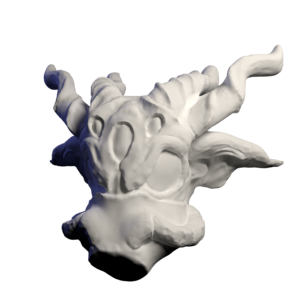
Next, find some inspiration. Have you been playing Behemoth not stop while telling yourself you’re not an edgelord. Maybe, try some Lovecraftian mythos. Too edgy? too bad! I went for Shub-Niggurath, The Black Goat of the Woods with a Thousand Young.
I liked the hircine aspect while not being too intensely Satanic. I also liked the added horns and eyes which could be added in the form of lights.
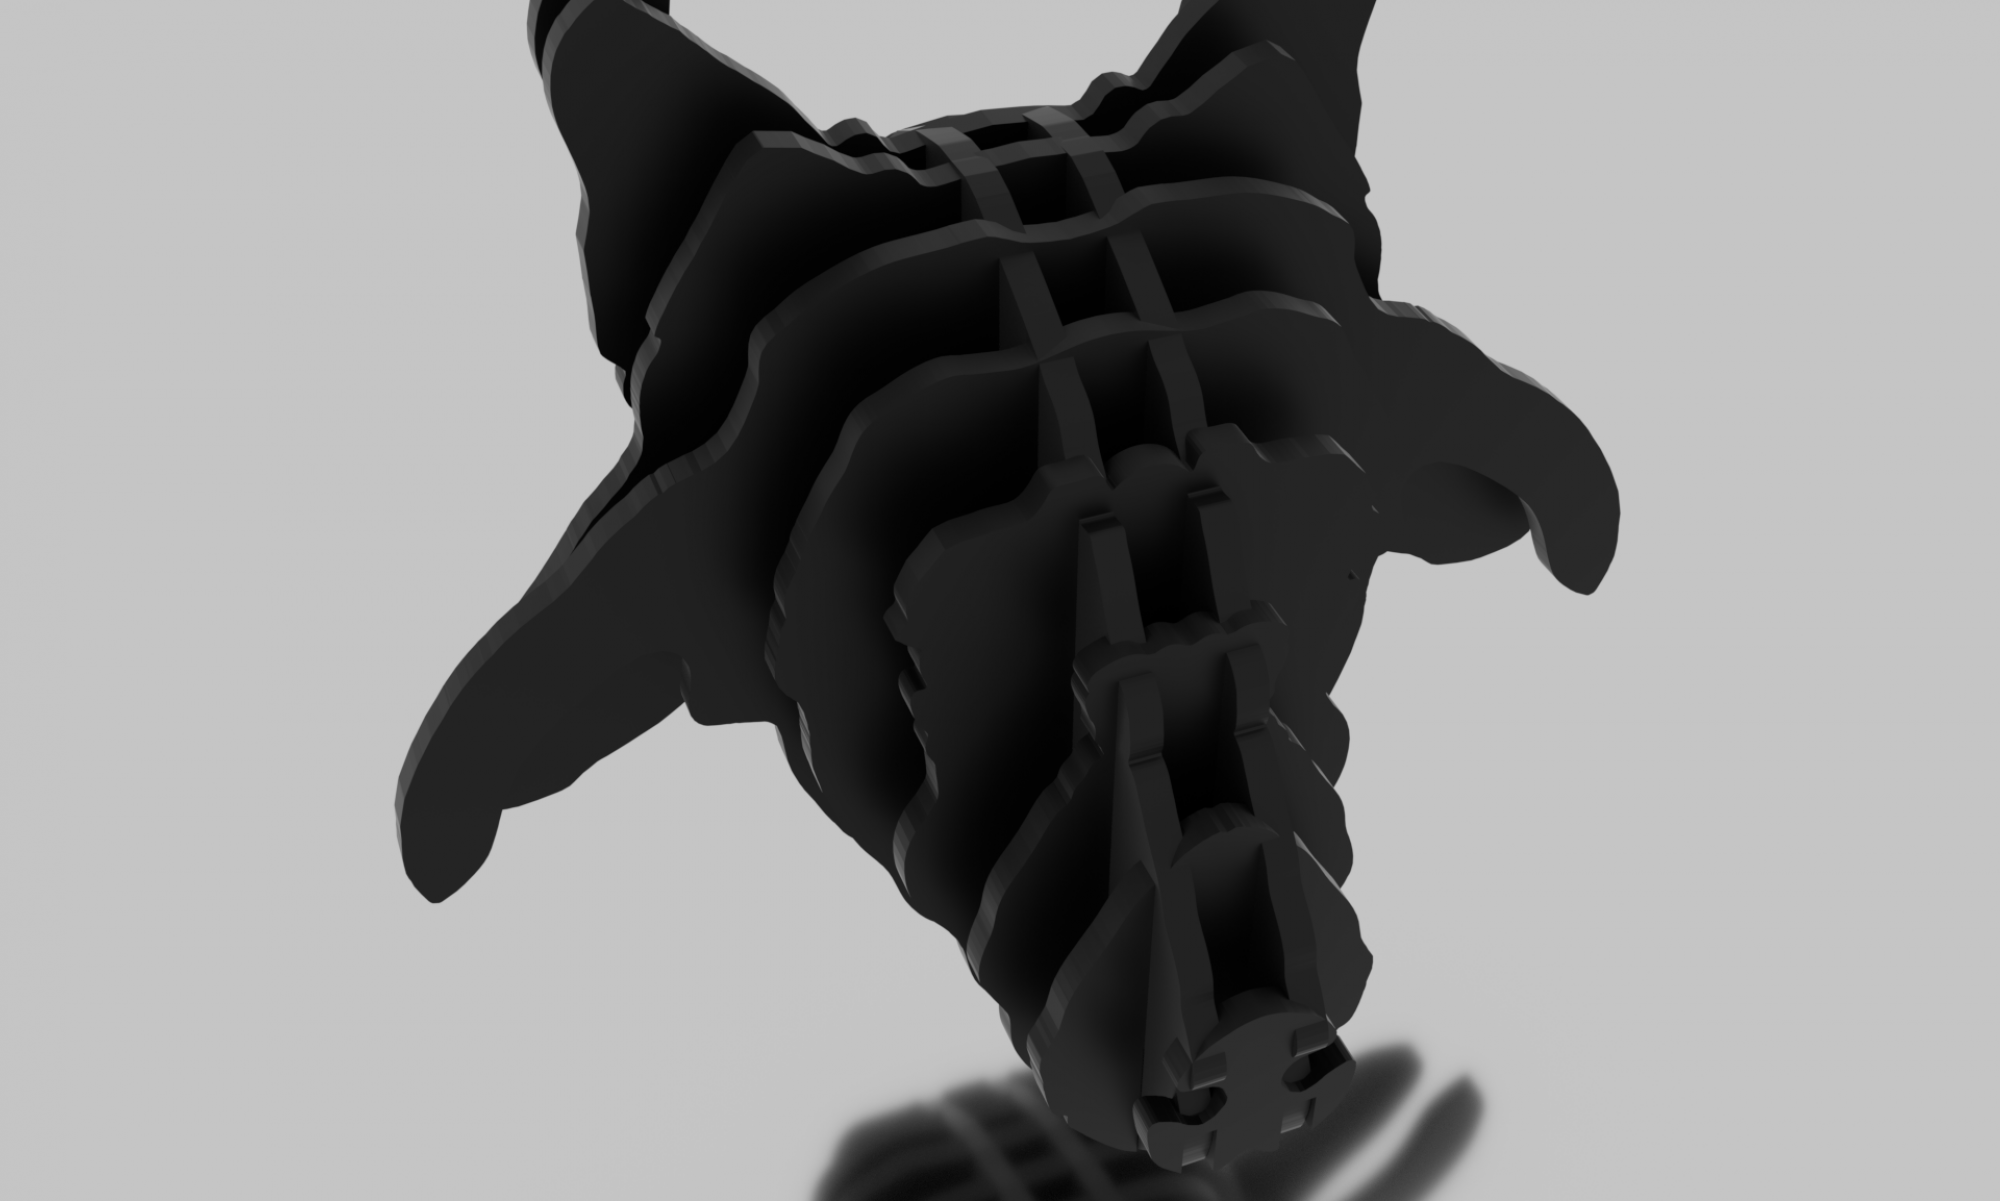
Next, make a sketch. Start with paper and pencil. It’s the easiest thing to use. If you want to step it up a notch and you can use some modeling software, do that. I used Blender to sketch the ideal mask: many eyes, many horns, impossible to fulfill.
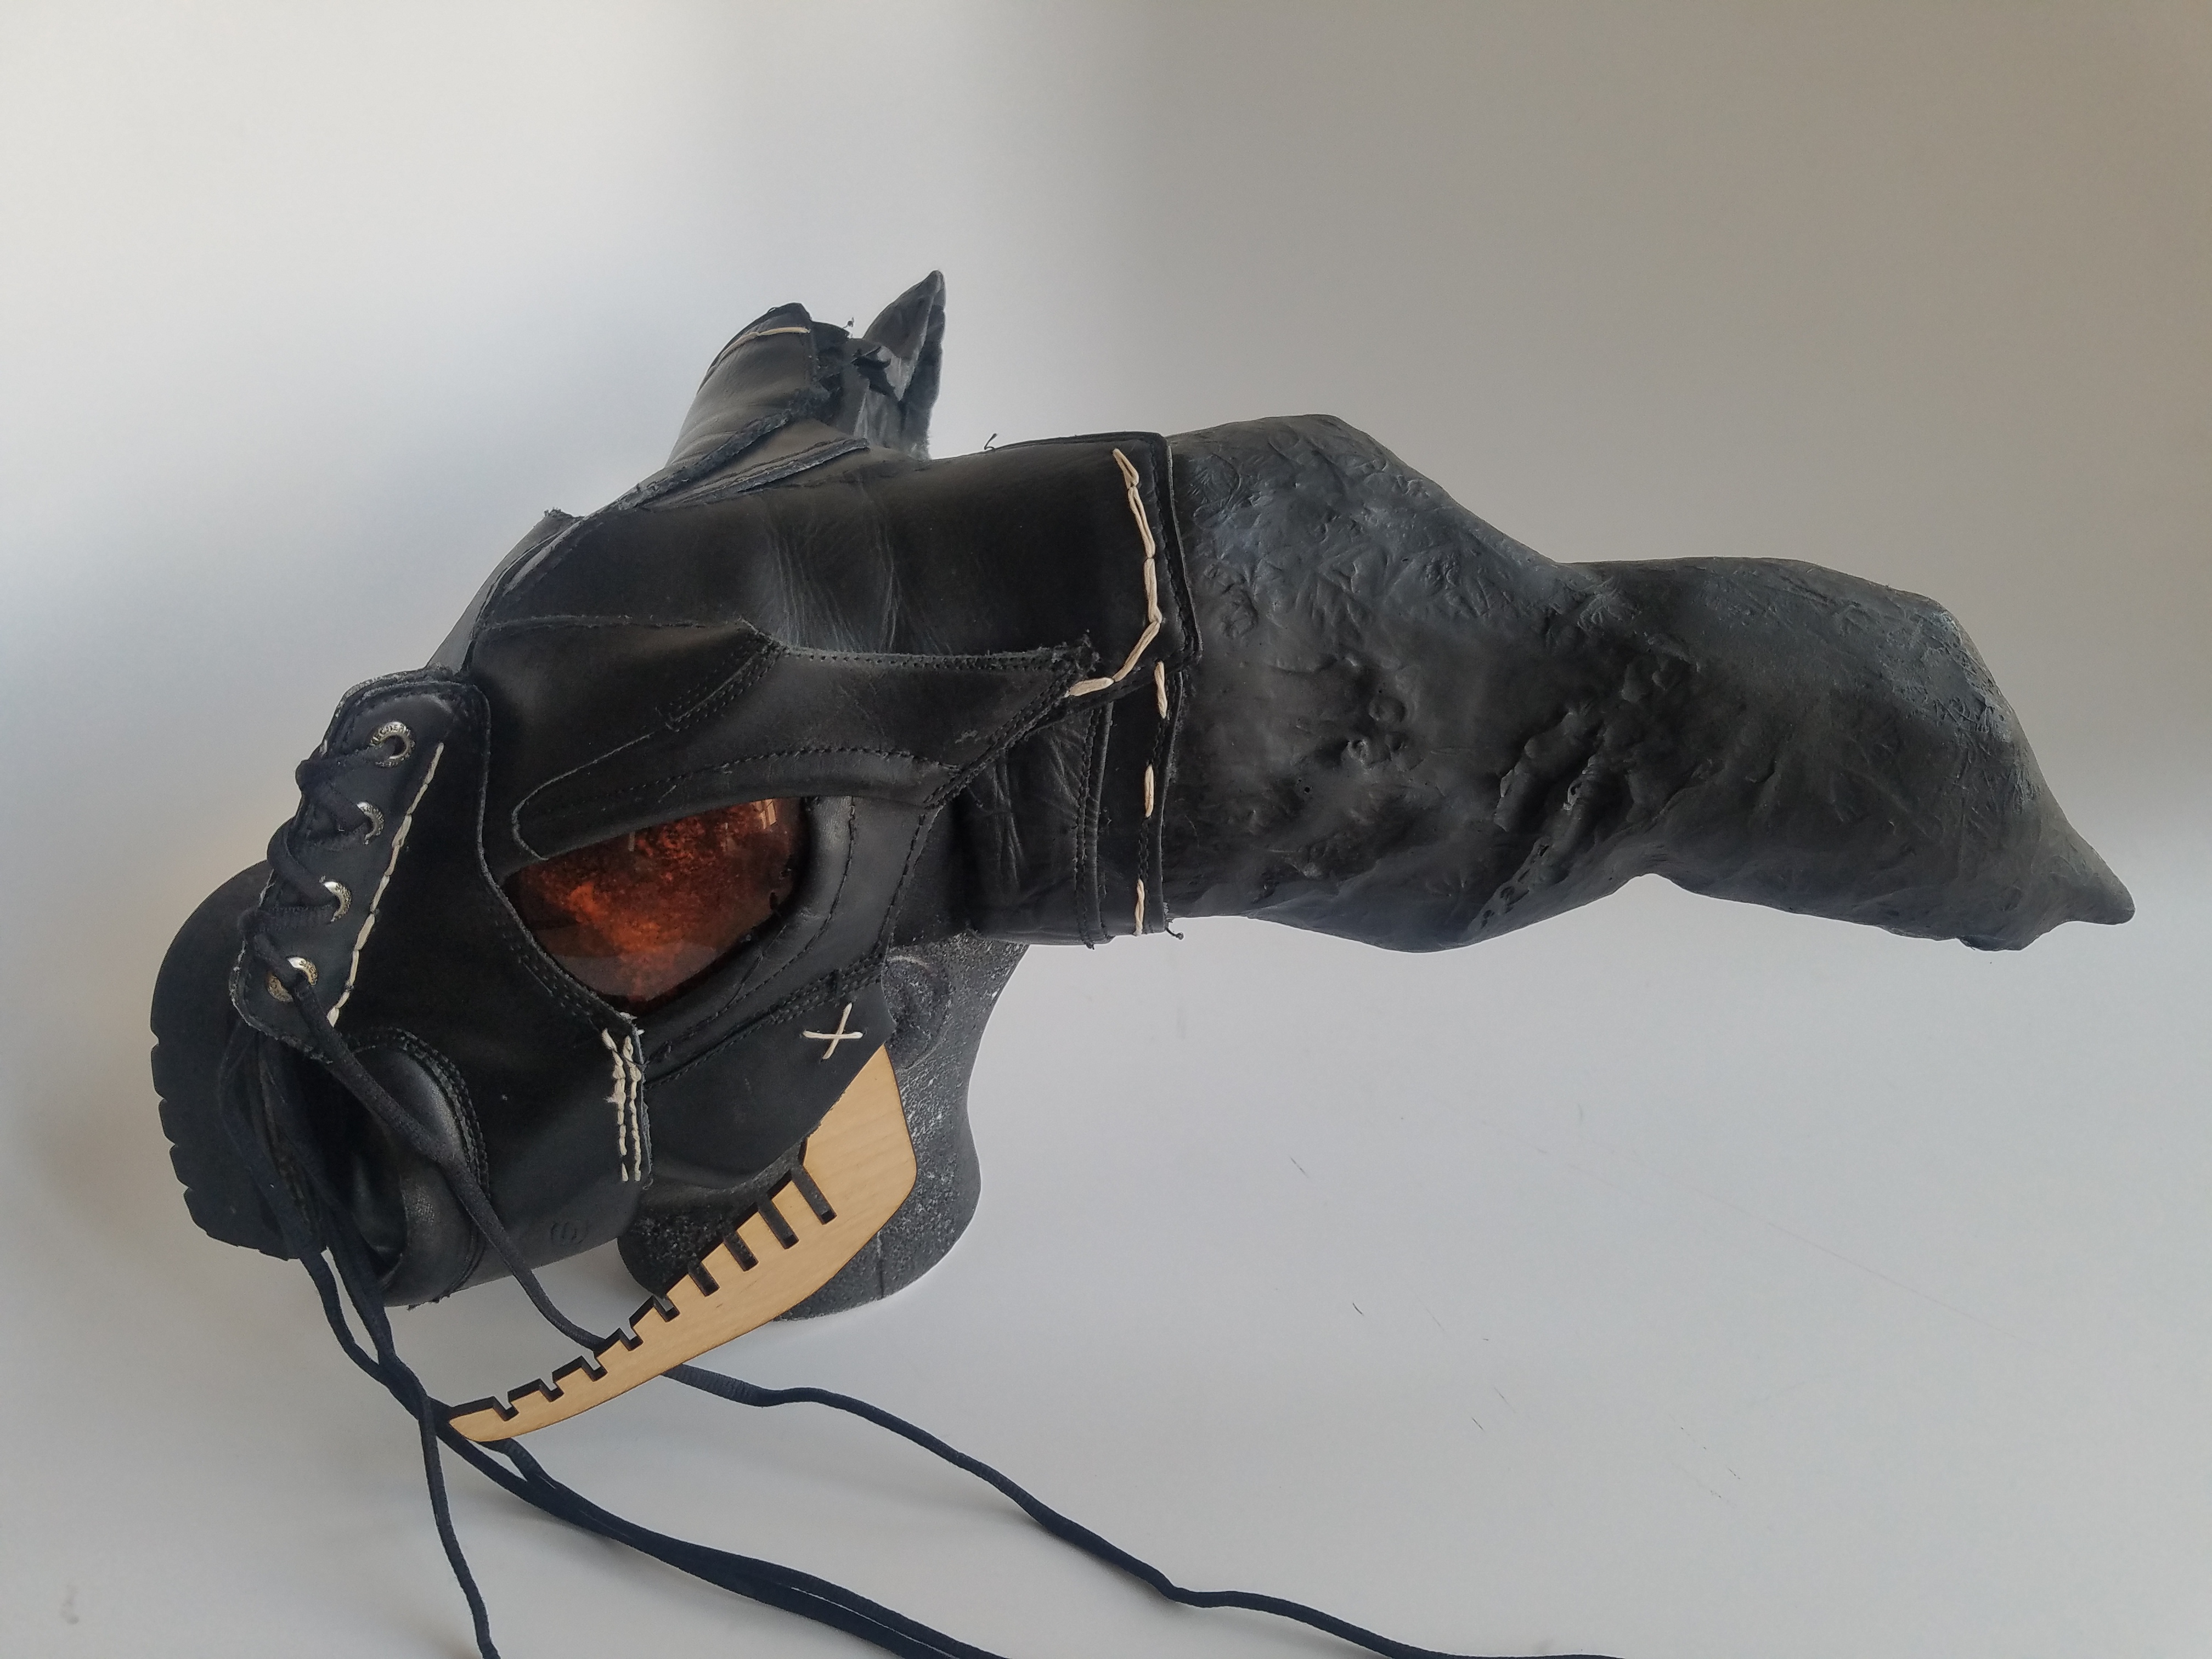
Now, slice apart your shoes. I started at the base and removed the sole from the leather. Next, take apart each panel and cut it to match its counterpart on the other shoe. I used two pairs of shoes for maximum material.
Next, map out the mask with the shoe parts. I started with the face and used the most interesting parts of the shoes to create the snout and eye sockets of the mask. The parts of the shoes should inform how the mask gets assembled. Trying to force the shoes to conform to the mask will inevitably lead to destroyed parts and extra waste.
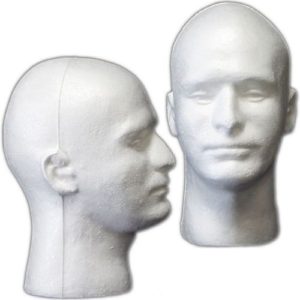
Next, get a Styrofoam head and hope you have a small head. I don’t, so I only used the head as a rough model. It worked well enough and it definitely helps map out the mask. It also assisted in storing and assembling later on.
Cost:
- Styrofoam head: $7.00
- X-Acto knife: $6.00
- Cutting mat: $10.00
After the shoes have been disassembled and a rough map has been made of the mask, it’s time to start gathering the extras. The horns, eyes, teeth, and extra details of the mask. I opted for a wooden jaw bone and fiberglass horns as well as plastic eyes. While fiberglass horns do look cool, they are a pain to make and real horns are probably more functional and easier to get.
Cost:
- Ski mask for eyes: $15.00
- Wood for jaw bone: $2.50
If you still want to make fiberglass horns, make sure you have a respirator, goggles, and gloves. To begin making fiberglass horns, I used this video and this one. As suggested in the second one, I used insulation foam and a hacksaw to create a plug. As I don’t have a spare car battery to make a hot saw, I used a propane torch after cutting the foam with a hacksaw to seal it. Next, I taped the plugs to a board and started layering the fiberglass and resin.
In order to make the resin black, I used black 100% strength acrylic paint. Other pigments may work as well. I tried oil paint but it didn’t mix with the resin and came out uneven.
Cost:
- Resin and fiberglass: $50.00
- Foam: $30.00
- Respirator: $40.00
- Googles: $25.00
- Black paint: $7.00
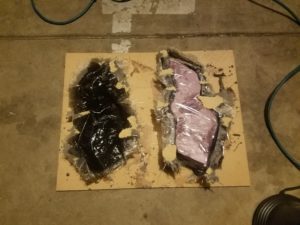
Make sure you do all this in a well-ventilated area, preferably outside. Additionally, the fiberglass resin needs to be mixed and stored at room temperature so working outside in the cold may cause the resin to solidify prematurely or cause the fiberglass to crack while drying.
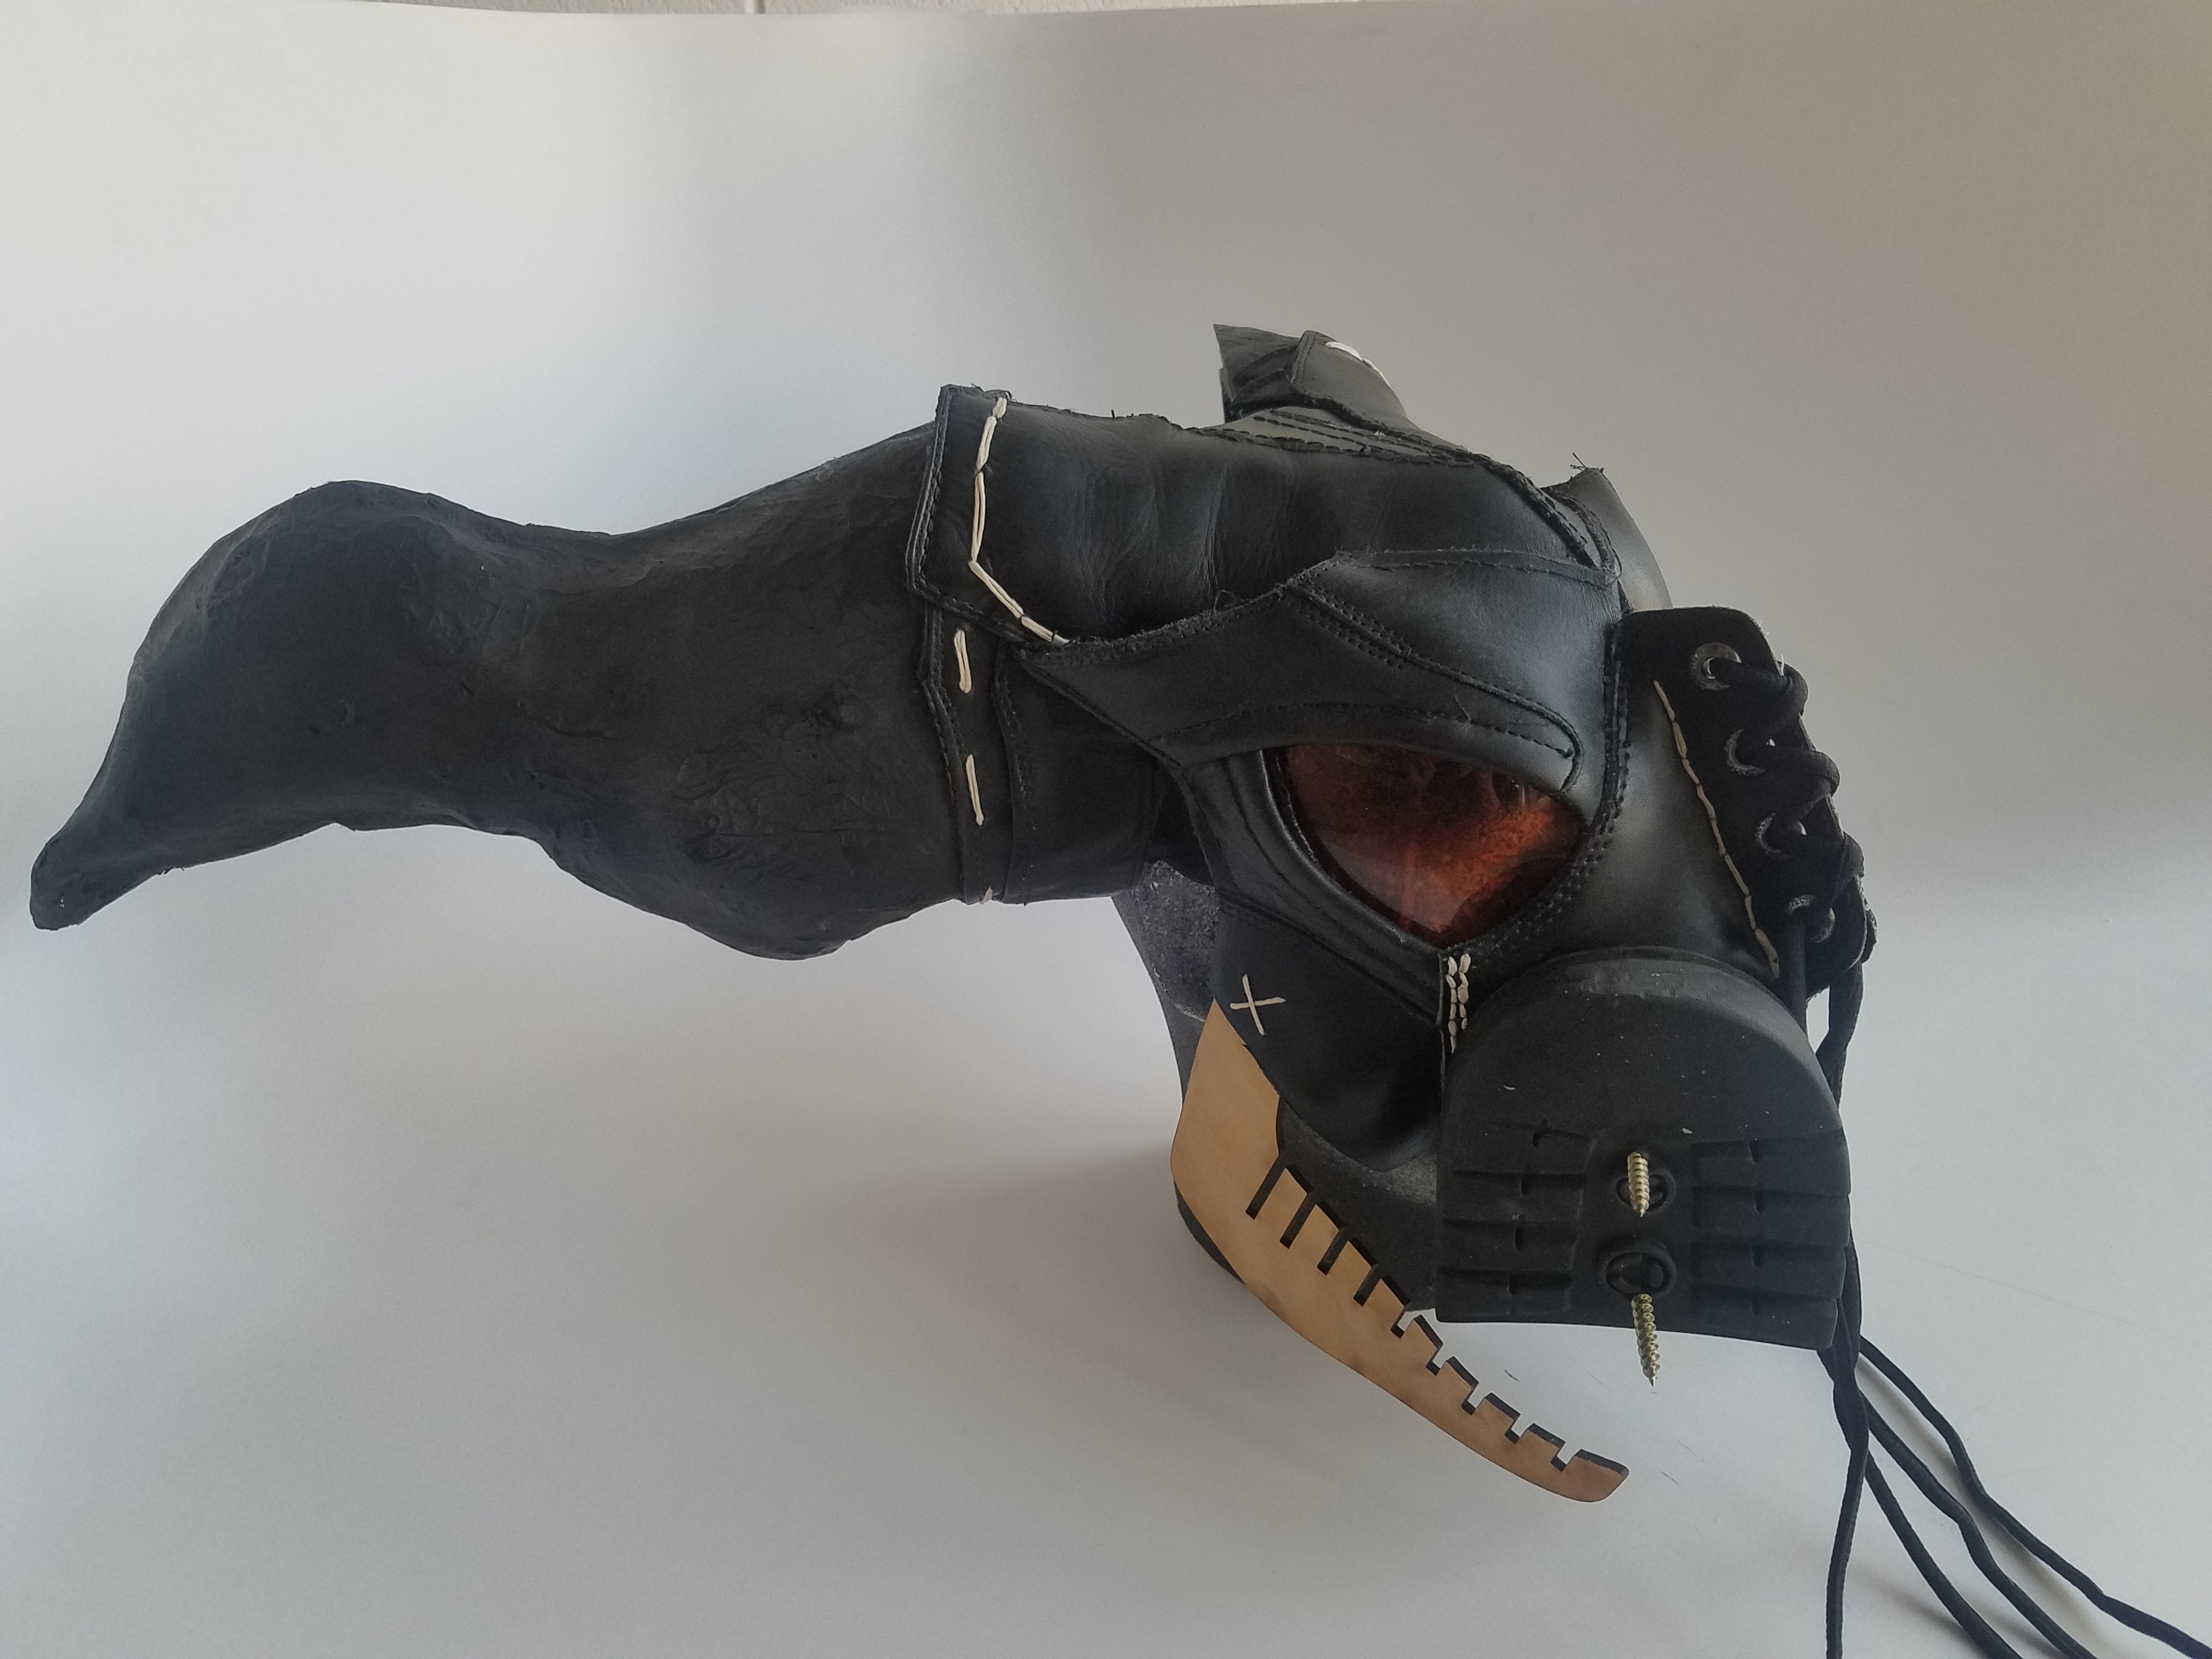
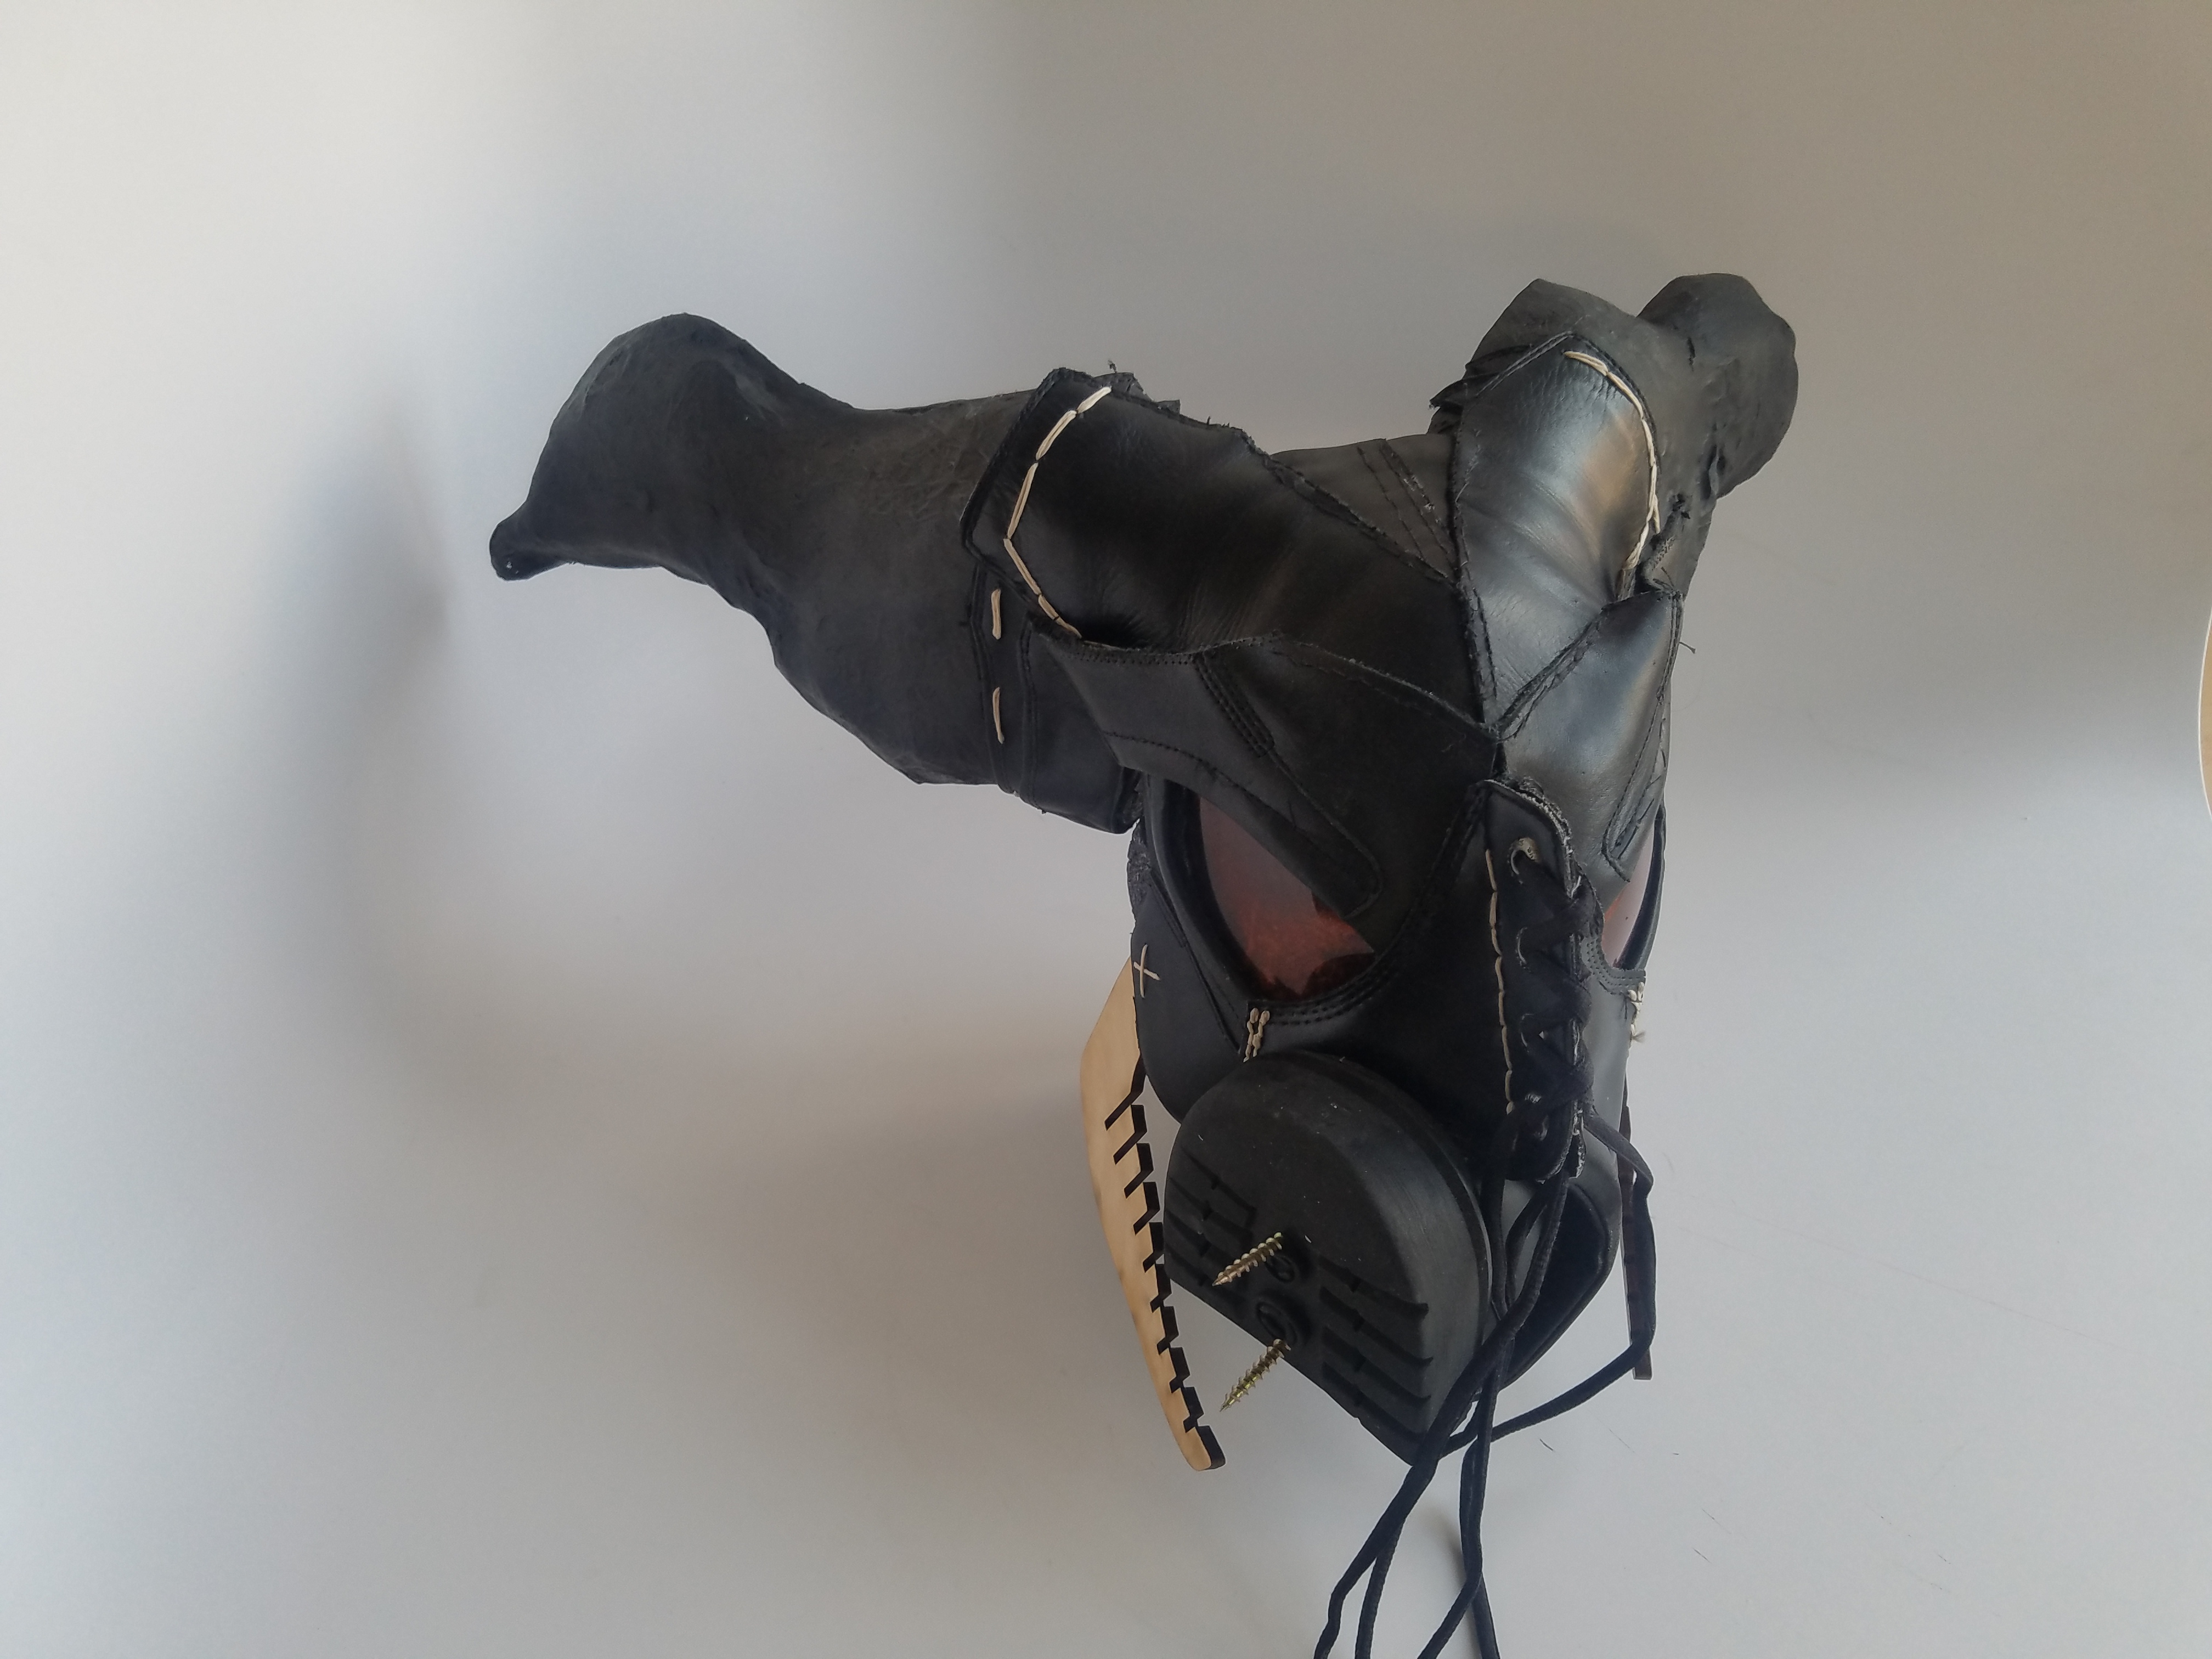
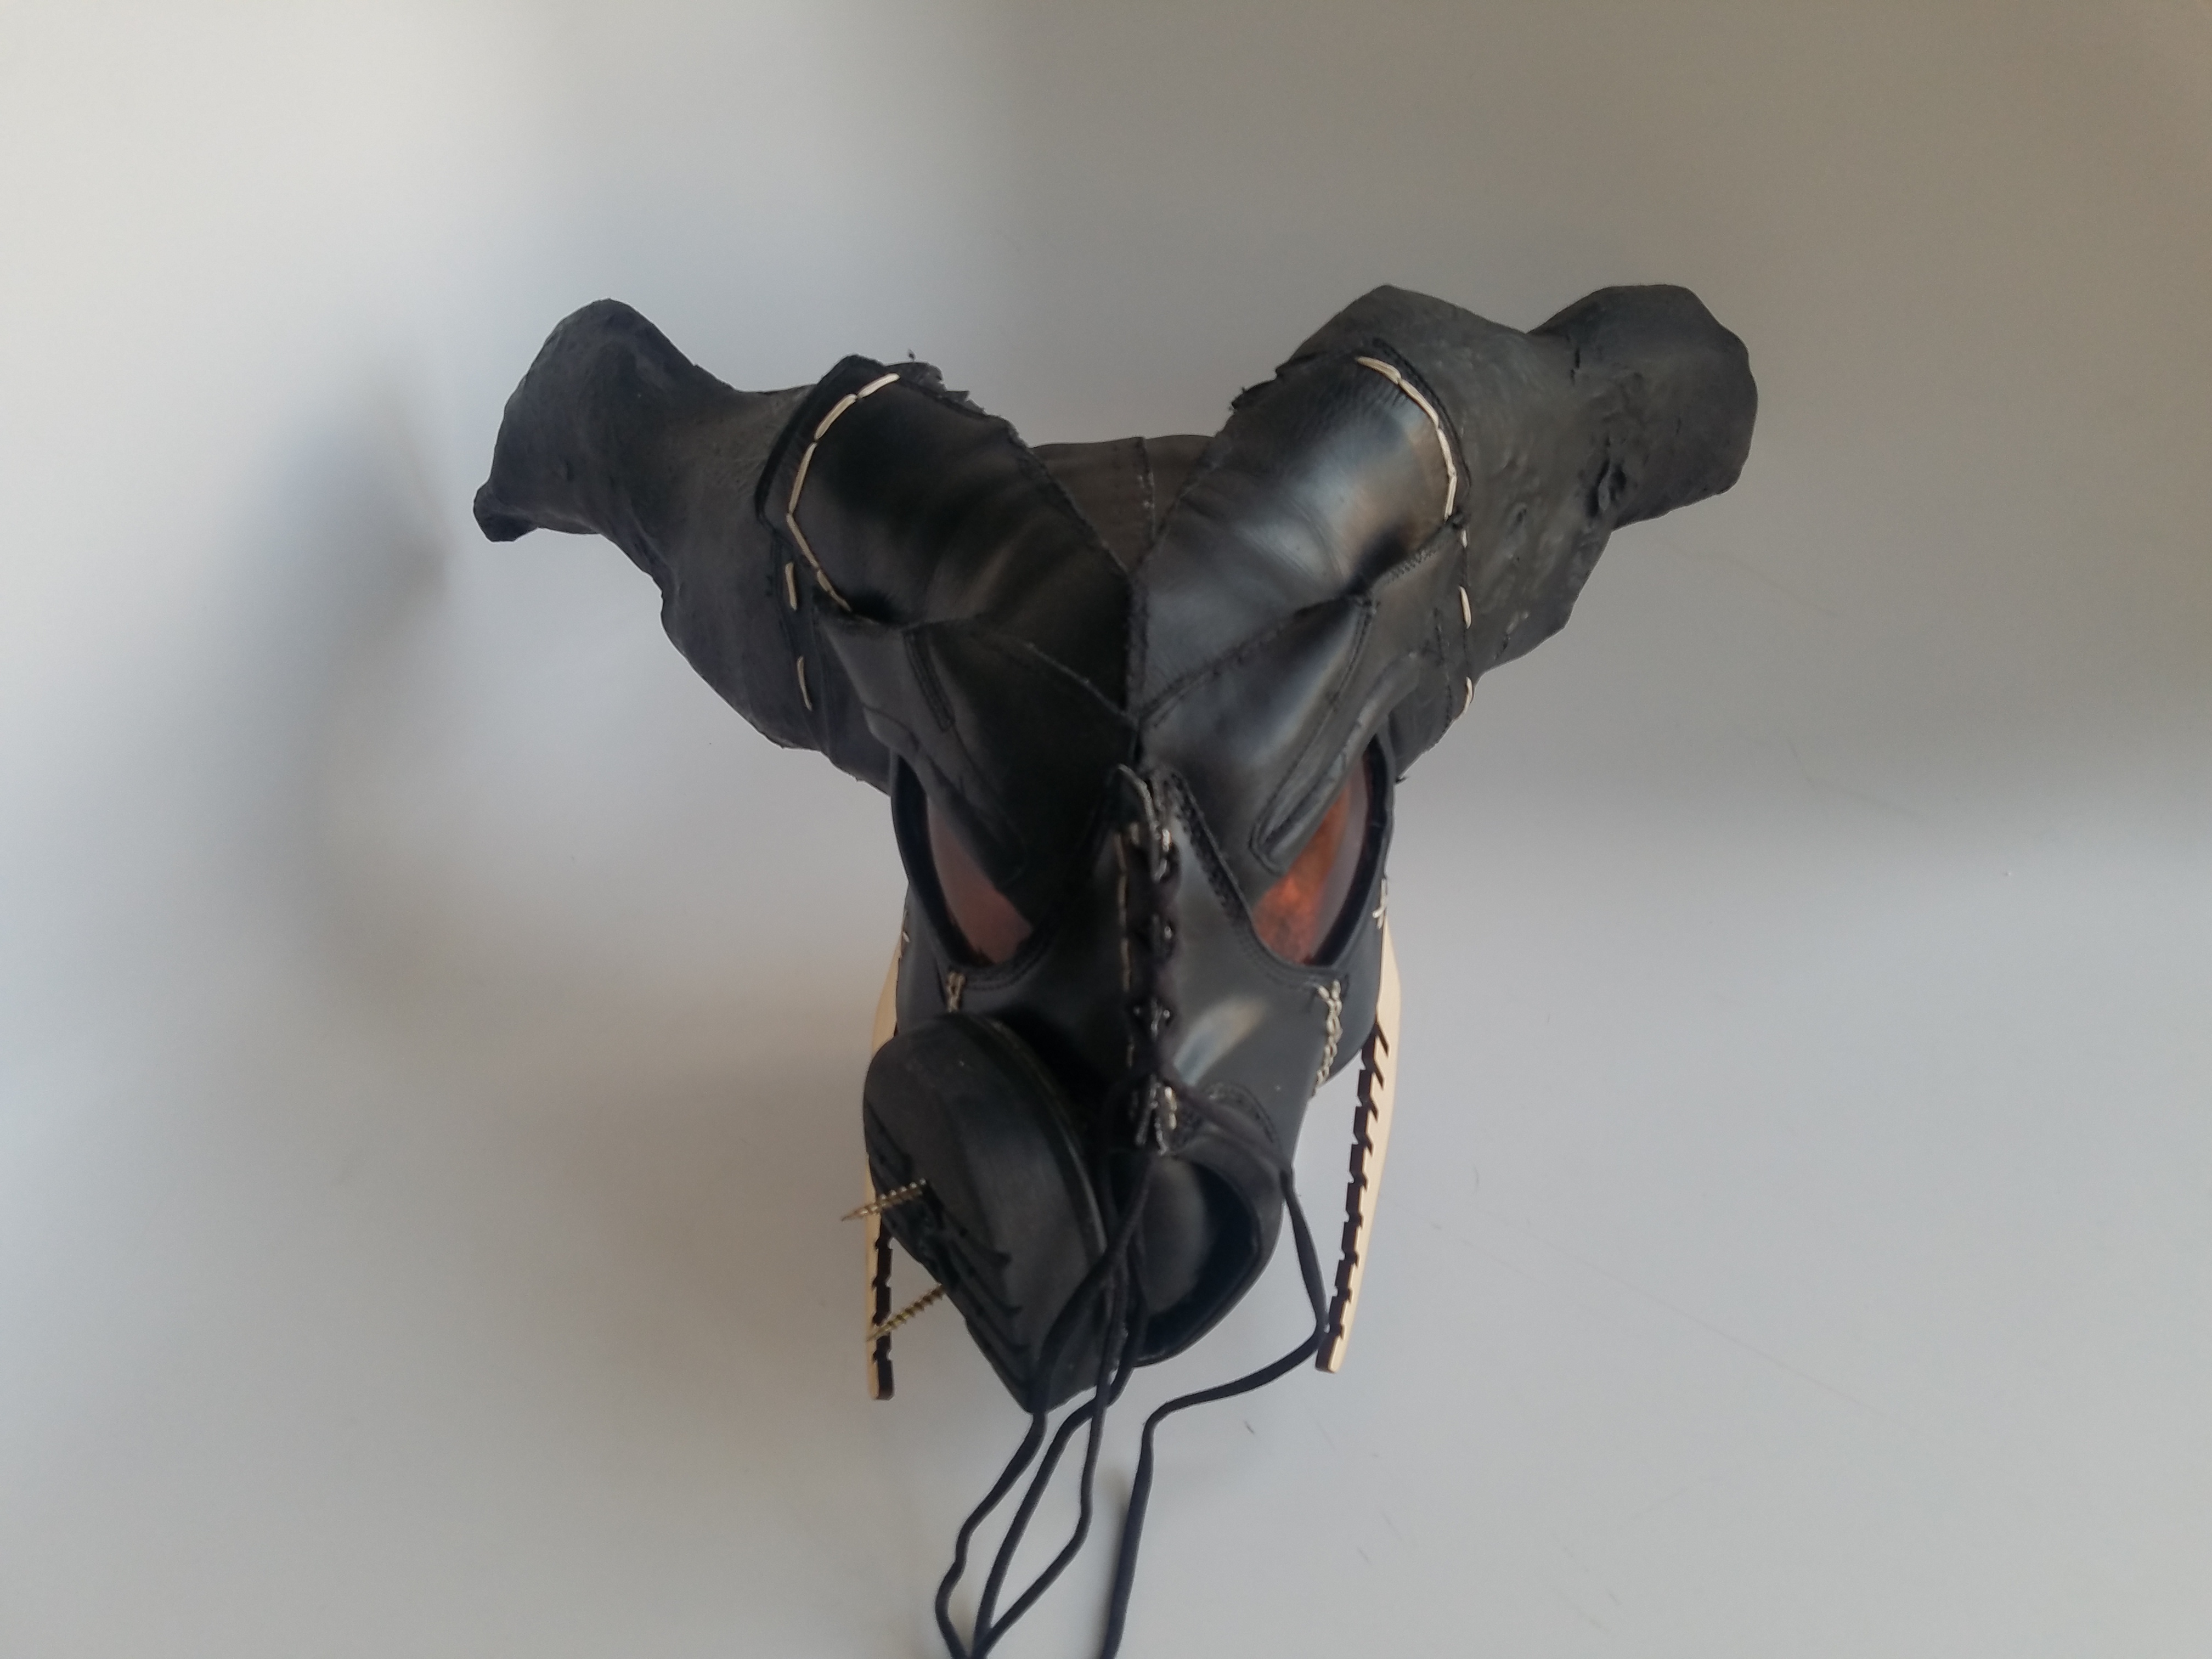
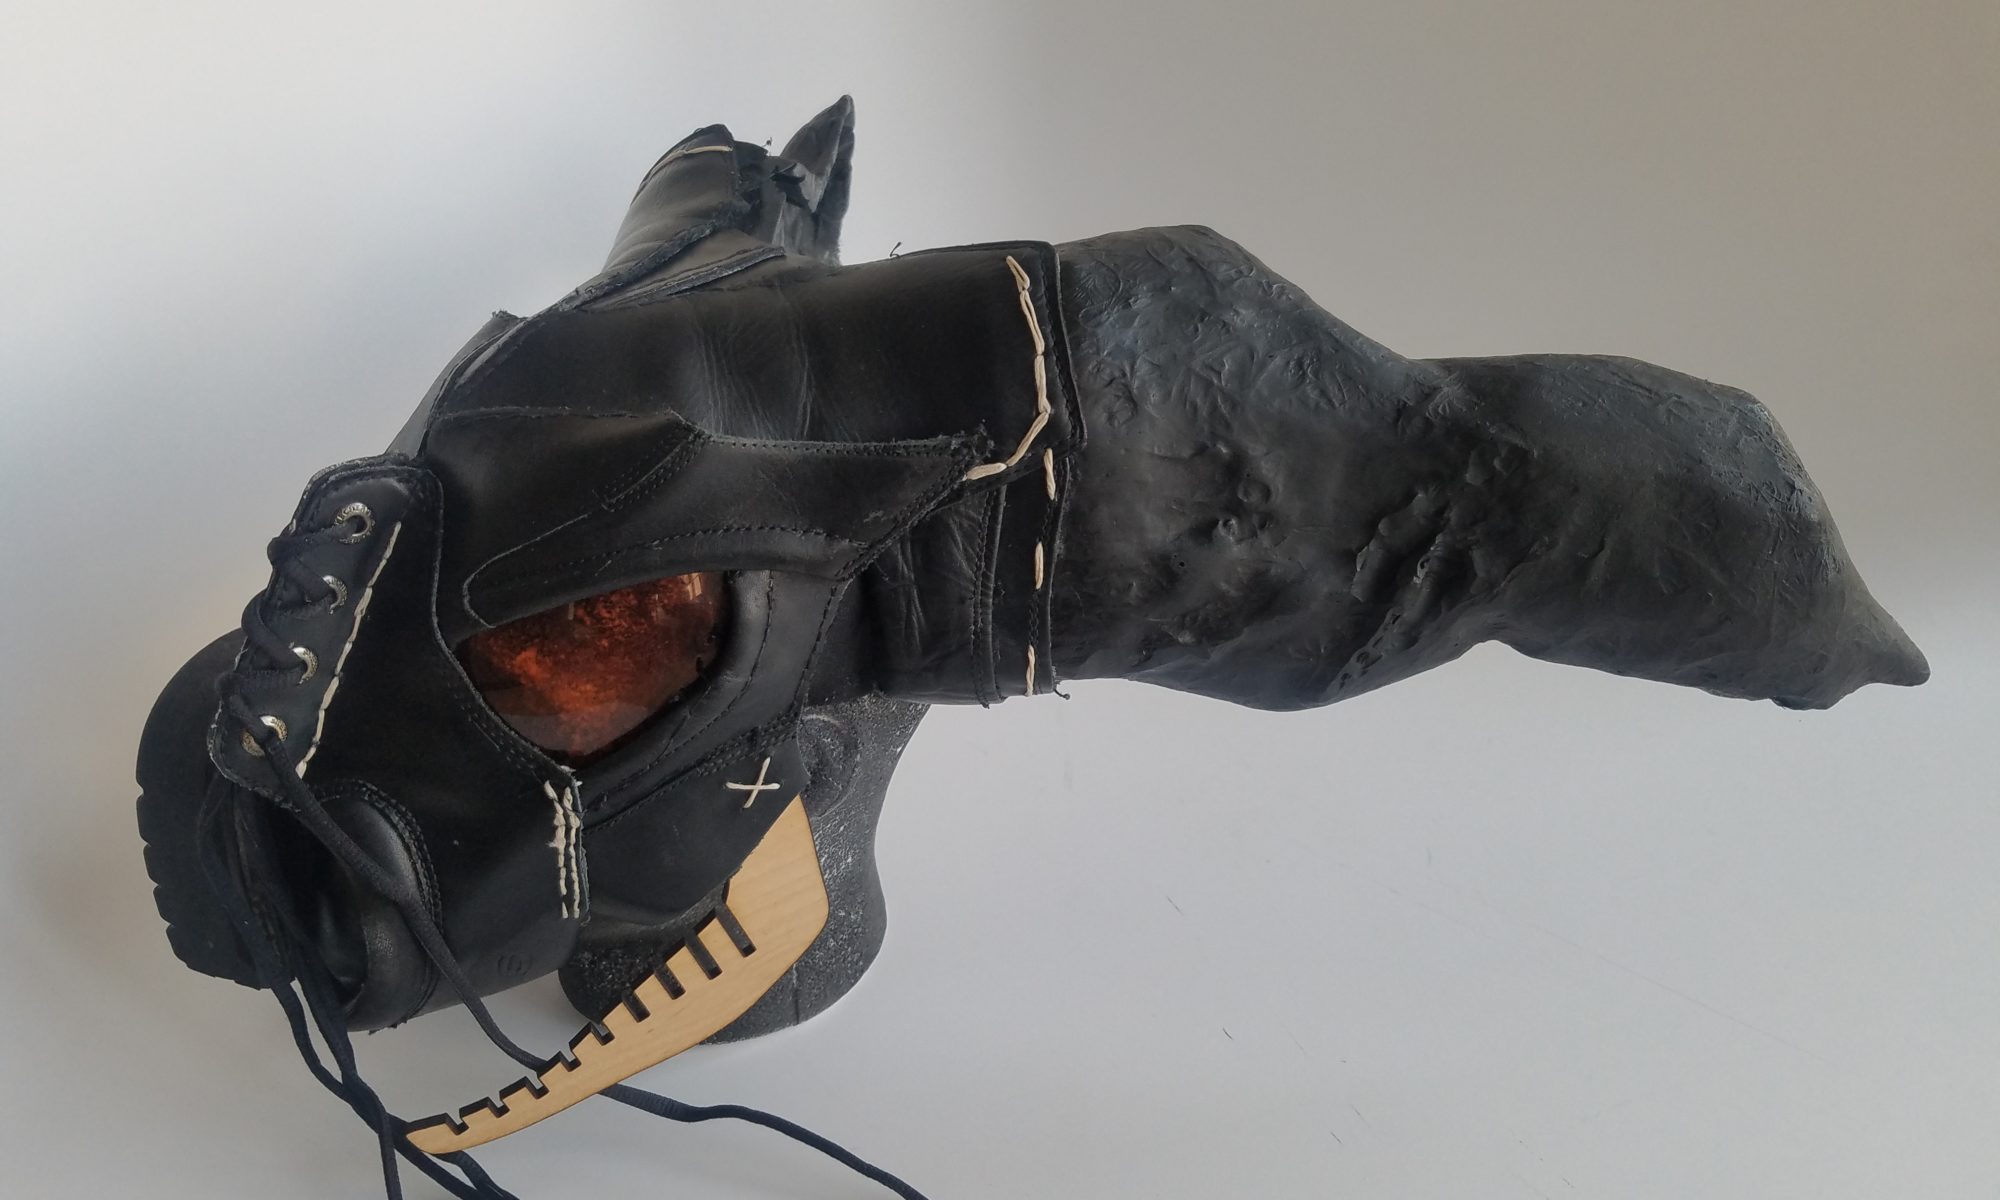
Now that all the parts have been assembled, its time to fully assemble the mask. I started by stitching the panel that goes around the back of the shoes together and the same parts from the other shoe around the eyes. Next, I drilled holes into the horns and glued strips of leather to the base of the horns to create a fluid transition from the leather mask to the horns. I then attached the tongues of the shoes to the base of the horn and the forehead of the mask.
Make sure that the thread you are using is sufficiently strong to hold the leather together. I glued the pieces with Bish glue then punched holes with a large tack before stitching the pieces together. I also tried to add two lines of stitching to each seam for added strength. In addition, to the thread being functional, it can also be decorative. I used a waxed beige thread to add accents to certain parts of the mask.
After adding the horns, I added more leather between the tongues on the horns so they would rest evenly on the head. I then attached the front of one shoe into the snout of the mask.
For the ‘filter’ of the mask, I used the heel of one of the shoes. The rubber of the sole was hard to work with and required a lot of sawing and sanding to look right. It was then screwed onto one side of the mask.
Next, it was onto the eyes. I split the ski mask in half and traced the eye holes onto the halves. Using a drill press, I added the stitching holes and stitched them in.
Lastly, I added the jaw bones I had laser cut earlier. These, I created using similar techniques to this trophy head
Problems
As originally intended, there would have been lights in the eye sockets as well as behind the horns. Maybe, a speaker would have been added to the front. Unfortunately, my head as was too big to fit all that and my head.
I also ran into problems with the symmetry of the mask. The parts were hard to work with as most of the leather had an insulation component which made hole punching an inexact science.
Lastly, there was the problem of cost. the whole things cost around $200 dollars including the tools I had to get. For a project of this size, the cost could have been reduced if there were some patterns to follow.
Final
Name: Sold Soles
Tagline: For when old soles.
Artist’s Statement: This piece is inspired by the work of Freehand Profits as well as my eternal love for Lovecraft. Most parts of the mask are made from old and recycled objects. It speaks to our consumerist culture that demonizes the waste as a byproduct of society as opposed to materials to be utilized.