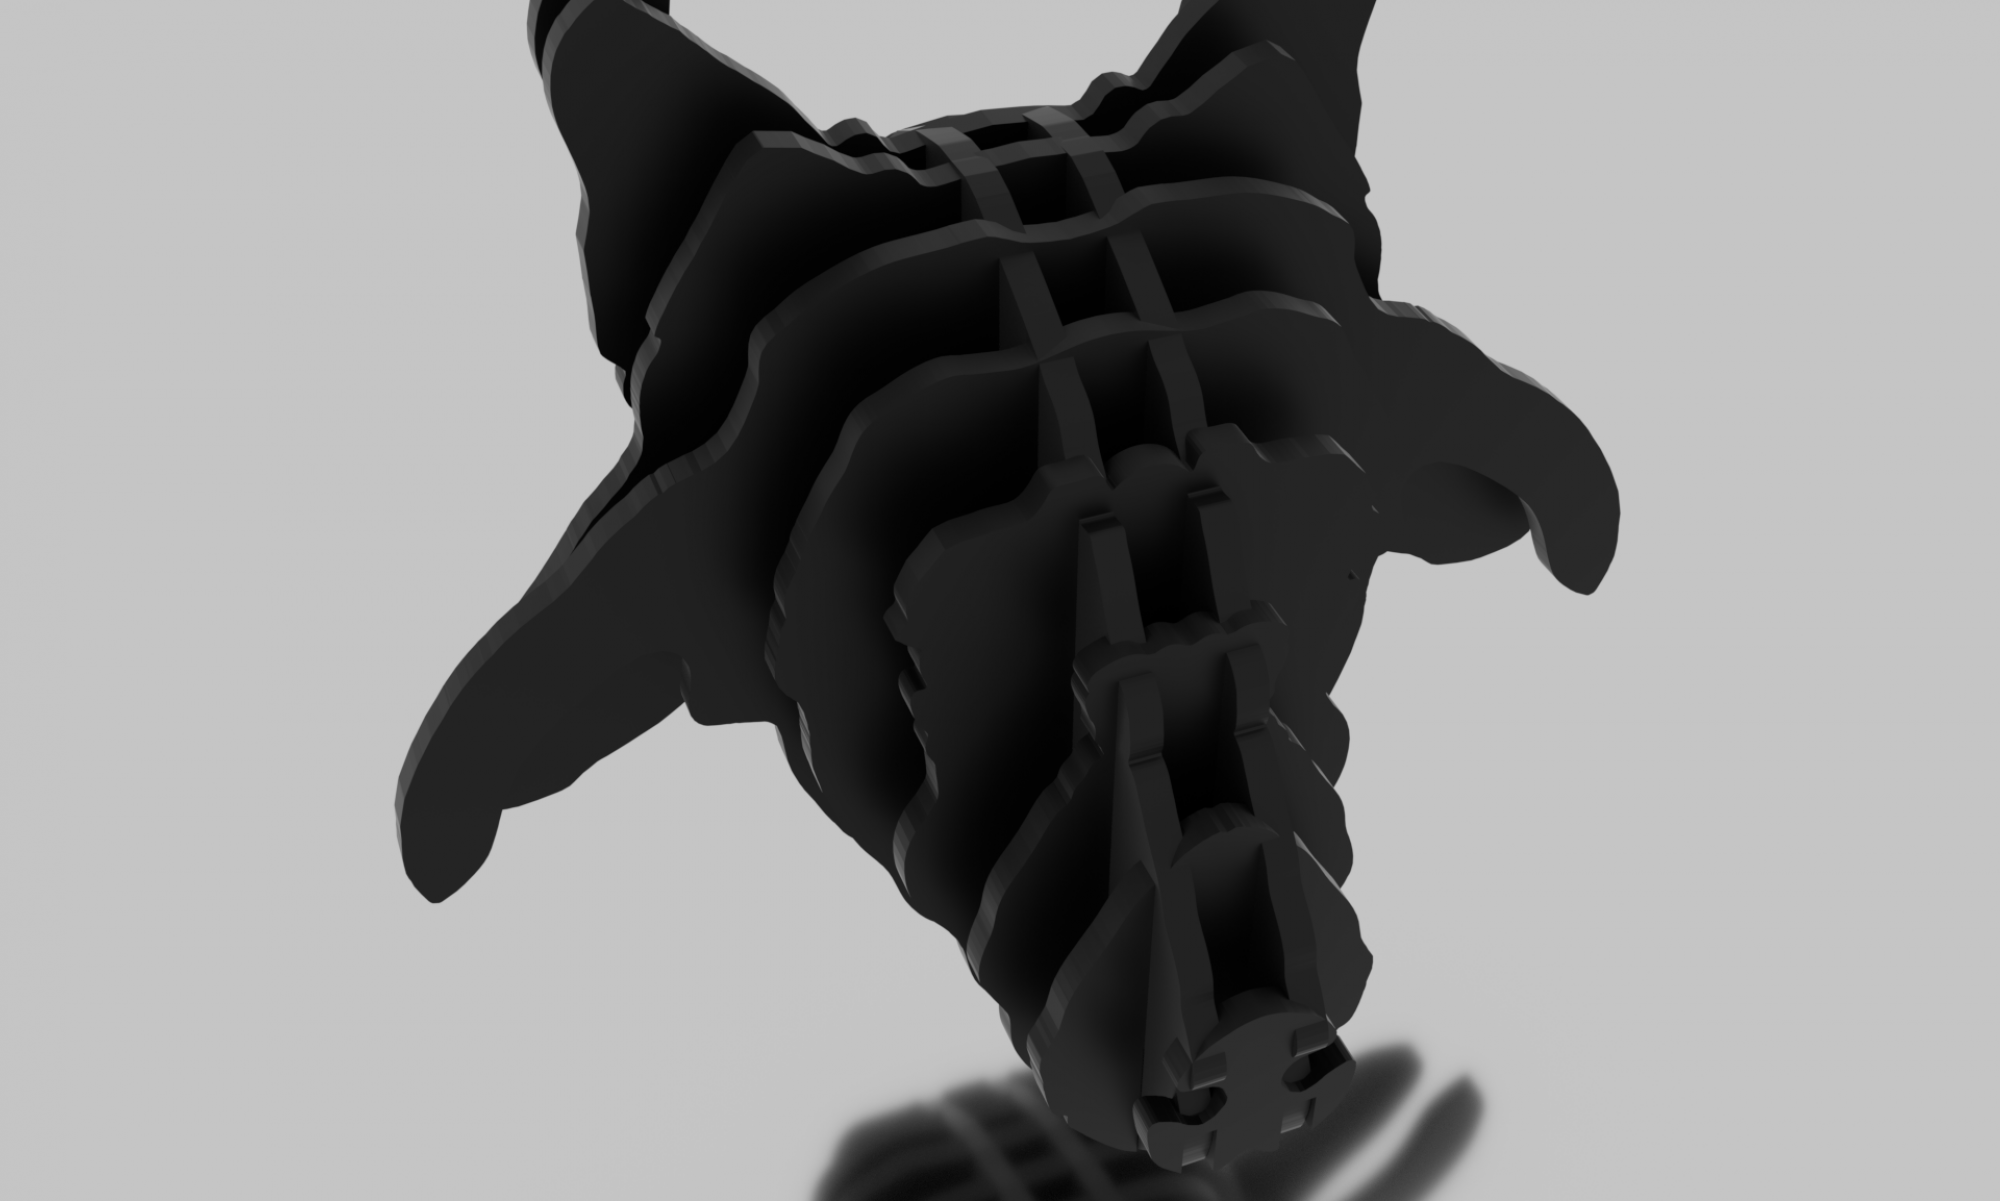
For my Project 1, I chose to create kinetic typography of Charlie Chaplin’s Speech at the end of the Great Dictator. I went with a fairly simple faded parchment background and started blocking out the scenes. I choose a gothic font, Black Family, as with as a more legible calligraphy font, Pirata One. Because of the strong lines in the font as well as the speed of the speech, the animations of the words will have to be limited to rotations and movement. Stretching the characters or have more intricate effects would be detrimental to the meaning and cohesion of the overall film.
This rough sketch is less than it should be but I feel the idea is visible and the completed cut should capture the feeling of the speech well.
For this project, I will be using Charlie Chaplin’s speech from the end of the Great Dictator. It is an invigorating speech about how man has the power to affect his future and how he should do his best to create a positive future free from dictators and greed and hate and intolerance. I feel the speech speaks to the current rise of popularism and authoritarianism. The speech has two motifs I want to use. First, it quotes the Bible. Second, it repeats itself with slight variations.
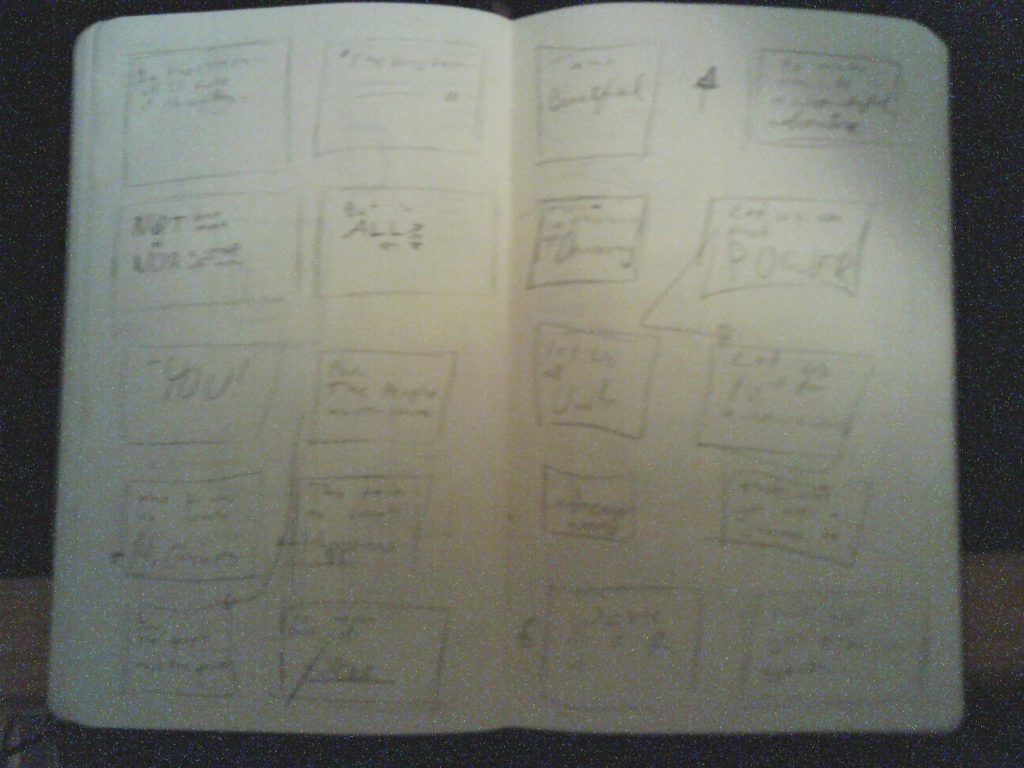
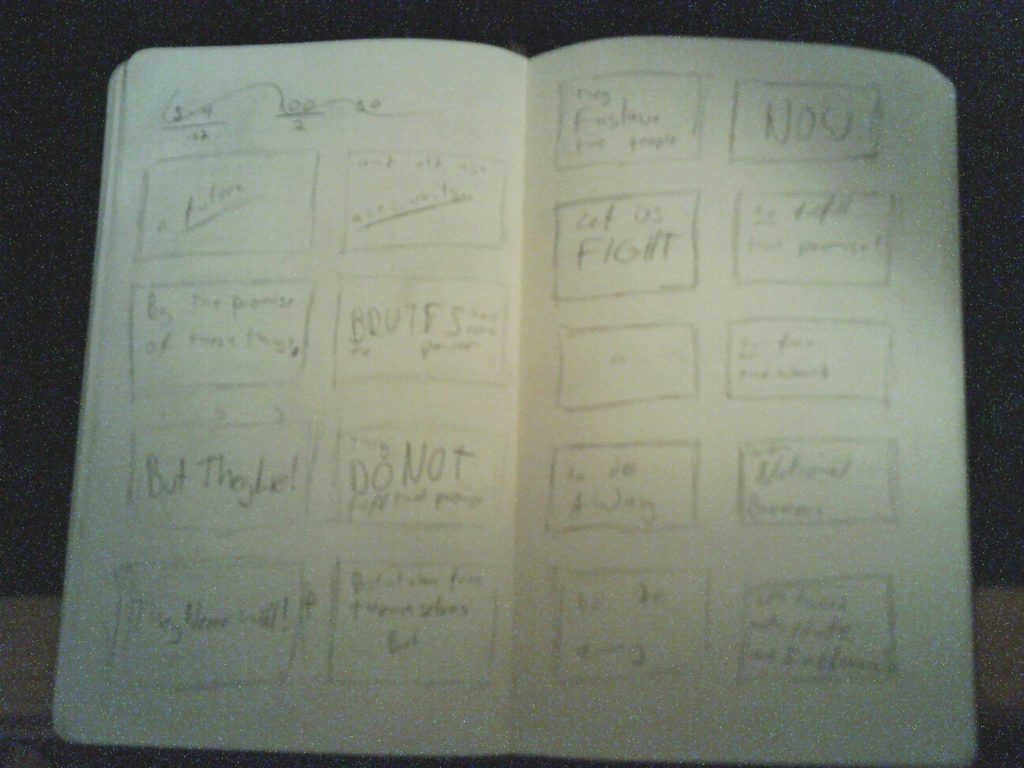
In order to capture the motifs as best I can, I want to use yellowed paper backgrounds and calligraphy fonts for most of the words. I will also like for the words to sort of ripple on the “page”. This should reinforce ti victorious feel of the speech. Lastly, I want to reuse portions of the text to reinforce the point. For example, when he says, “Let us use that power… Let us all unite… Let us fight for …” I will circle back to the same set of text.
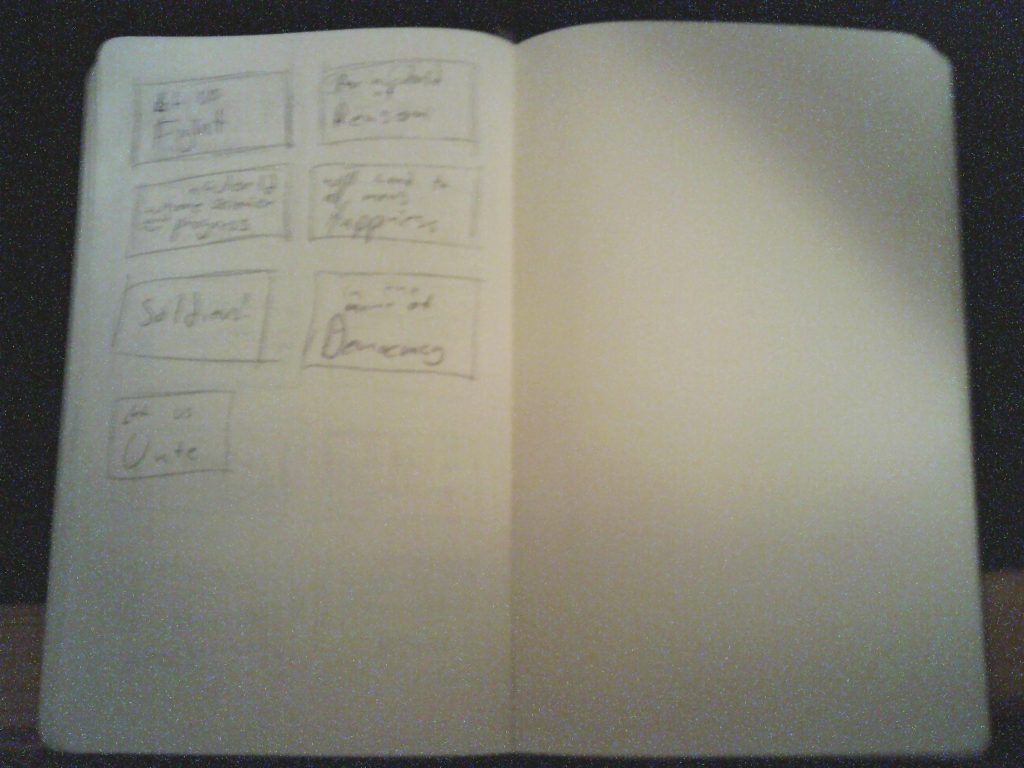
Storyboard
The repeated phrases will ideally look similar. The “Let us [x]” will have the same basic frame each time.
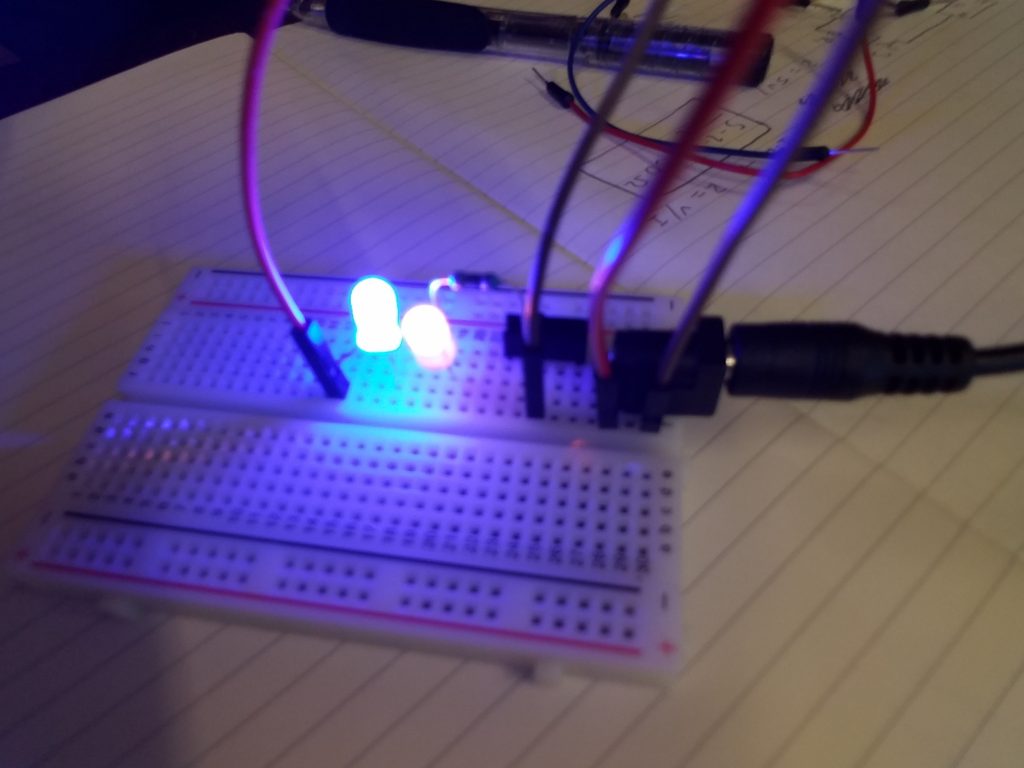
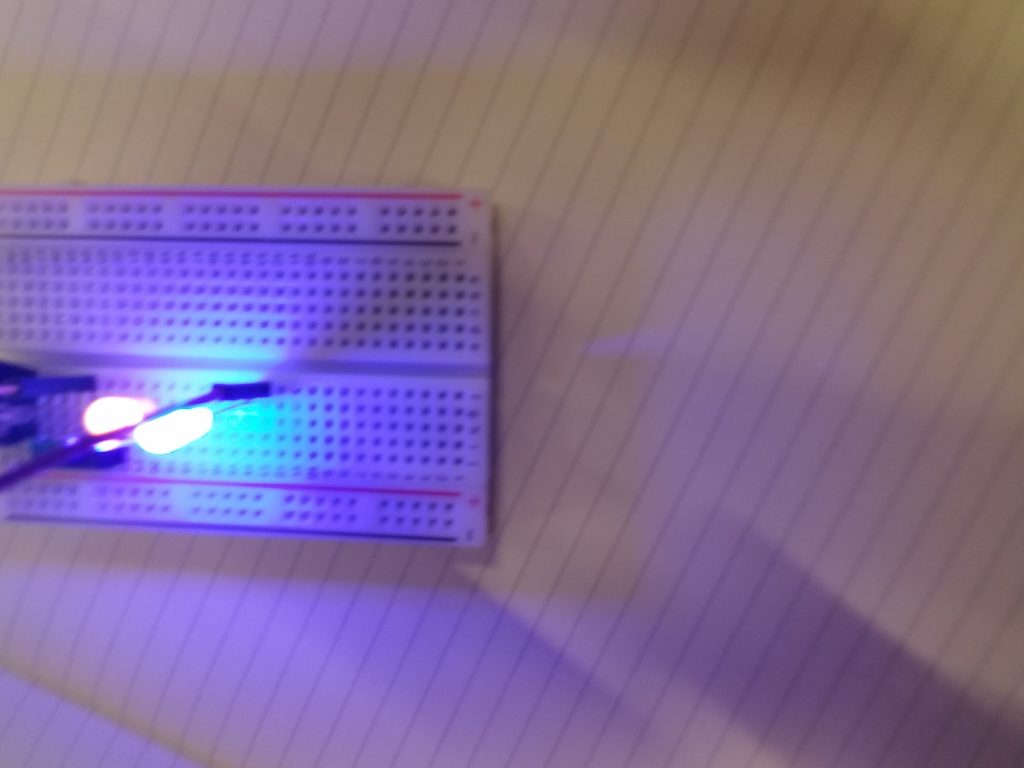
In this lab, we created two circuits: LEDs in series and LEDs in parallel.
The LEDs in series used a 3.4V, 30mA blue LED and a 2V, 20mA yellow LED. As the total voltage was more than the 5V a 7805 voltage regulator will give out, it was not included.
The LEDs in parallel used the same LEDs as well as a voltage regulator.
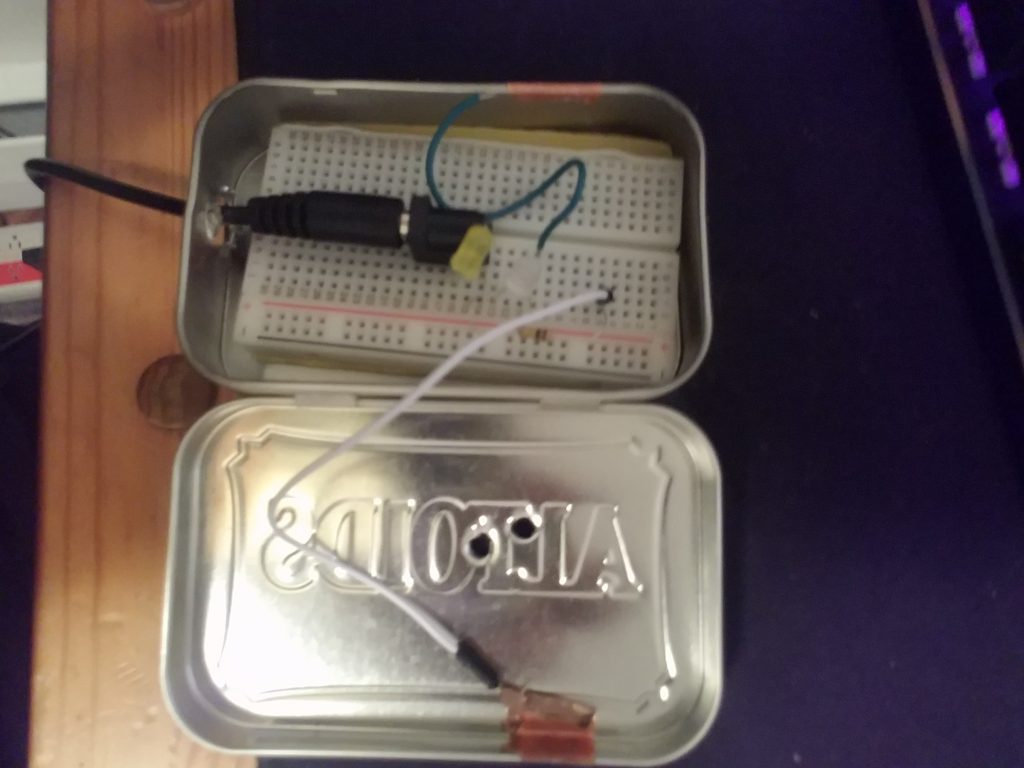
For the last part, I made the switch and enclosure together. Unfortunately, I blow out my LEDs as well as broke my camera and was not able to have a video of it in action
For my personal banner, I used the logo I had made for Intro to Design. The logo itself was made to look like a stylized 1980’s kanji (which I can’t read) while still being vaguely recognizable as my nickname: Azi. I kept with the 1980’s aesthetic with the chrome and white, inspired by the THX logo.
This video by Patrick Clair is a great example of an explainer video. In the video, the graphics are used to accentuate the speaker’s points and include the bullet points for the speech. It explains what Stuxnet is and how is being used as well as the potential for its abuse by private individuals or countries. The video also has an aesthetic similar to zombie thrillers, drawing an analogy to fictional epidemics.
This app is a relatively simple app that displays a calendar and allows users to add goals and events to that calendar. The app then tracks goal completion and inform users about their habits
Lessons Learned
I think the biggest lesson I learned from this is that focusing an app on a single operation is the most important aspect in an app. Even trying to create multiple related functions as an MVP lead to each lacking a finishing touch.
Technical Review
Similarly to the technical review for the adapt phase, understanding that Android Studio using Java has a lot of boiler plate code slowed down my work. Using Kotlin instead of Java, or using a wrapper such as React Native or Flutter would have made the final product has a more finished look and the pieces would have fit together more seamlessly.
The over all design was fairly underdeveloped. While the app did achieve some conformity to Material Design, using one of the wrapper s instead of Android Studios would have made the default UI elements pre-styled instead of having the manually change each element as I went.
Future Plans
I think that I will bring this app to completion as I hope to get a job making mobile apps. The app requires several changes including:
Making the calendar, goal list, and dashboard reload when new goals are added
Having the goal list display completed goals correctly
Having the dashboard display graphs
Adding icons
If I can get this working, I will likely only keep it around as a demonstration of capability as it would require a lot of polishing in order to be competitive with existing apps. Especially since Google calendar recently included a goal setting feature.
I didn’t get much user feedback on this iteration as not much had changed since the previous iteration. The user feedback I did get reinforced how important good design is, as they were unimpressed by the technical elements of the app and entirely focused on the placeholder colors and images and heavily critiqued those
Lessons Learned
I learned that mobile apps have a lot of boilerplate code. Additionally, Java has even more boilerplate code. These together made the app easily several thousand lines most of it declaring classes that were used once, or functions that were only there to sate non-null callbacks.
What worked, What didn’t work
The whole app came together nicely after a few classes were fully understood.
The calendar came together nicely after I understood AsyncTask and the CalendarContracts better. I floundered around a bit in the beginning as I was not sure where, to begin with pulling calendar information. Next, I struggled under the impression that CalendarContract.Events was the table that would give me instances of events not knowing there was a whole other table called Instances.
The Goal tab was also a challenge was the Room Persistence library requires several different files to work in tandem. The tab also required the use of RecyclerViews which were not entirely intuitive in their operation.
Lastly, the initial idea of tracking time was thrown out. This was done in the previous iteration but it is important to mention as it was originally the core concept of the app. In my own time tracking adventures and from user feedback, tracking time usage, even across all devices, doesn’t tell a complete picture of how productive the time was nor does it intrinsically inform how to proceed. I think there could still be a synthesis done between goal setting, time tracking, and time management. Unfortunately, while my app does a good job of goal tracking, it is not the answer to that dialectic.
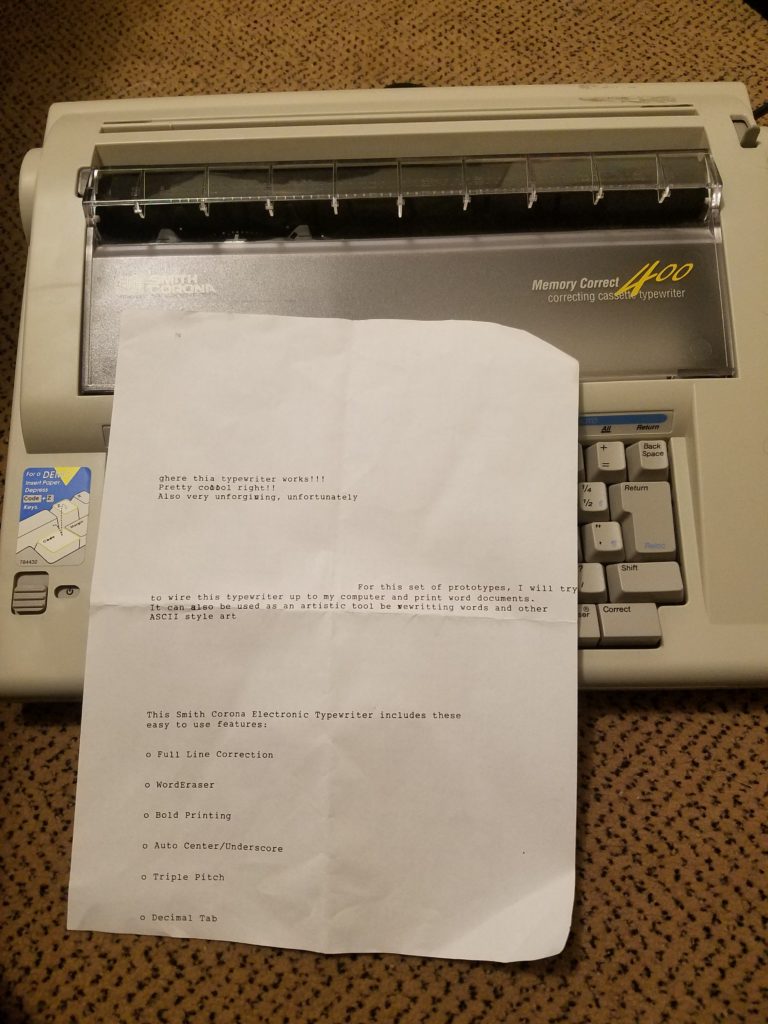
For this set of prototypes, I looked further into how to hook up an Arduino to my typewriter. At first, I tried to set up a matrix assuming that one of the pins was for power and ground. Assuming this, I wrote out the matrix for the lettering as matric in Arduino. This wouldn’t work and I will likely move others to a four-pin output.
An additional note about this is that there are several keys – SHIFT, CAPS LOCK, and CODE – that need to be pressed in conjunction with another key in order to work.
All pins connected
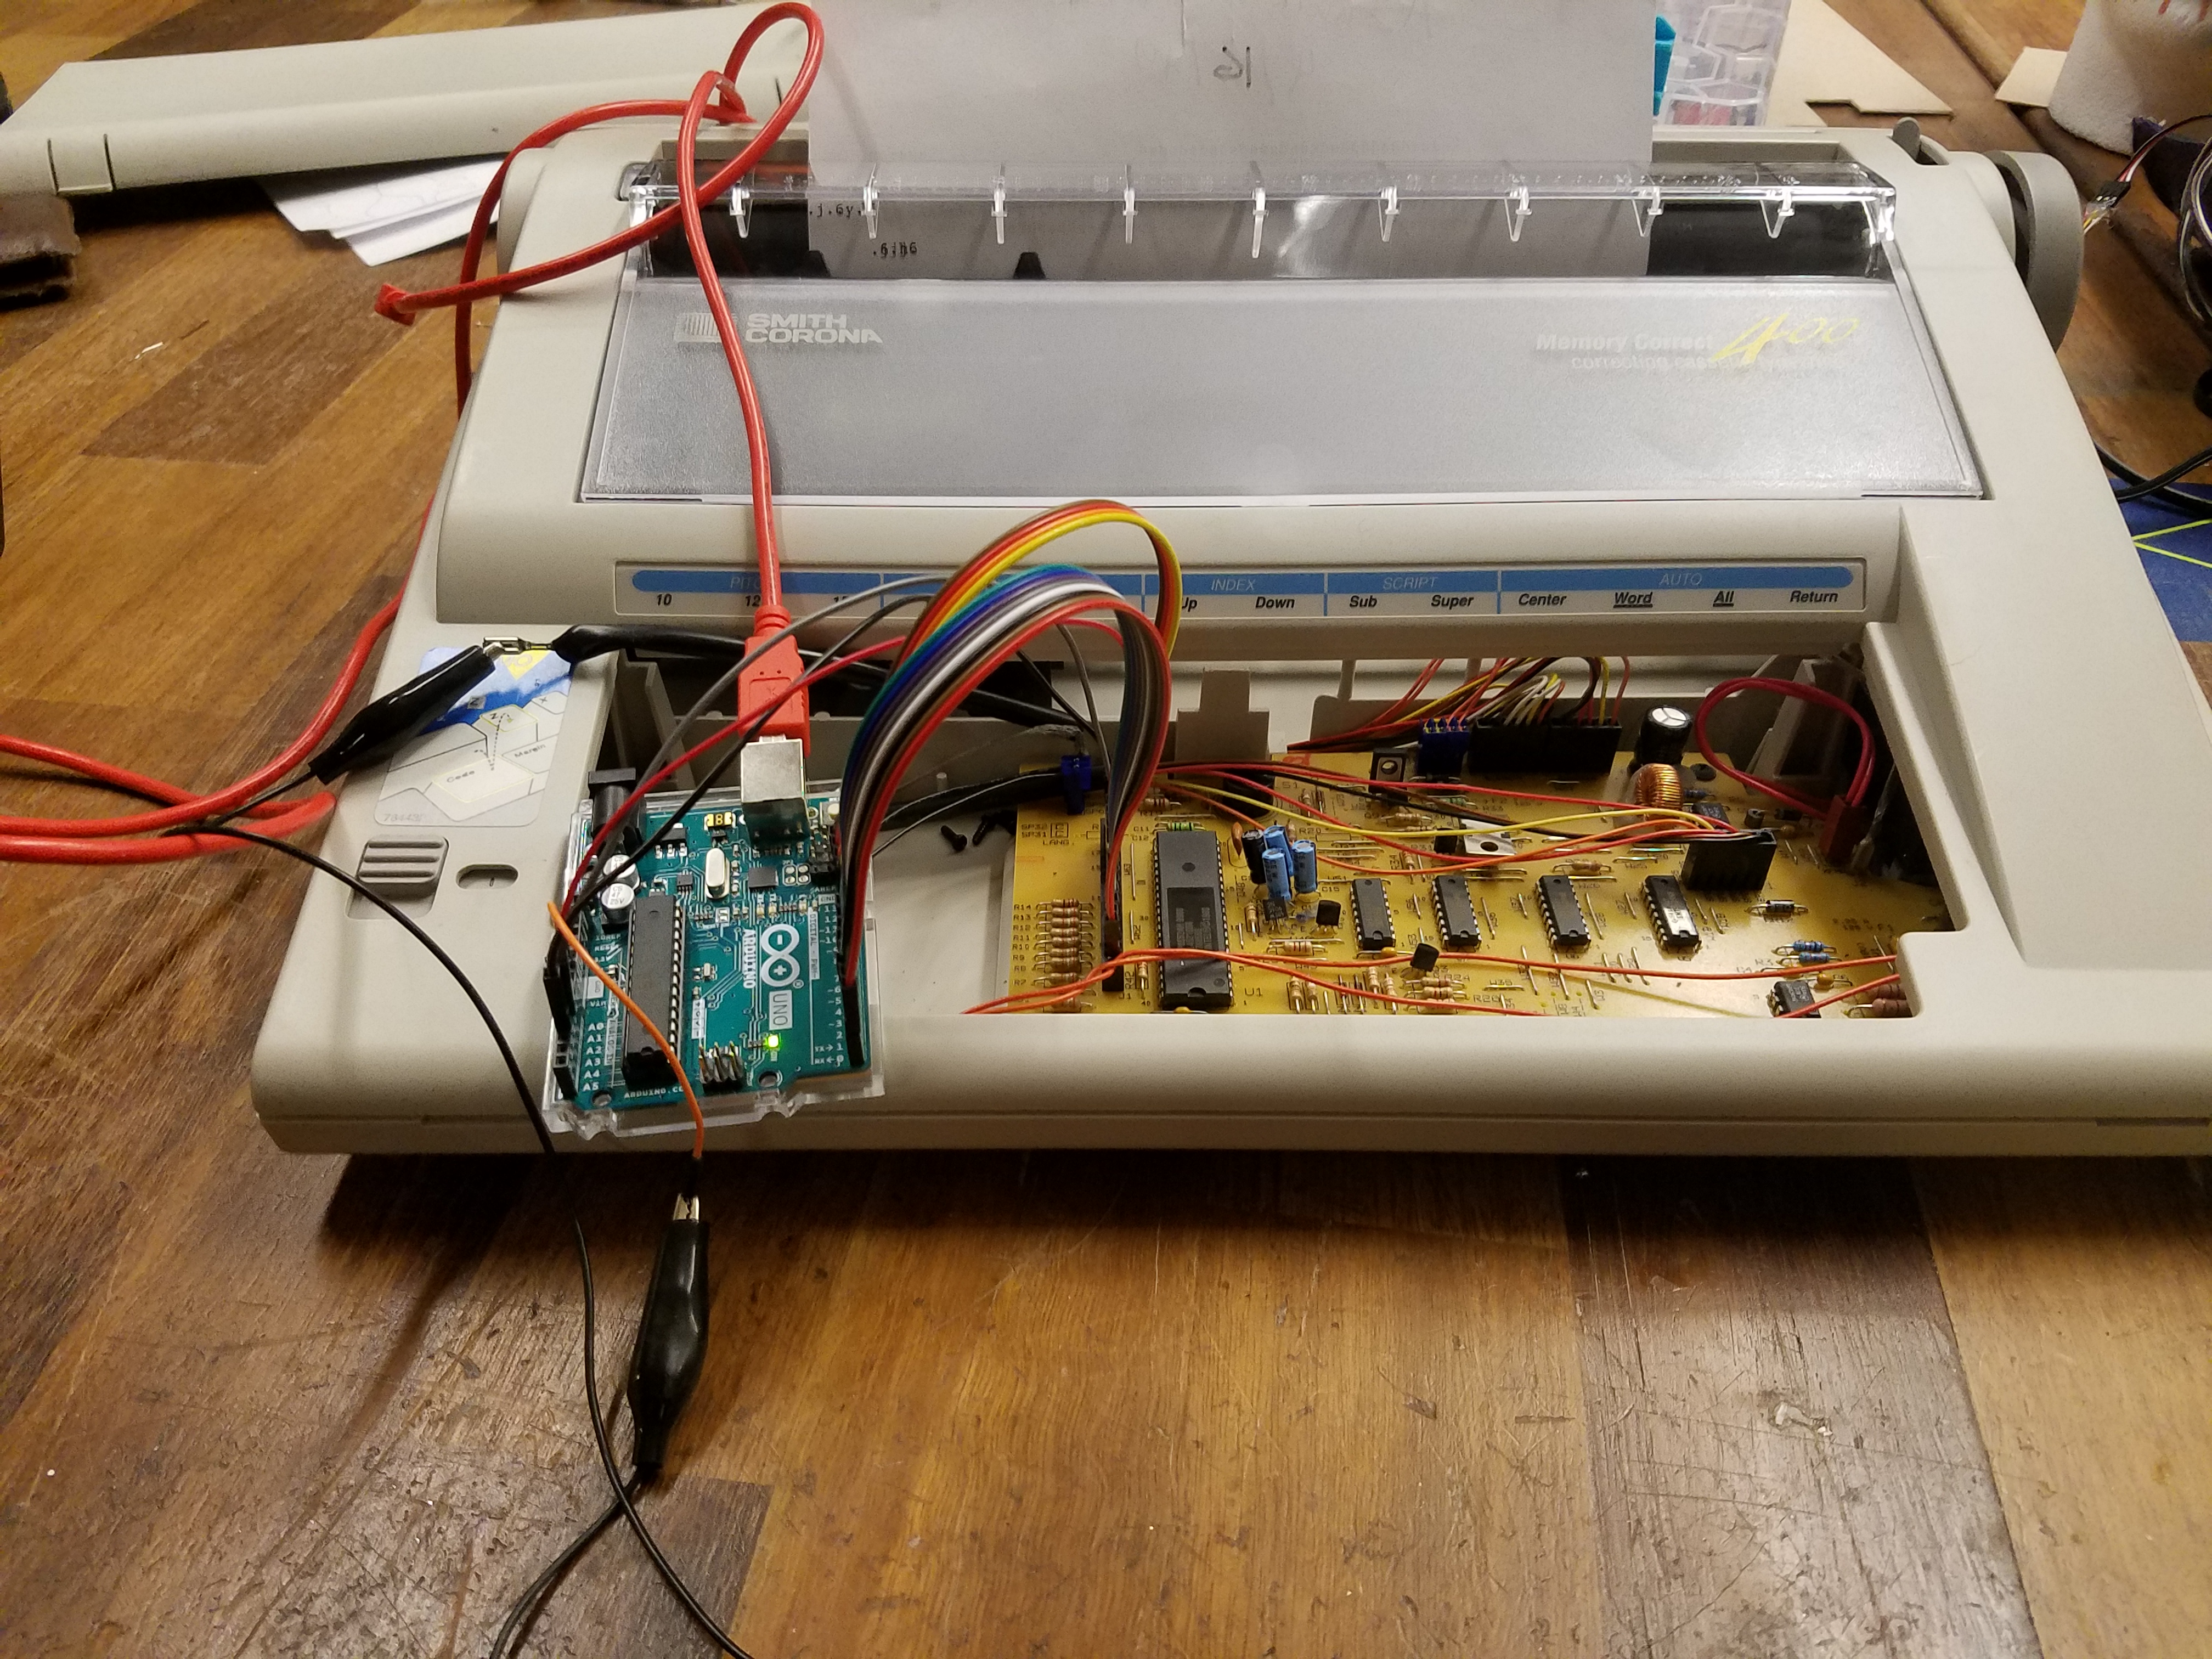
This didn’t work as the keyboard was mostly mechanical and half of the pins were actually grounds. I switched over to using transistors. Given the number of transistors needed – at one per key, I looked into buying PCBs and how I would wire up the 30 transistors and pins needed. I ran into additional problems as the 1980’s typewriter’s ground was in the back of the machine and not built as a pin into the IC.
The code to run this was fairly easy. The one problem was testing how long the button should be pressed in order to only output one keystroke. I found the system works between 50 and 300 ms but 1s will fire multiple times and 10ms will not fire the key.
Circuit running
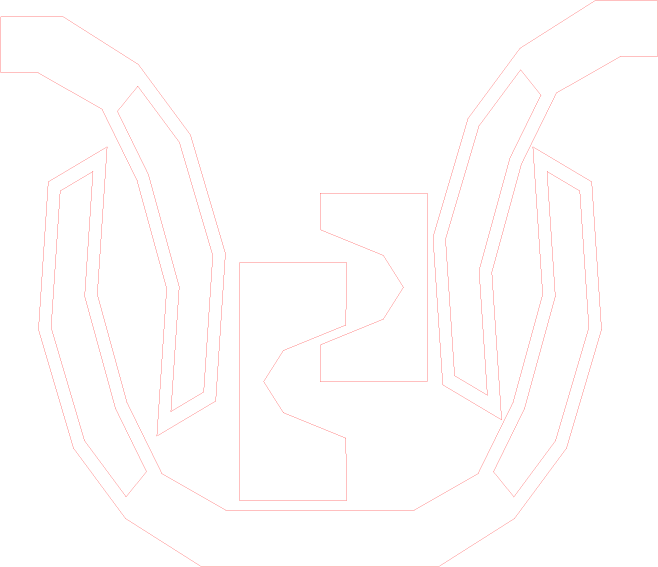
I started to learn EAGLE and other CAD software to create a keyboard that could be attached to an Arduino. this PCB would have
If I was to use a regular Arduino I could add an increased number of transistors and create a binary code to switch between various numbers. This would require more coding than is totally necessary.
Role
I also worked a bit on the role of the projects. Beyond just being an art installation, I thought some more about where it would sit and what sort of people would be near it. If I were to install it in a nearly silent gallery, the generator would not always have a large enough corpus to read from and would start to spit out very generic poems based on the starting corpus. Conversely, if I put the machine in too loud of a place, the ambient noise would be too distracting for the machine to run and complete sentences could not form in the corpus.
Thinking more about the statement of the machine, I looked into putting the project in an open mic night and having the poem create a meta-poem about the night. Alternatively, I could read the poem as my own at the end of the night and see if I could pass it off as the genuine proof of human emotion.
This round of prototypes was to expand on the first round and look into what worked and what didn’t work. Mostly, I worked on the techical implementation of the project and less on the role and look and feel. The role, I feel is fairly settled as an art installation piece. On the other hand, the look and feel will be heavily dictated by what is technically possible and what parts need to be incorporated into the project. Additionally, as the project is not handheld nor physically interacted with, the look and feel is not a primary factor in its usability.
There were two parts to my prototyping: coding and fabrication. In the last round of prototypes was able to write a Markov text generator that produced poems based on a large enough corpus. For this round, I worked and using speech recognition. This was a lot easier than I anticipated as most of the machine learning required for speech recognition was already done by Google and I was able to just use their API.
The fabrication was a bit harder. The typewriter I had purchased was luckily in perfect functioning order and all of the electronics and mechanical parts did not appear on their last leg despite being several decades old.
Testing out the typewriter and realizing I rely heavily on the backspace key
After testing that it worked, I tried to look for schematics on how they were wired. I was hoping to bypass the keyboard and only use the carriage for printing but I was unable to find any and the manufacturer has yet to contact me back.
I did try to hook up an Arduino to the carriage wiring but the Arduino was did not provide enough voltage and I was unwilling to try the 100V+ that some people online suggested.
Next, I took apart the keyboard to see if using solenoids was possible with the keyboard. I had expected the keyboard to have a mechanism more similar to today’s mechanical keyboards, but it instead had a rubber pad and keys without springs, instead relying on metal tabs to push the keys back up. The keys also have individual cases for a peg underneath them which I could potentially use to house a solenoid instead.
The smallest solenoids are about 12mm by 20mm with a 4mm pinhead. The head could easily take the place of the key peg and, with some sanding, the solenoids could replace the peg housing.
For the mask, I have obtained all of the sensors, most of the actuators, and all of the outer mask materials. Fortunately, all of the actuators use a simple analogRead to get input and all of the actuators I have worked with before.
As you can see the Myoware sensor output an analog signal that was easily mapped to the Neopixel.
Myoware Sensor in actionPulse Sensor in actionPulse monitor and servo in action
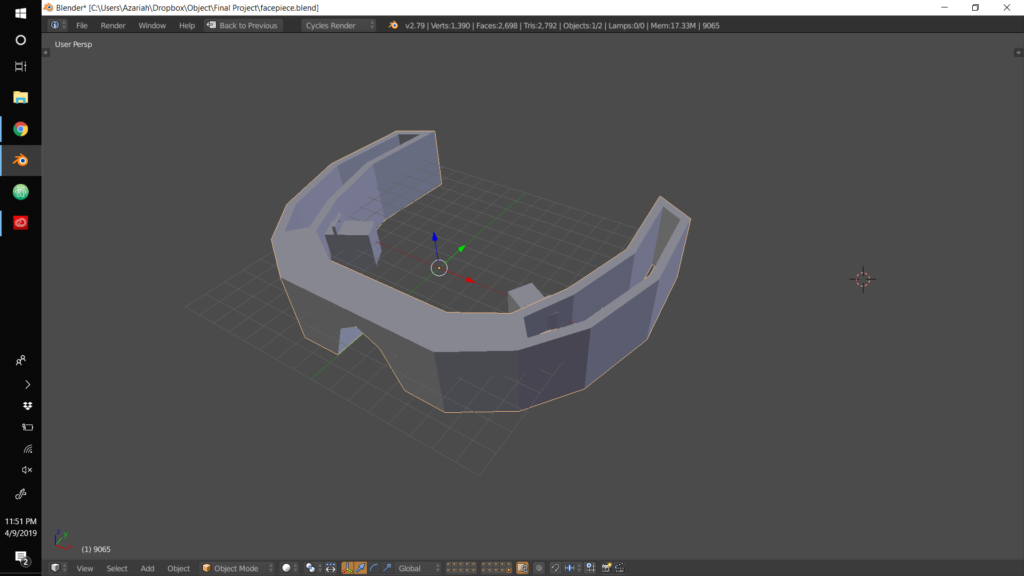
For the mask materials, I purchased some snowboard boots and have reformed those into the front part of the mask.
I also created an interior of the mask that will house the servos and actuating third eyelids. I opted for the third eyelids as they are more reptilian than eyebrows or eyelids. I created several iterations of these using cardboard but, due to most laser cutters not allowing particle board, I was unable to create a final cut of these.