Fabrication: Entry 4

Project Milestone 1

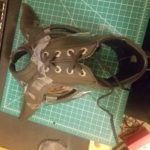
While the project has taken a  drastic turn from my initial plans when starting my warm-up project, it has come together nicely with manageable pitfalls.

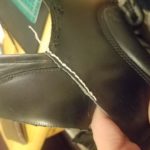
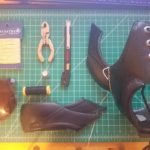
The first pitfall I came across was my lack of skill in working with leather. I have previously sewed several items with cloth, including pants, blankets and a doll. Leather, unlike cloth, is a very tough material that usually requires specialized tools to score the leather,  punch holes, and then stitch the leather. After looking into leatherworking most of the serious tools were more necessary for heavy leather, which the shoes I bought were not.

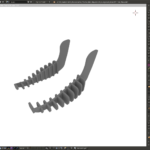
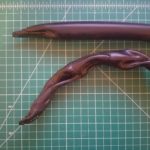
Another problem I came across was how to create the horns for the mask. My initial thought was to buy plastic tubing and then stretch the plastic into tapered horns. The type of plastic was fairly easy to decide on after a quick search on the available plastics at McGuckin’s. A propylethelene works best as it is thermoplastic, meaning it can be reshaped after heating, and does not release chlorine like thermoset PVC.

Unfortunately, plastic does not melt like metal and instead of stretching with gravity it tends to bunch up and become lumpy because of the uneven heating of a propane torch. I was able to create both a curled horn and a tapered one but both will need to be wrapped with cloth or leather. I may use metal or plastic piping to give a more stylized look instead of the quasi-realistic look I was hoping for with the plastic.

I still have a few changes which I may make going forward, including how the back of the mask looks, what the lights will light up to,  and how the jawbone will connect to the leather.


Fabrication: Entry 3

Project Details

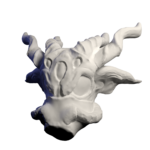
I want to make a mask that will light up and play a sound whenever a specific hashtag is used on Twitter. The mask will be made from recycled materials and in the shape of Shub-Niggurath, The Black Goat of the Woods with a Thousand Young, from Lovecraft’s mythos. Most of the mask will be made from recycled shoes and other leather items from thrift stores. The horns will likely be made from PVC painted black, unless I find some other horns, real or not. Lastly, the main eyes will be made from goggles, while the secondary eyes will be made from glass over LED lights. The electronics will be powered via battery pack and light up the eyes and play sound from speakers in the ears. Most of the mask will the held together by glue with additional decorative stitching as needed.

I took inspiration for this from Freehand Profits, who makes gas masks out of sneakers. I also wanted to keep continuity within my body of work and dark, goaty, Lovecraftian masks fit in nicely.

Materials:

Mask

  • Shoes/jackets/purses (mask material) – $50
  • Goggles – $10
  • Chicken wire (for structure) – $10
  • Glue – $10
  • Plastic piping (for horns) – $10
  • Glass marbles/pieces (for extra eyes) – $10

Electronics:

  • Led strip – $40
  • Battery pack – $8

Timeline:

  • Milestone 1: Finished schematics, bought materials
  • Milestone 2: Finished Electronics, all mask parts made
  • Final: Finished mask

App Dev: Entry 3

Project 1: Milestone 3

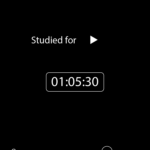
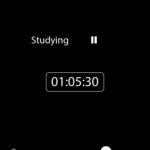
The final project turned out about as well as I hoped for. The sound cuts out and the timer stops when the app is closed. The colors I was also able to change to white on black which makes the app less inviting. I was also able to make the sound smooth even when all sliders were in use.

The coding is a bit unconventional. Instead of using the buffer from the audio engine built into swift,  I created  timer to add a new version of the audio clip after 4 seconds which will create a memory leak due to the clip being a tenth of a second longer than the timer. Originally, I stopped the audio player and restarted it each cycle but the delay of stopping and starting made the playback choppy.

The oscillation is also hacked together. The audio engine should be set up with an oscillator node but due to it complexity I created a timer that changes based on the volume and, using a sine wave, updates the volume every .1 seconds.

Going forward with the app, I would like to make the sound modulation better as the current sound becomes a whine when put up to higher frequencies. I would also expand the button area to encompass more of the screen. I would also like to add multiple frequencies that the user can choose from instead of modulating a single sound. Lastly, the app should tack study time and give a report based on the persons study habits and give advice to study more, study less or invite the user to get a different app if they are using it for sleeping.

Fabrication: Entry 2

Warm-up project.

I spent most of the past three weeks learning about how Arduinos work and howTwitter’ss API can be utilized. Unfortunately, I underestimated the amount of debugging that would be required for the final assembly as well as the consistency of learning materials out there. Initially, I attempted to build from Sparkfun’s LED-connected Cloud but I decided against that and instead tried to recreate a twitter reader using the same setup. I was able to get the code to where I believed it would work and relegated the Twitter API and parsing to a web server.

The web server was actually the easiest part as most of the code was already written by someone else here. (Thank God for good documentation). Unfortunately, I cannot put it in here due to WordPress being written in PHP as well.

For the Thing, I used the HTTPClient and WiFi libraries from ESP8266, the chip on the Thing. The Thing would ping my web server every 5 seconds and the server would respond with the number of seconds since the last twitter I sent.

// Included Libraries
#include <ESP8266HTTPClient.h>
#include <ESP8266WiFi.h>

void setup() {
     // put your setup code here, to run once:
     // Set up Wifi
     Serial.begin(9600); //Serial connection
     WiFi.begin("", ""); //WiFi connection
     while (WiFi.status() != WL_CONNECTED) { //Wait for the WiFI connection completion
          delay(500);
    }
}
void loop() {
     // put your main code here, to run repeatedly:
     if(WiFi.status()== WL_CONNECTED){ //Check WiFi connection status
          HTTPClient http; //Declare object of class HTTPClient
          http.begin("http://api.akierson.com"); //Specify request destination
          http.addHeader("Content-Type", "text/plain"); //Specify content-type header
          int httpCode = http.GET(); //Send the request
          String payload = http.getString(); //Get the response payload
          http.end(); //Close connection
          // Send out to LED
         Serial.write(payload.toInt());
         Serial.write("\r\n");
    }
    delay(5000);
}

The Mini would then take the Serial input and put it to the LEDs as the number of lit up LEDs.

#include 

// Pin definitions
#define CLOUD_A_PIN       6

// Number of lights, pin number (6), 
Adafruit_NeoPixel strip_a = Adafruit_NeoPixel(60, CLOUD_A_PIN, NEO_GRB + NEO_KHZ800);

int ledsLit;

void setup() {
  Serial.begin(9600);
  
  // Configure LED pins
  pinMode(CLOUD_A_PIN, OUTPUT);
  pinMode(8, INPUT);
  
  // Clear LED strips
  strip_a.begin();
  strip_a.show();
}

void loop() {
  char outputLED[3];
  char inChar;
  int index = 0;
  while(Serial.available() > 0)
  {
      if(index < 2) // One less than the size of the array { inChar = Serial.read(); // Read a character outputLED[index] = inChar; // Store it index++; // Increment where to write next } outputLED[index] = '\0'; // Null terminate the string } String input = String(outputLED); if (input.toInt() > 0){
    ledsLit = input.toInt();
  }
  int i;
  for(i=0; i < ledsLit; i++){
    strip_a.setPixelColor(i, 127, 127, 127);
  }
  for(i=ledsLit; i < 60; i++){
    strip_a.setPixelColor(i, 0, 0, 0);
  }
  delay(2500);
}

The physical creation was surprisingly easy to create from the supplied schematics and I assumed that the original creators would use some standard practices with their schematics. Unfortunately, they didn’t use the attached serial pins and opted for digital ones and their images of the project didn’t match the schematics. The final problem I ran into was the power supply. A 5V 4A power supply is hard to find. Luckily, I was able to find one at the last second in my junk drawer.

Ultimately, this project was a failure for me as I have no experience with electronics and the jargon surrounding it. I also severely underestimated how long debugging would take when using physical components. I think, given another few attempts, I will be able to create a functioning prototype.
App Dev: Entry 2

Project 1 Milestone 2

Prototyping.  As far as apps go the interaction will be fairly simple: the user loads up the app and can then turn the noise on or off with the timer resetting each time the app is stopped. I was thinking about adding more functionality to add a count down timer so the user could study for thirty minutes but given how bad I am at prolonged work, I think the simple time keeping is enough to keep users on task.

The design of the app is white on black as opposed to the usual black on white. The mostly black design will be less distracting while also providing constant reminders of how little much time has passed. I decided against the previous pastel coloring as it appears to inviting and users may be tempted to pick up their phone if they see anything on it.

The sliders each control a metric of the white noise: the volume, the volume oscillations, and the pitch or Hrz. The pitch and the Hrz are built into the Apple Audiovisual SDK. The volume, I may remove as it is redundant because of the external buttons.

I have run into several road blocks on creating white noise using Apple’s SDK. Chiefly, the noise generators, while easy to understand then expected, are primarily designed for single notes which might make a jingle or help in creating an equalizer. White noise, however, is a random sampling on noises primarily around one note but with enough randomness as to not be musical but itself.

Link to Invision prototype: https://invis.io/XWOE9BWN4US#/323587385_Untitled-1_Opened_Copy

German: Entry 1

Reflective Paper 1:  Death Fugue by Paul Celan

Definition:

Death Fugue by Paul Celan is one of the most intense poems written after the Holocaust. It is rife with contrasts and deeper meaning as well as references to other literature pieces. The poem was written after the end of World War two by Paul Celan, a Romanian Jewish man who survived Auschwitz and some of the worst parts of World War Two. He grew up in the short-lived kingdom of Romania and was moved, along with most of the Romania Jews, to ghettos before being moved to concentration camps. After the war, he moved to Western Europe to avoid the communist regimes.

Reflection:

The poem, aptly and perhaps, redundantly, is called Death Fugue. Todesfuge, in German, calls back to the repetition of a motif found in fugues. In the poem, the lines “Black milk of daybreak we drink it at evening / W drink it at midday and mornings we drink it at night/ we drink we drink” are repeated, with slight variations, at the start of each stanza. In the fugue, the post motif part is called the episode. It is paralleled by lines about the overseer and him writing back to German, presumably to his golden-haired Aryan lover.

The use of Margaret is a callback to the German ballad of Faust, most notably interpreted by Goethe. Margaret, or Gretchen as she is often called, represents an ideal, Christian, German woman with blonde hair and blue eyes. The antithesis, as written in the poem, is Sulamith, a stand-in for the typical Jewish woman. Interesting her hair is referred to as “ashen”, which is not typical black that Jews typically have.

There are several contrasts in the poem, notably the black milk. The contrasts are also shown in between the golden-haired Margaret and the ashen hair Sulamith. Subtler is the contrast between digging a grave and being cremated and having a “grave the in the clouds there you won’t lie too cramped”. Also, there is a contrast between the character of the narrator and the overseer who, given the context, led very different lives with very different belief systems.

Contextualization:

While a lot of German writers in post-war Germany were German veterans, Paul Celan stood out as a Jewish German Holocaust survivor. His writing was more emotional and displayed the horrors of war in vivid detail. He also told his poems with deep emotion that could only be achieved by someone who lived through the things he wrote about. Many of his contemporaries disliked his writing for this reason. One instance is told about when he went to read for some of the leading Trummerlitertur authors and they laughed him off stage for trying to express his experience of the war with emotion.

Conclusion:

I think the Death Fugue is one of the most moving poems out there and I would be hard pressed to find a better author for it. It is unlikely that the Western world will ever have such authentic expressions of pain and horror anytime soon, god willing.

App Dev: Entry 1

Project 1

Requirements:

  • Single View App
  • Creative idea or concept
  • Focus on how the design and interactivity flows for the user
  • Larger than a lab
  • Support device configurations
  • Be complete with a launch screen and app icons

One page app. One much can I actually fit on a single page? I’m not much of an apple fan so the limitations of the device are new to me. Originally, I wanted to create an app that would track phone usage by apps and give daily/weekly/monthly reports on how much time is being wasted. However, Apple doesn’t offer that kind of functionality in iOS 11. Next, I looked at tracking personal data that the user input, such as fitness, food, money, or general goals. Alternatively, I was thinking about making a card based app that would show pictures of a particular category, say cute cats.

After some more refining, I decided against having a data tracking app as it would necessitate at least two screens for data entry and data review. My last idea is for a simple white noise app, four buttons for four levels of white noise, add a timer to give a sense of accomplishment for not using your phone and, voila, a finished product. I like the idea of having a simple timer with white noise because that is how I generally study.

Similar apps already exist but most of them are geared toward sleeping and putting children to sleep rather than studying. Additionally, most of them had excessively complex layouts with extra featured related to sleep. The one I did like was called fuzzy but it was only a white noise generator.

For this app, I will need to look into modulating volume and pitch via Swift. I may also want to periodically change the background image depending on the pitch. The timer I may give the functionality to count down from a set numberUntitled-1-01.png

Fabrication: Entry 1

Inspiration

Today, I start my warmup project for Studio: Fabrication. For my final project, I hope to make an Internet-connected lamp that will light up based on some data stream. Currently, I am looking at the larger data streams such as Facebook, Google, and Twitter. However, as the lamp is likely not going to be an installation piece, I am leaning toward more localized data, such as weather, tides, or personal Twitter/Facebook feeds.

My first idea for this was a small lamp/oversized paperweight that would mimic local tides with a miniature wave pool. Similarly, I was thinking to simulate the weather with an automated snowglobe that would start snowing when snow was forecasted for the next, say, five days. Unfortunately, both of these require an airtight container for continued functioning.

As for larger data feeds, I was thinking about doing a twitter happiness indicator. Maybe a globe that shows where people are using the happy emojis in real time. This would be similar to Jell-O’s happiness billboard they did a while back. Other similar globe based ideas would present a challenge as I can only feasible have so many lights on the globe due to monetary constraints.  Similar, I could have a light up book that shows updates to Wikipedia.

Alternatively, I could focus more on the representation of the incoming data in a unique and artist way as opposed to finding an interesting data stream.

In the end, there are certain constraints I need to hold to: the project can’t be too large,  the data stream needs to change multiple times a day, the data stream can only have a few dimensions, the final form of the lamp needs to be related to the data stream displayed


Form: Entry 16

Project 4: Final

Rules:

  • Papercraft

Final:

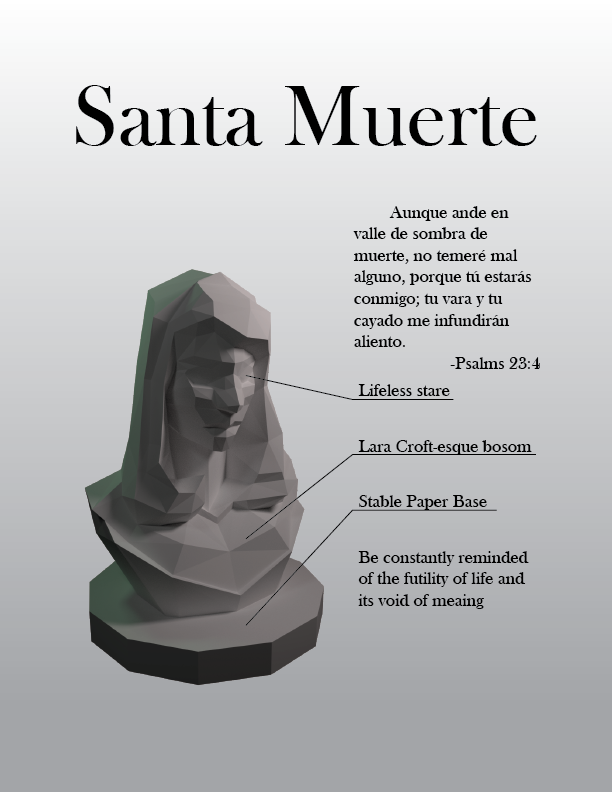
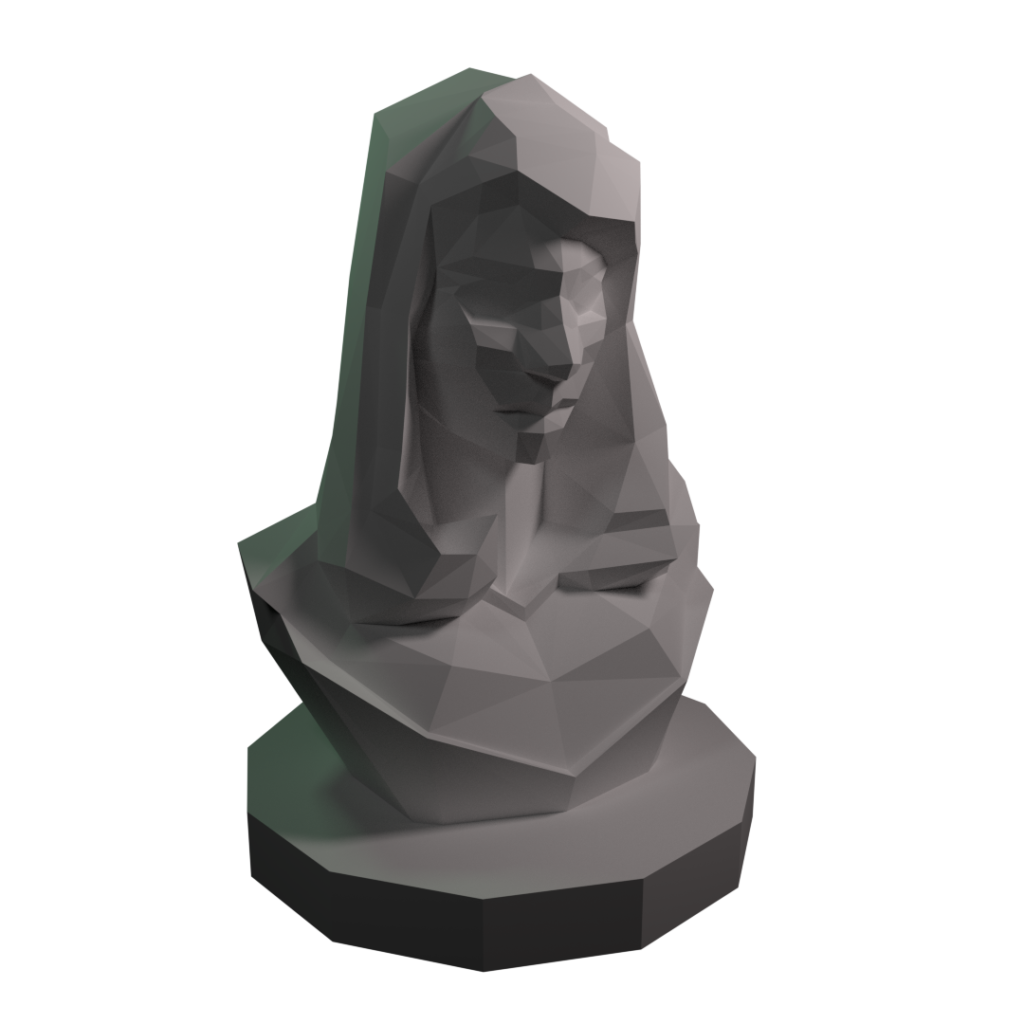
Title: Santa Muerte

Tagline: Hasta la Muerte

Artist’s Statement: (Psa 23:4) Aunque ande en valle de sombra de muerte, no temeré mal alguno, porque tú estarás conmigo; tu vara y tu cayado me infundirán aliento.

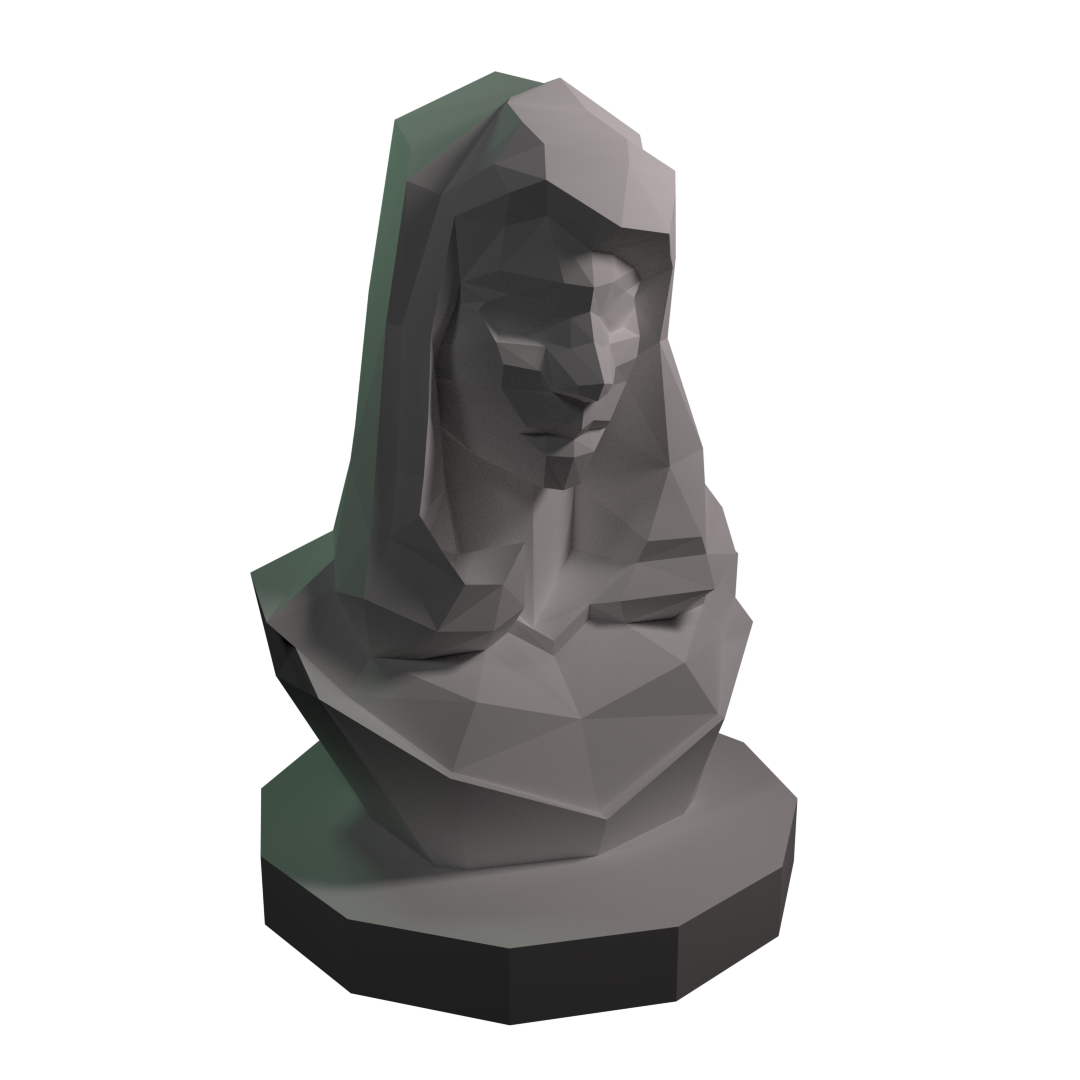
The model was easy to make. However, difficulties arose when I attempted to use the Pepakura software. The software is mostly well made but lacks a few crucial elements that are pronounced at high polygon solids. For example, the software assumes the paper is infinitely thin which makes folding because very inexact as the more folds there are. Additionally, the software fails to account for the size of the flaps and will occasionally place flaps on top of each other or make them too large to fit under the faces they should. It works fine for low poly solids, but then again so should the native UV mapping in most software.

Form: Entry 15

Project 4: Sketches and Moodboard

Rules:

  • Papercraft

Inspiration:

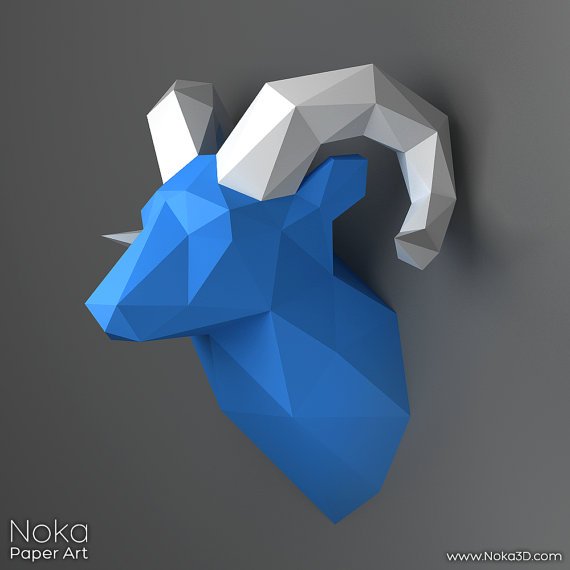
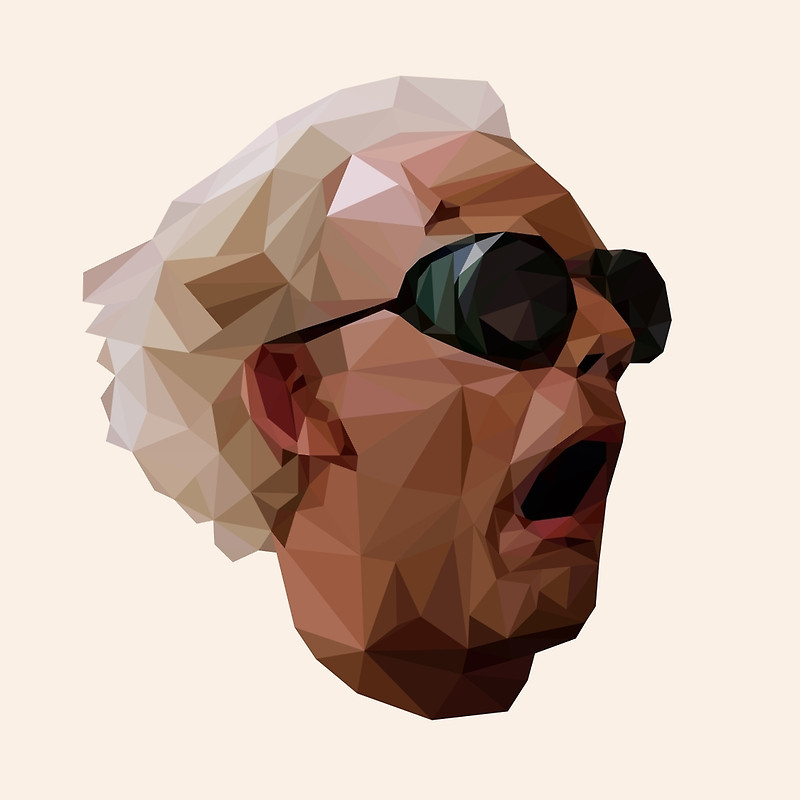
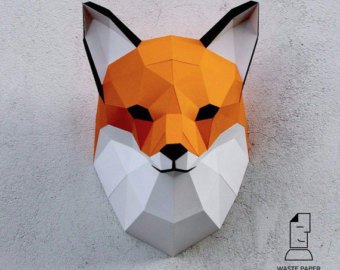
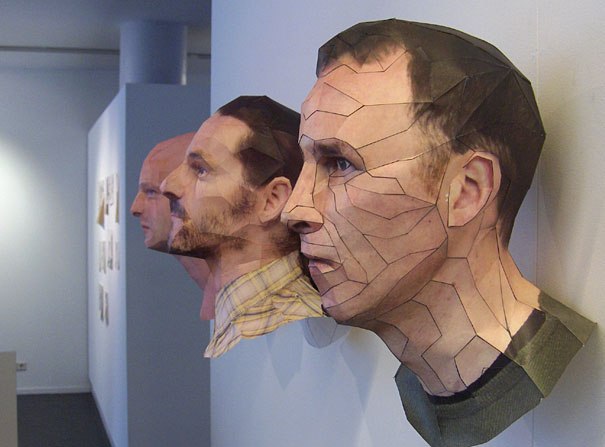
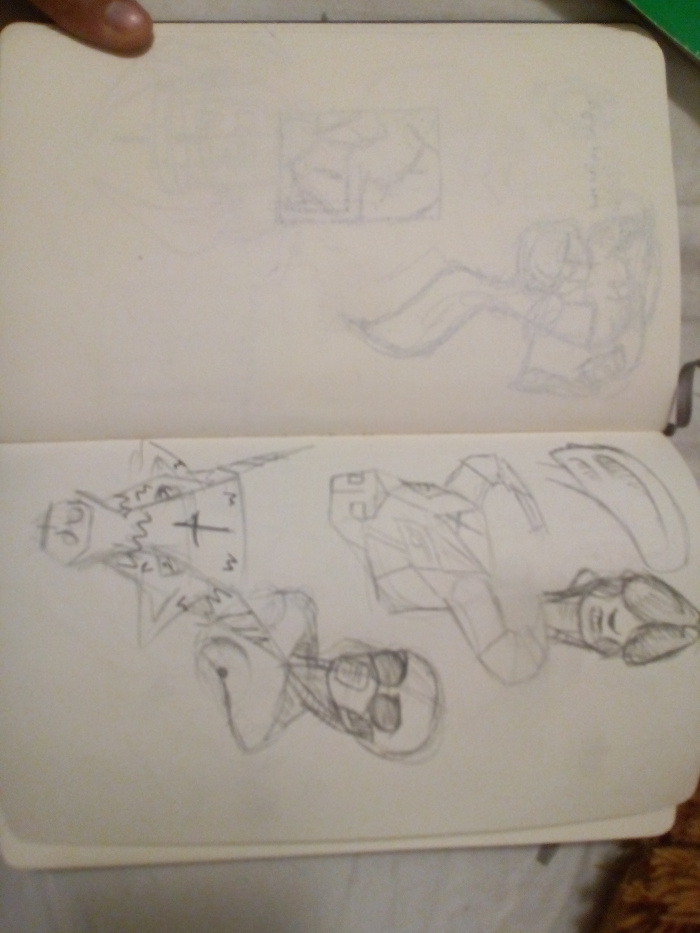
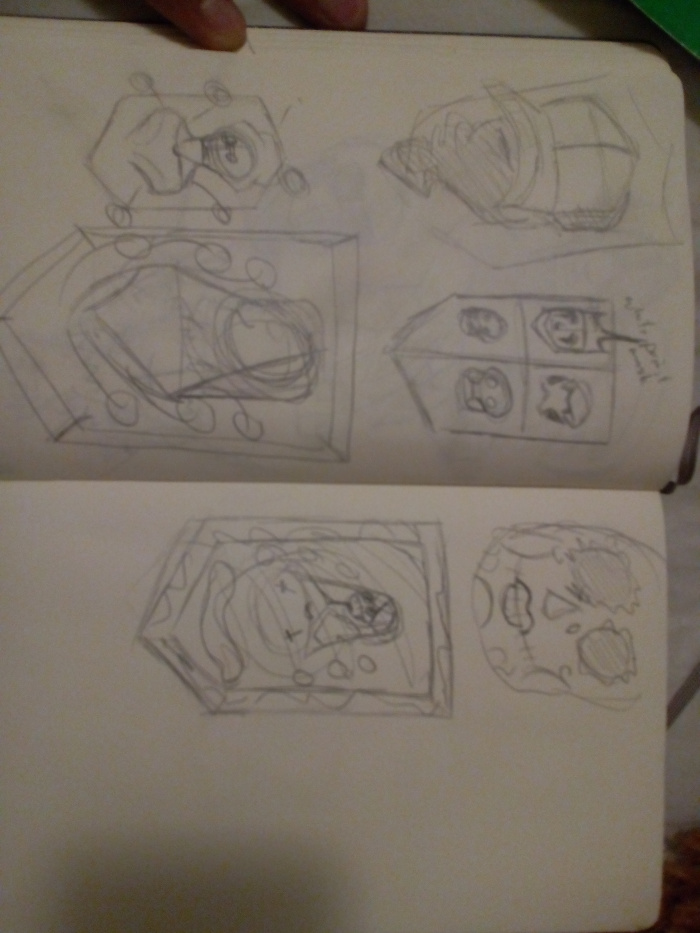
I wanted to keep the dark theme of most of my projects; however, I had already made a Satan’s head so a lo-poly papercraft goat head was out of the question. Instead, I opted for a Santa Muerte 3D portrait or possibly a sculpted bust depending on the how well the paper holds up.
I decided on Santa Muerte because it would be interesting to add cuts to the face for the black makeup as well as other features. My other plans were for a more detailed background but, I assume, that small features are harder to create than larger ones.

.