Capstone: Entry 10

Prototypes 3: The Final Entry

Technical

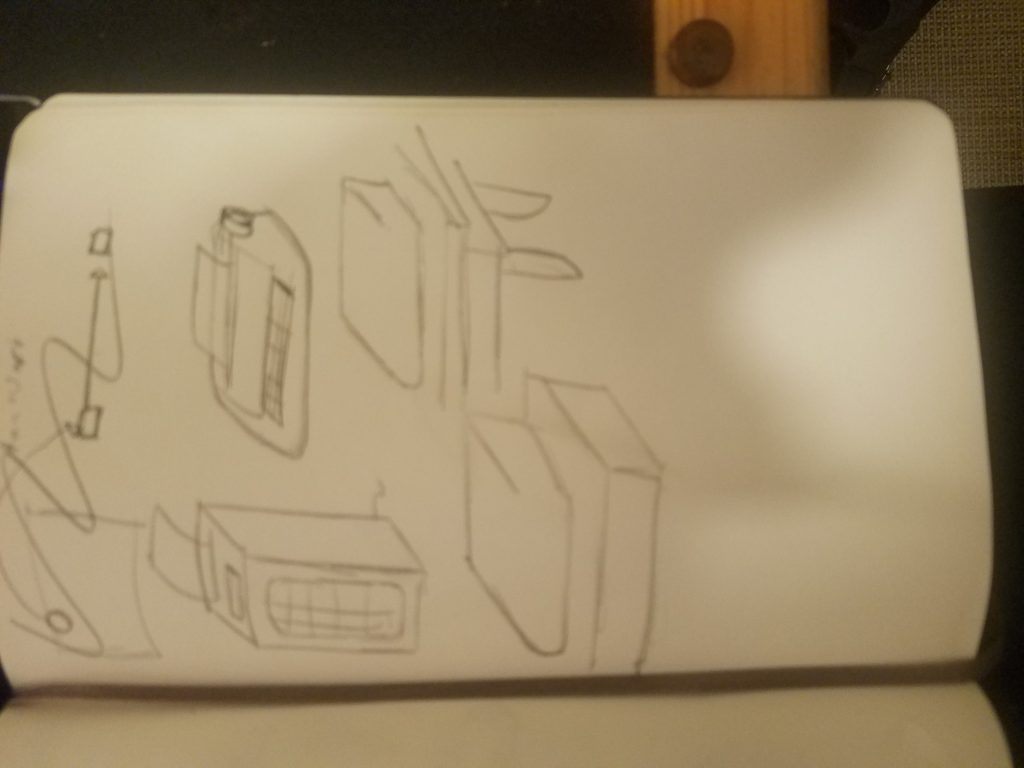
For this set of prototypes, I looked further into how to hook up an Arduino to my typewriter. At first, I tried to set up a matrix assuming that one of the pins was for power and ground. Assuming this, I wrote out the matrix for the lettering as matric in Arduino. This wouldn’t work and I will likely move others to a four-pin output.

An additional note about this is that there are several keys – SHIFT, CAPS LOCK, and CODE – that need to be pressed in conjunction with another key in order to work.

All pins connected

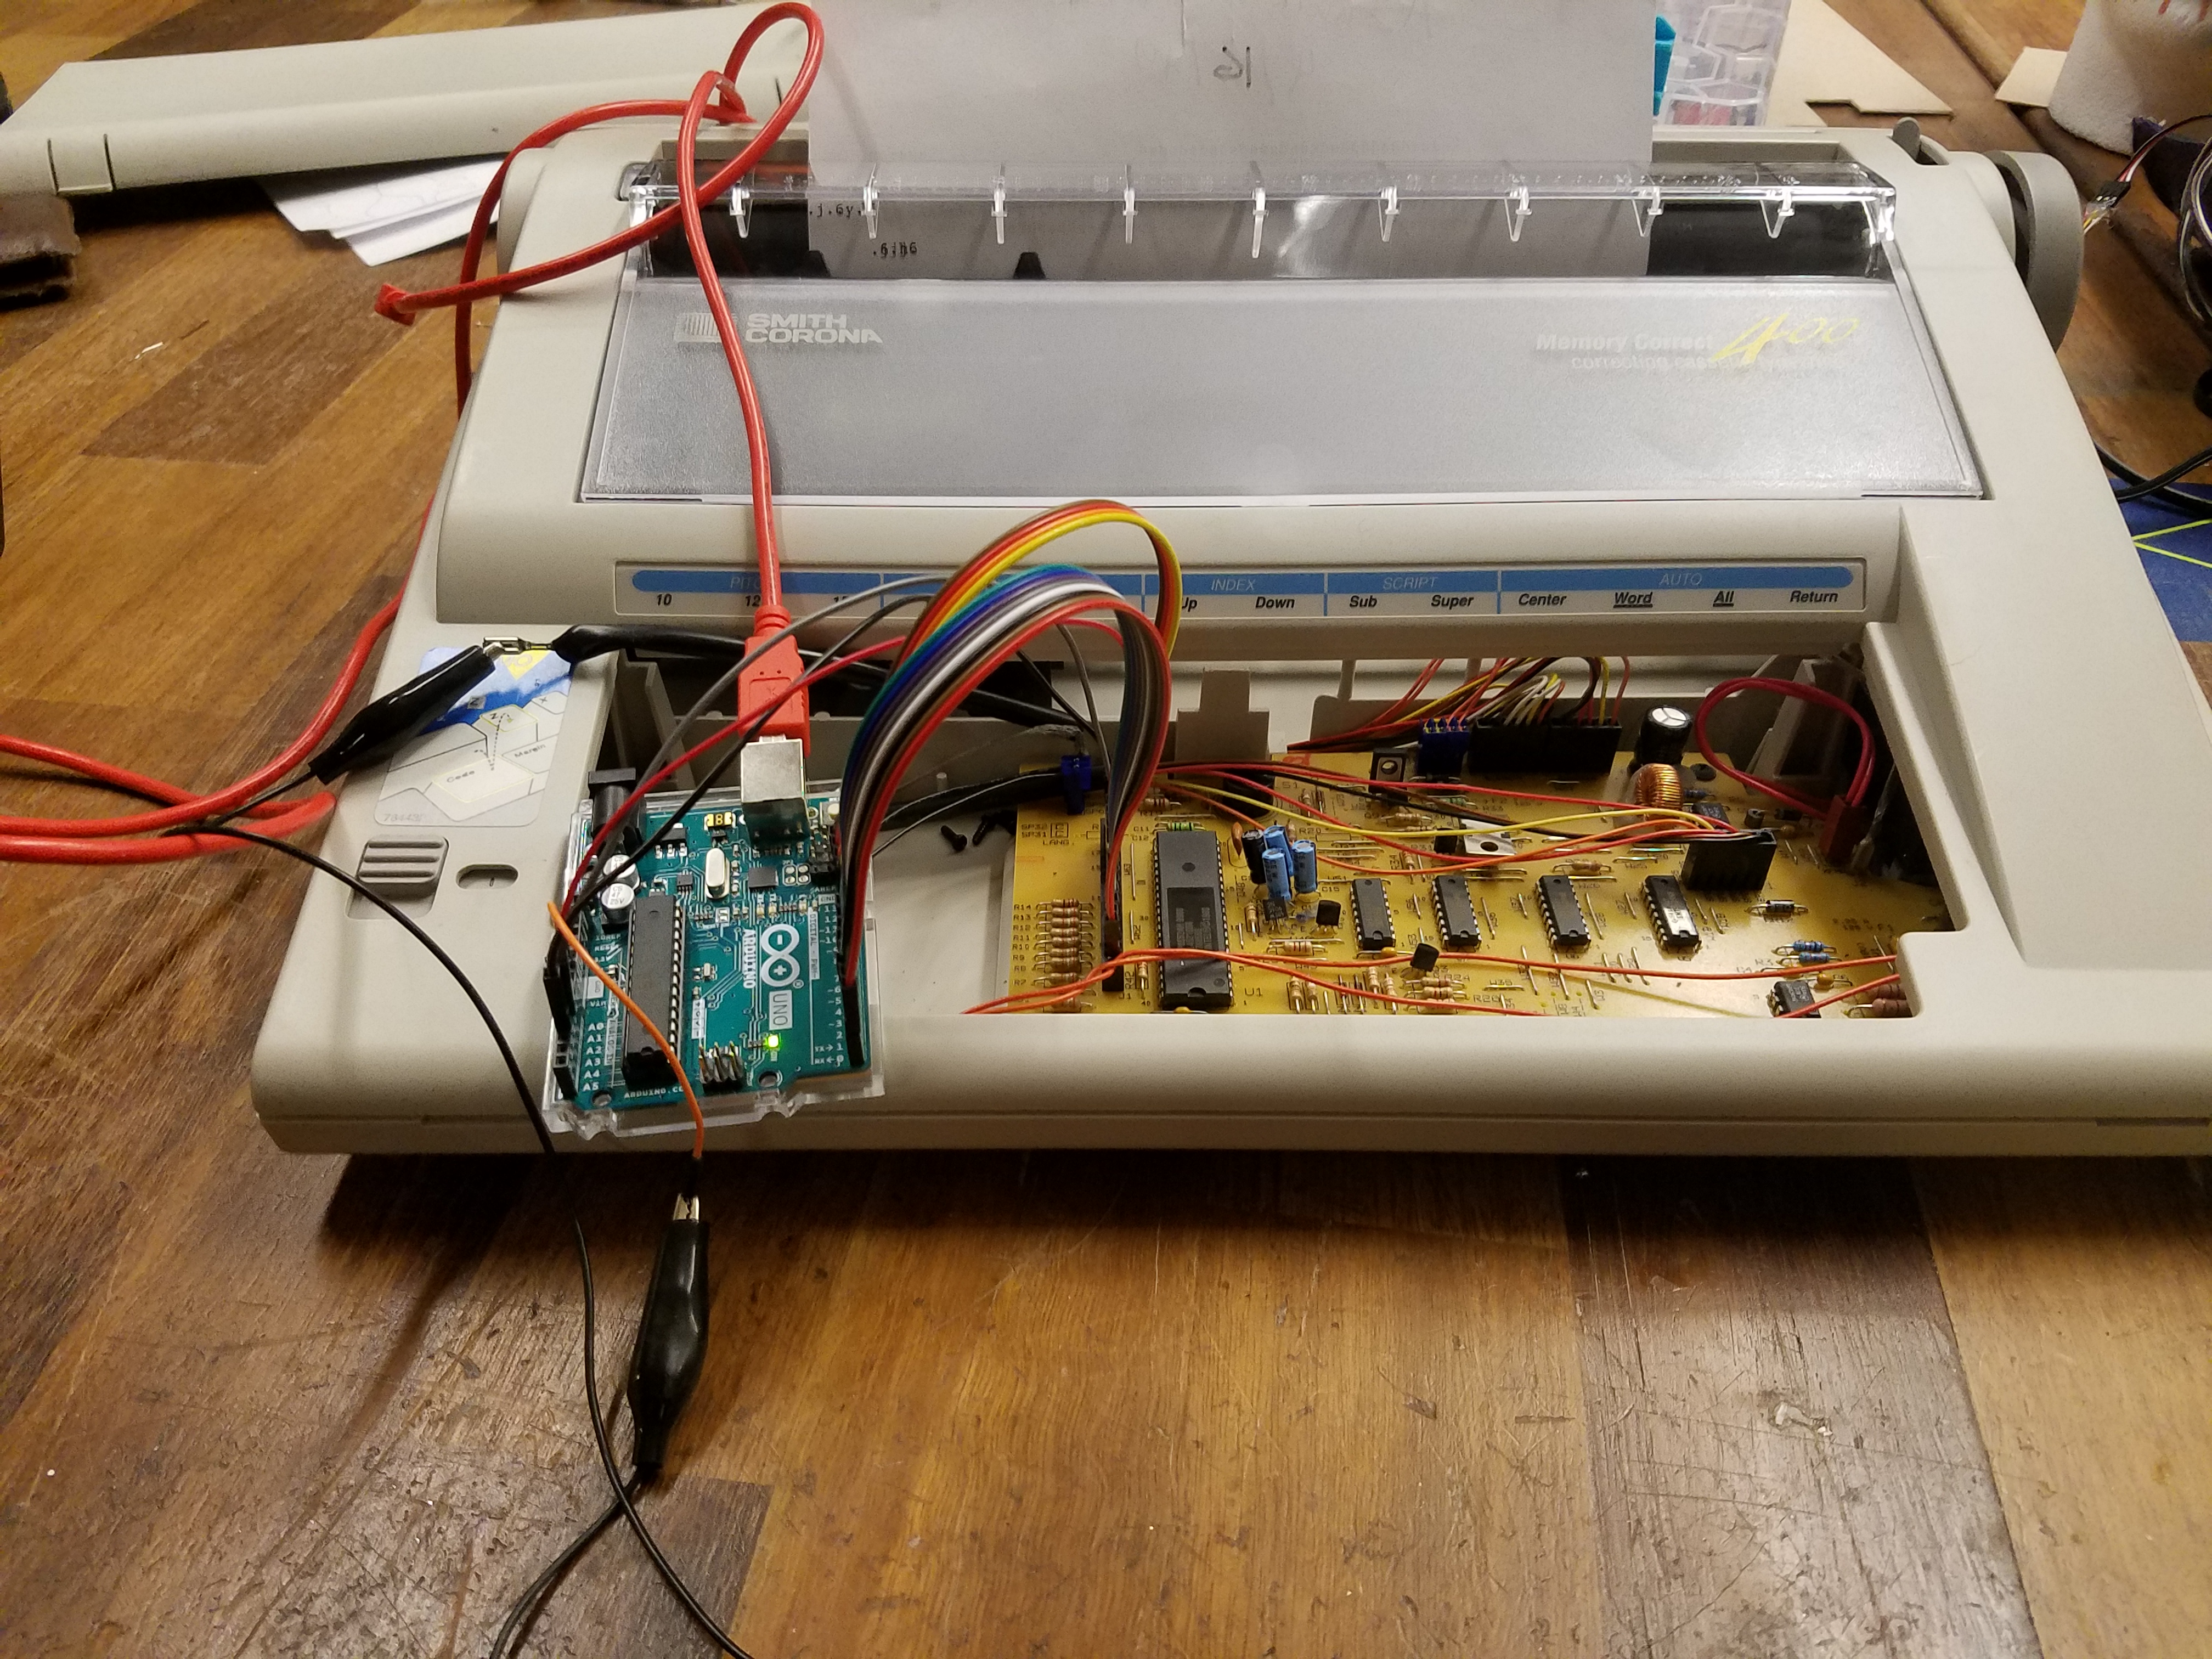
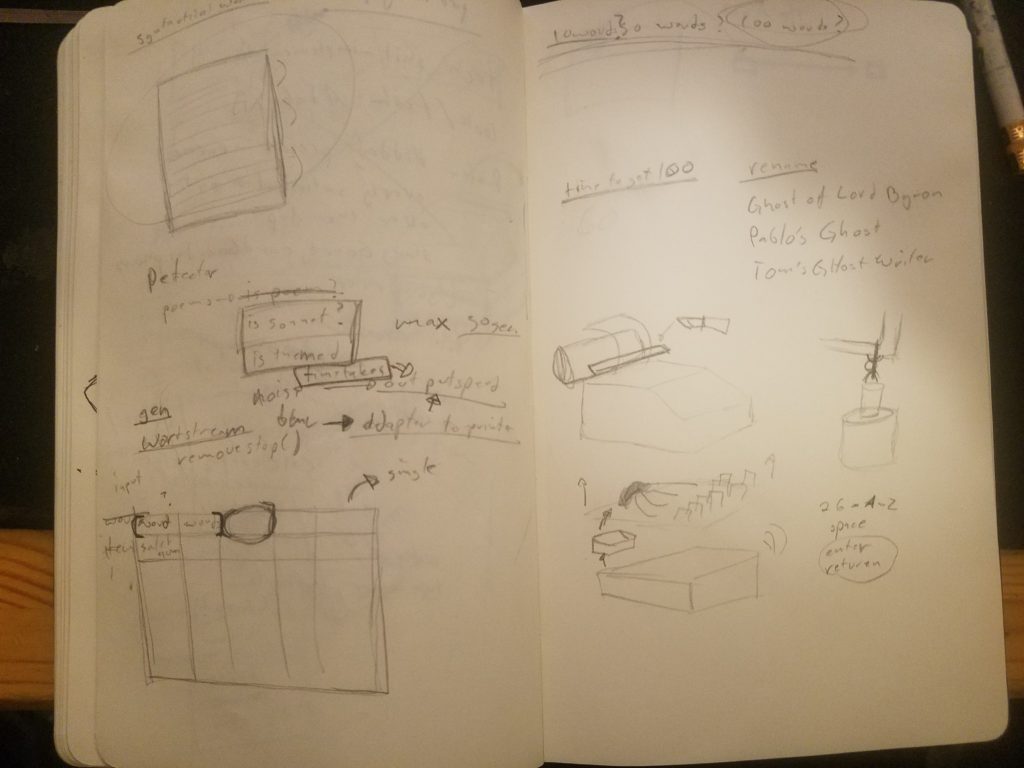
This didn’t work as the keyboard was mostly mechanical and half of the pins were actually grounds. I switched over to using transistors. Given the number of transistors needed – at one per key, I looked into buying PCBs and how I would wire up the 30 transistors and pins needed. I ran into additional problems as the 1980’s typewriter’s ground was in the back of the machine and not built as a pin into the IC.

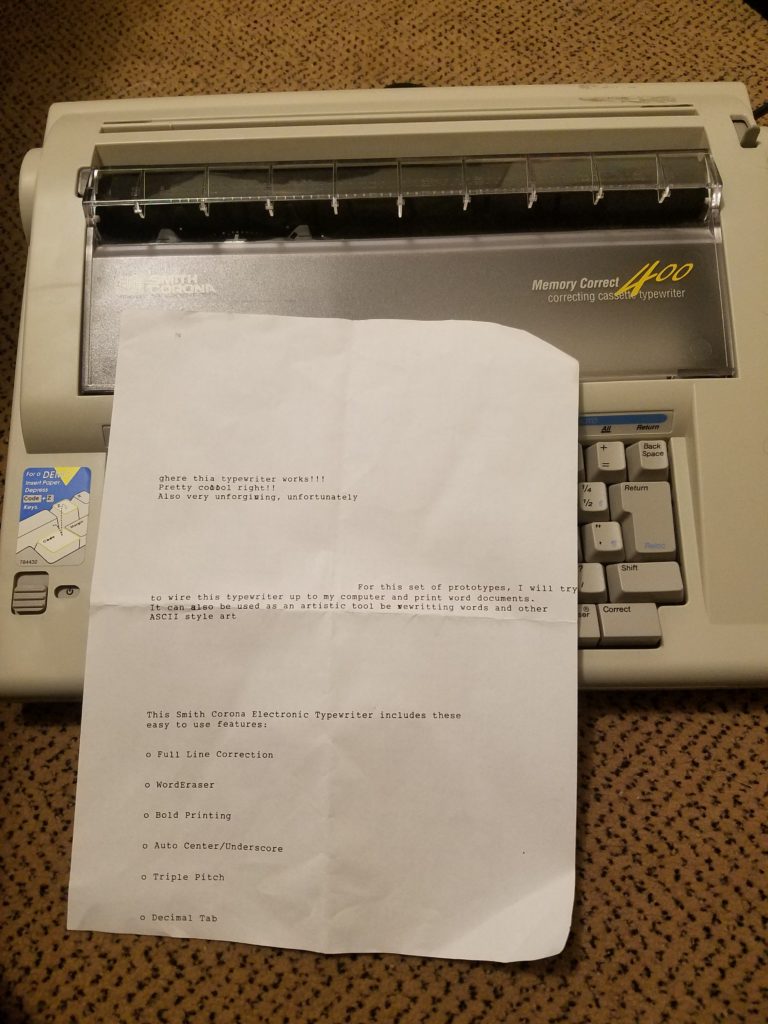
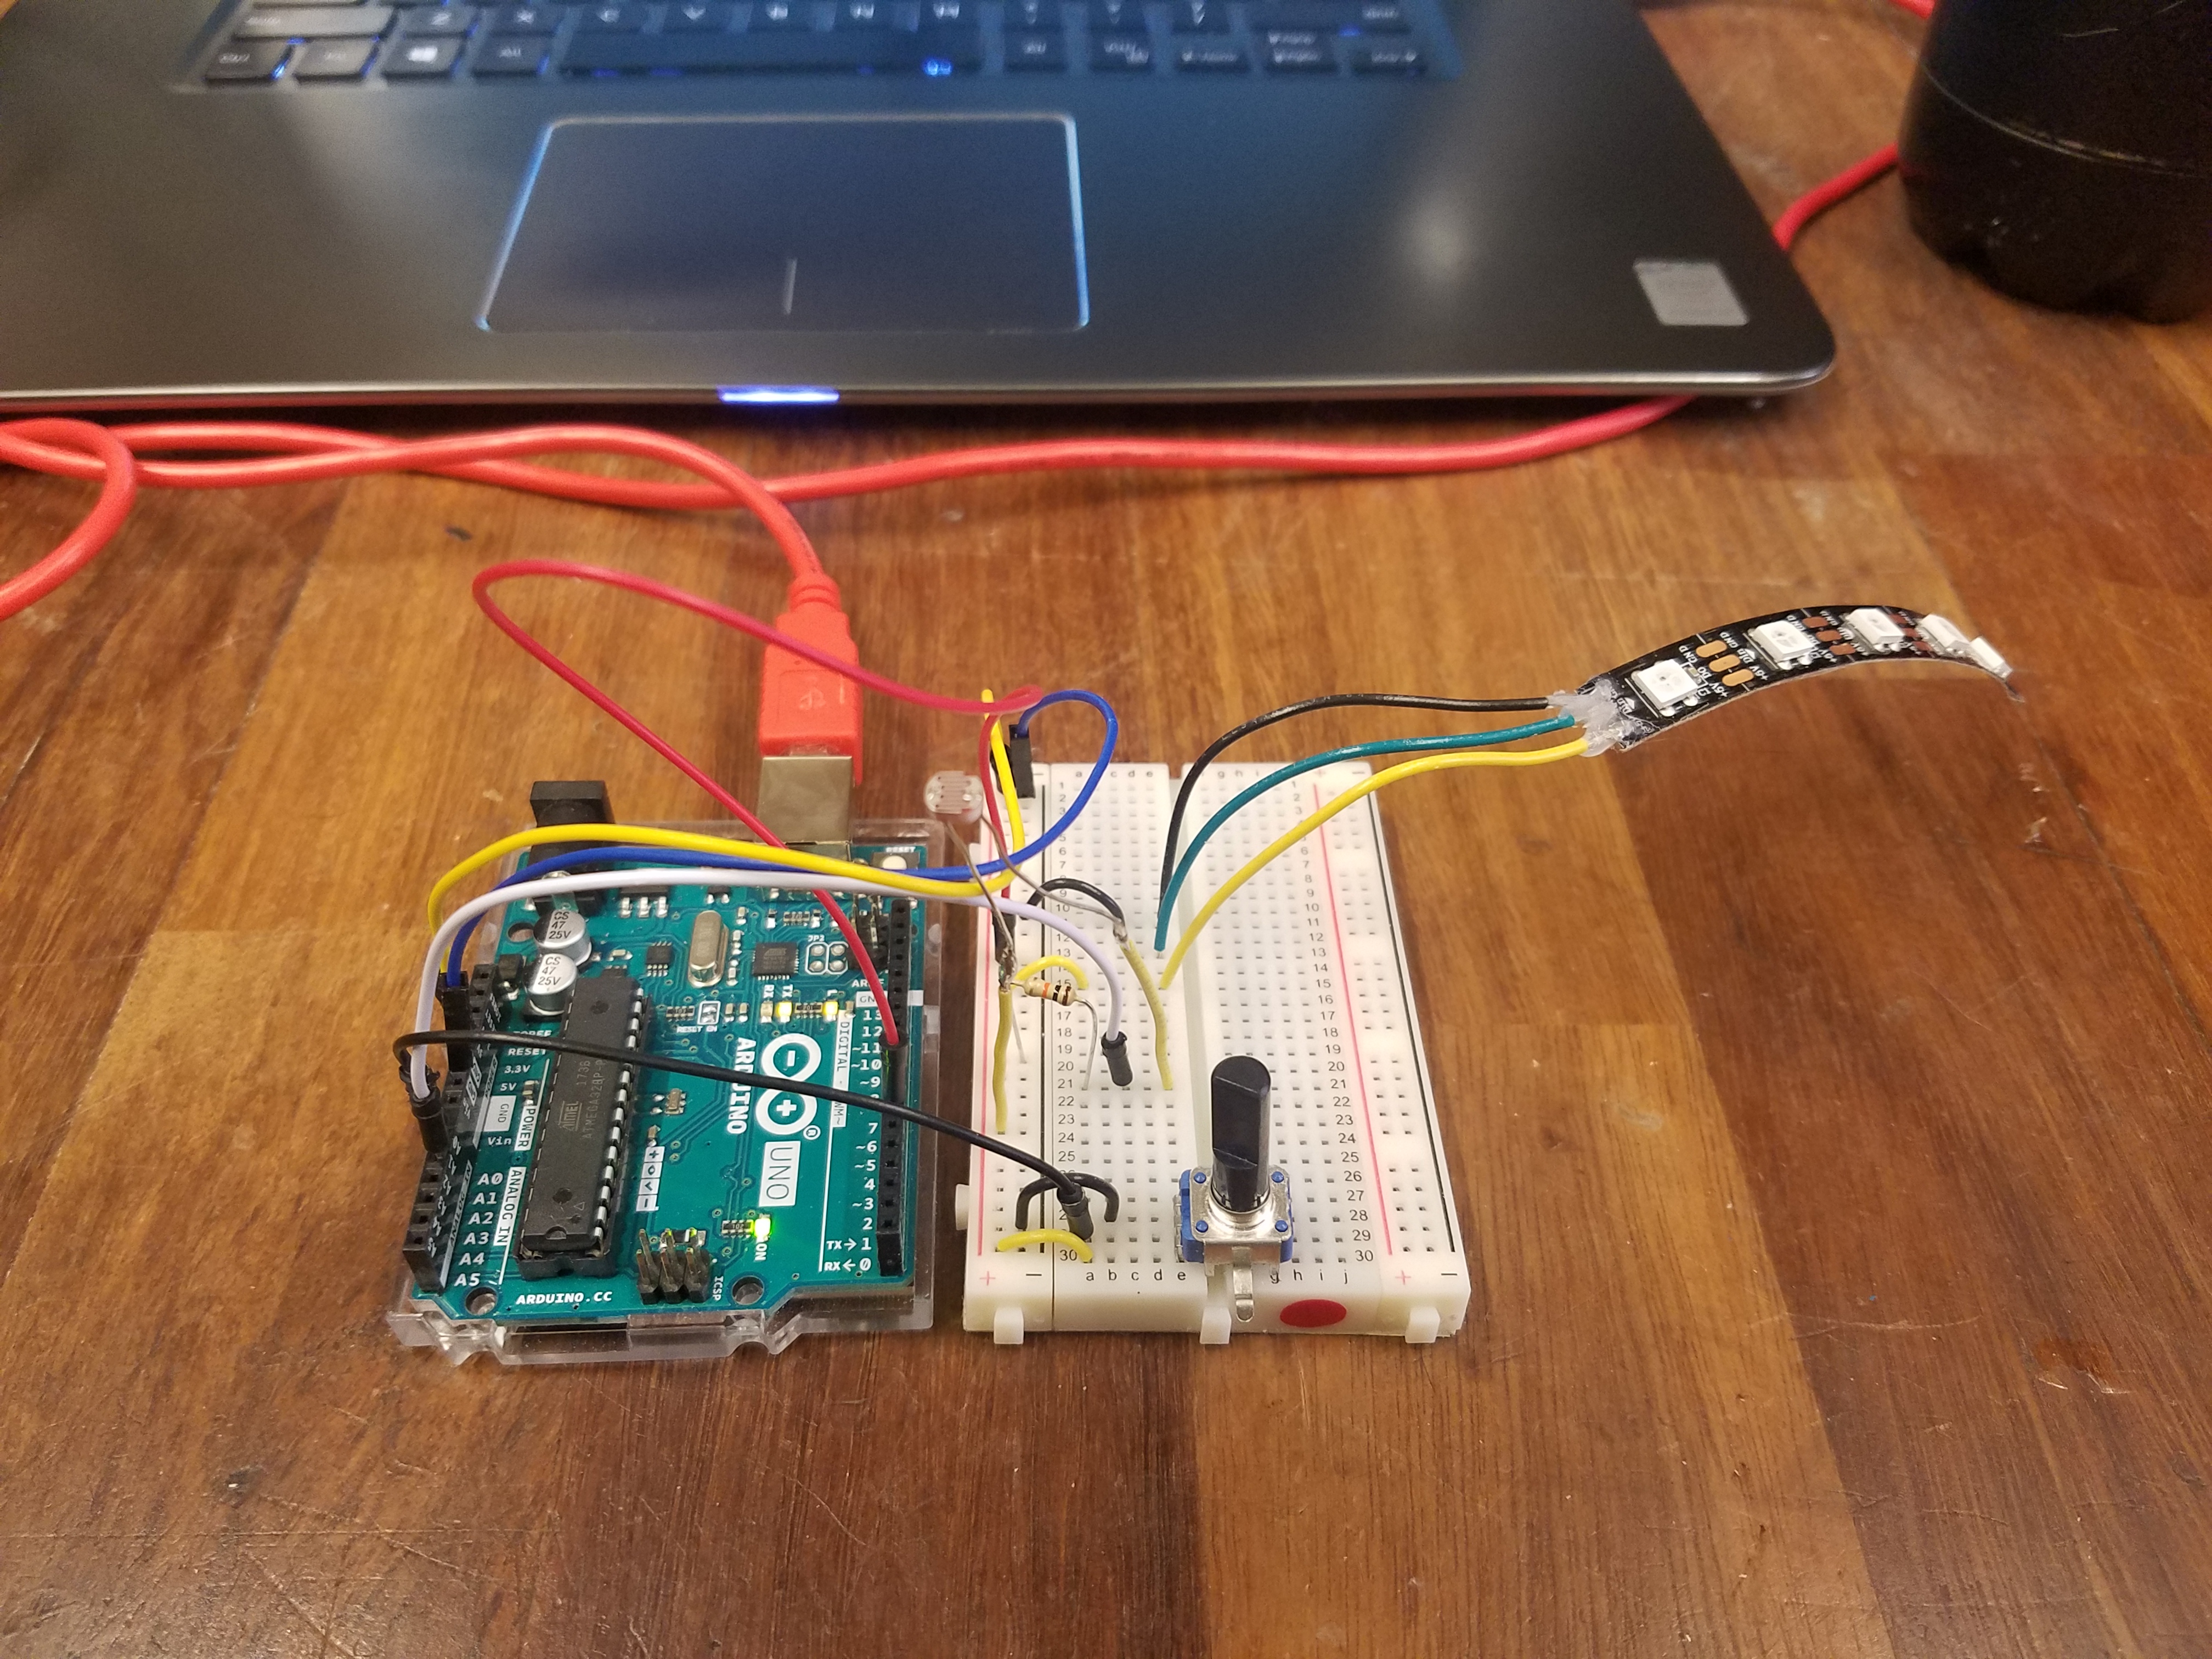
The code to run this was fairly easy. The one problem was testing how long the button should be pressed in order to only output one keystroke. I found the system works between 50 and 300 ms but 1s will fire multiple times and 10ms will not fire the key.

Circuit running

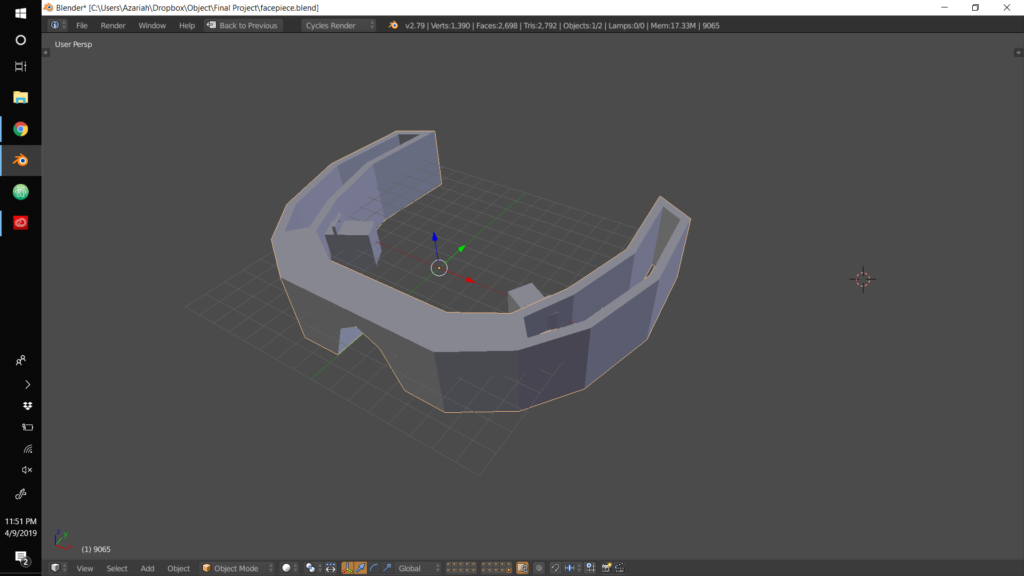
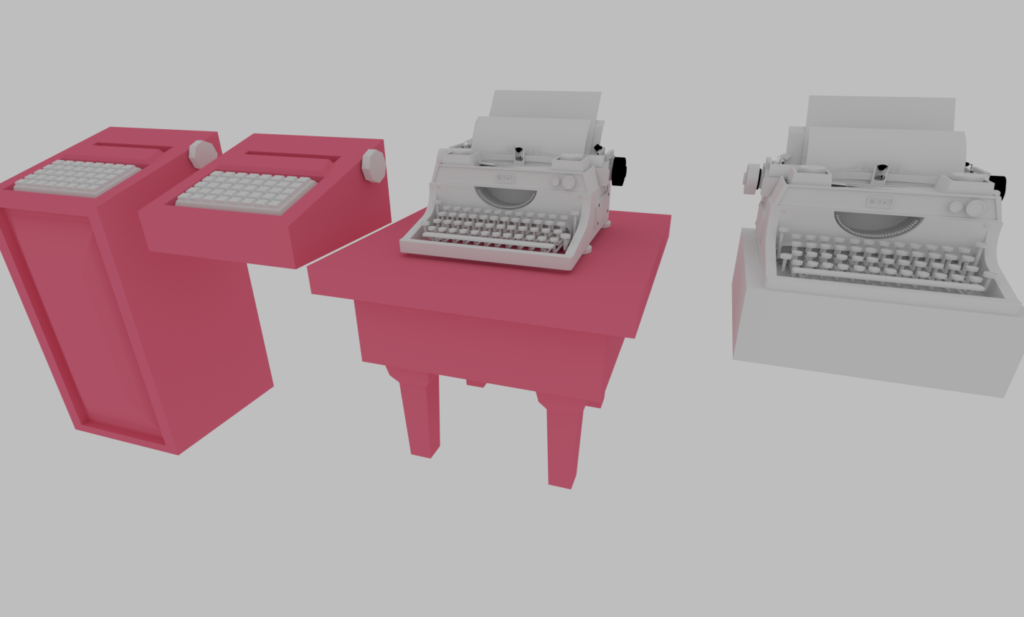
I started to learn EAGLE and other CAD software to create a keyboard that could be attached to an Arduino. this PCB would have

If I was to use a regular Arduino I could add an increased number of transistors and create a binary code to switch between various numbers. This would require more coding than is totally necessary.

Role

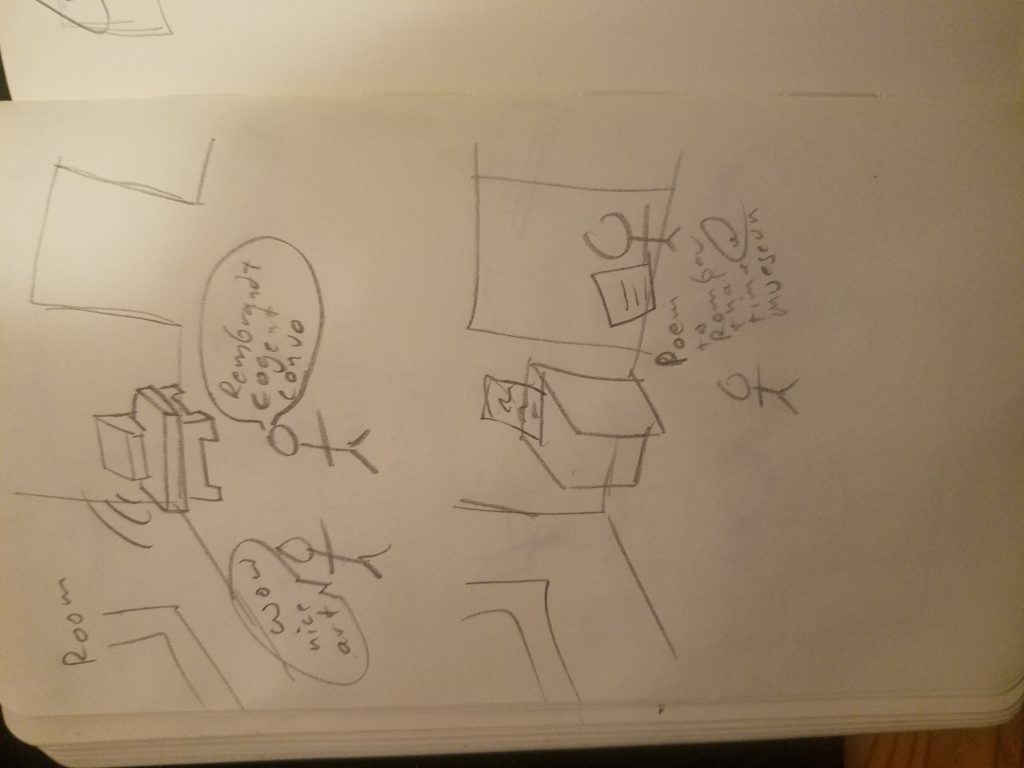
I also worked a bit on the role of the projects. Beyond just being an art installation, I thought some more about where it would sit and what sort of people would be near it. If I were to install it in a nearly silent gallery, the generator would not always have a large enough corpus to read from and would start to spit out very generic poems based on the starting corpus. Conversely, if I put the machine in too loud of a place, the ambient noise would be too distracting for the machine to run and complete sentences could not form in the corpus.

Thinking more about the statement of the machine, I looked into putting the project in an open mic night and having the poem create a meta-poem about the night. Alternatively, I could read the poem as my own at the end of the night and see if I could pass it off as the genuine proof of human emotion.

Capstone: Entry 9

Prototypes 2

This round of prototypes was to expand on the first round and look into what worked and what didn’t work. Mostly, I worked on the techical implementation of the project and less on the role and look and feel. The role, I feel is fairly settled as an art installation piece. On the other hand, the look and feel will be heavily dictated by what is technically possible and what parts need to be incorporated into the project. Additionally, as the project is not handheld nor physically interacted with, the look and feel is not a primary factor in its usability.

There were two parts to my prototyping: coding and fabrication. In the last round of prototypes was able to write a Markov text generator that produced poems based on a large enough corpus. For this round, I worked and using speech recognition. This was a lot easier than I anticipated as most of the machine learning required for speech recognition was already done by Google and I was able to just use their API.

Link to github:
https://github.com/akierson/capstone-prototype

The fabrication was a bit harder. The typewriter I had purchased was luckily in perfect functioning order and all of the electronics and mechanical parts did not appear on their last leg despite being several decades old.

Testing out the typewriter and realizing I rely heavily on the backspace key

After testing that it worked, I tried to look for schematics on how they were wired. I was hoping to bypass the keyboard and only use the carriage for printing but I was unable to find any and the manufacturer has yet to contact me back.

I did try to hook up an Arduino to the carriage wiring but the Arduino was did not provide enough voltage and I was unwilling to try the 100V+ that some people online suggested.

Next, I took apart the keyboard to see if using solenoids was possible with the keyboard. I had expected the keyboard to have a mechanism more similar to today’s mechanical keyboards, but it instead had a rubber pad and keys without springs, instead relying on metal tabs to push the keys back up. The keys also have individual cases for a peg underneath them which I could potentially use to house a solenoid instead.

The smallest solenoids are about 12mm by 20mm with a 4mm pinhead. The head could easily take the place of the key peg and, with some sanding, the solenoids could replace the peg housing.

Object: Entry 8

Progress Report

For the mask, I have obtained all of the sensors, most of the actuators, and all of the outer mask materials. Fortunately, all of the actuators use a simple analogRead to get input and all of the actuators I have worked with before.

As you can see the Myoware sensor output an analog signal that was easily mapped to the Neopixel.


Myoware Sensor in action
Pulse Sensor in action
Pulse monitor and servo in action

For the mask materials, I purchased some snowboard boots and have reformed those into the front part of the mask.

I also created an interior of the mask that will house the servos and actuating third eyelids. I opted for the third eyelids as they are more reptilian than eyebrows or eyelids. I created several iterations of these using cardboard but, due to most laser cutters not allowing particle board, I was unable to create a final cut of these.

3D render of interior
Sketch for laser cutting

Capstone: Entry 8

Prototypes

Most prototypes should answer a question: Is this feasible? Will people hate it? Does this project achieve its purpose? For these prototypes, there were three areas that needed to be prototyped: role, look/feel, and technical

I created some early musings about the project. I was trying to decide on the best method of using a typewriter as a printer and how best to write poems from streams of words.

Parsing incoming words and early ideas on project goals
Algorithm flow and solenoid adaption on typewriter keys.

Role

For my role prototype, I looked at art installations that interact with the viewers and created a short storyboard from those. The idea was that the typewriter would appear apart from the gallery until the viewers leave and notice that the typewriter has made a poem just for them.

Story board of art viewers in gallery

Look/Feel

For the look feel prototype, I purchased a word processor and set it on my desk for a few days to decide if it was cool enough. I also looked at the Media Archaeology Lab for more refined typewriters such as the fully mechanical ones. I decided that the typewriter should ideally be connected to the computer housing in a permanent way.

Next, I sketched some tables-housings. The table design should ideally match the typewriter. If I am able to get a mechanical typewriter, the table should be a refined one but, if I can only get a word-processor, a plastic table is almost preferred.

Sketches of table-housings
Mockup of sketches

Technical

For my technical implement, I did several iterations on the same algorithm of using Markov chain text and the nltk Python library. The algorithm would take in a string of text, the longer the better. I used the Sugar Hill Gang’s “Rapper’s Delight” and the full corpus of Shakespeare’s sonnets.

I first started with haikus as 5 -7 -5 to test out the syllable library. Next, I made basic sonnets of 14 lines with 10 syllables each in the style of Shakespeare. My last step was to add rhymeing in the form of ABAB-CDCD-EFEF-GG. I ran into some trouble because occasionally words don’t have rhymes, but in a further prototype or the final iteration this could be achieved through recursive programming and chaning the parameters each time. This would allow for less exact rhymes and for the program to rewrite lines that don’t fit into the sonnet.

https://github.com/akierson/capstone-prototype

App Studio: Entry 8

Iteration 3: Speculate Phase

For this final Iteration, I will need to have a fully functional app. For the MVP, the app should do the following:

  • Display user’s events for three days
  • Add events to the user’s calendar
  • Track goals in SQLite calendar
  • Track goal progress locally
  • Display goals by area
  • Display some data about goal progress
  • Add Goal related events
  • Notify users about upcoming goals
  • Onboard users

The greatest challenge at this point, having dropped data tracking, will be effectively using a table to store the goal progress as discrete bits of information. The goals for weeks, years, and beyond will easily be stored in a table but the daily goals which have an associated event will be more challenging.

Object: Entry 7

Serial Communications

The point of this lab was to create a connection between an Arduino and p5.js. p5.js is a JavaScript library based on Processing, a language built for easy sketch-coding. For this lab, we required a sensor, an actuator, an Arduino, and a computer. A lot of the lab’s challenge was in the computer installation and setup of the p5.js code.

Arduino to p5

After starting a new sketch in the p5.js web editor, we added p5.serialport.js which allowed us to access the ports from the browser.

On the arduino side, we created two sensors that then sent the data back to the computer via serial communications. I used a potentiometer and a light sensor. The values from these were sent back in ASCII as comma separated values.

The p5.js then parsed this and mapped them to a circle’s height and width.

Setup of circuit

https://editor.p5js.org/kerchevski/sketches/PXU6suwI4

Here the potentiometer is controlling the width of the circle. The potentiometer readings were rather jittery and with the frequency of the readings, the circle appears to jump sizes.

Arduino potentiometer controlling circle width

P5 to Arduino

For this part of the lab, neither the Arduino or the codes changed much. There was the change that the Arudino was reading instead of printing and had to do its own try/except error catching.

https://editor.p5js.org/kerchevski/sketches/hAMBEV3pD

R and G keys changing Arduino Neopixel setup

App Studio: Entry 7

Iteration 2: Adapt Phase

In this iteration, I had focused more on creating a goal-setting system. A such much of my user testing revolved around how often people set goals and whether they track the goals in terms of sub-events completed or an emotional feeling about them. More user responded that the tracking was a quantitative process if they used one, but the completion was more of a qualitative one. This means that a simple check-in after events should be enough to determine if users achieved a goal.

Compared to my last iteration, which was more focused on laying the ground work for data tracking and reporting on that, this iteration is more about creating and following through with goals. If I do not have time tracking in this iteration but have check ins after events about completeness, I will consider that an MVP.

This will then require a database to store goals and events related to them. This shouldn’t be too hard as the database will only have 3 tables: one for events and one for goals and one for completed goals. I could create a table for each goal area, but I found most users in my target demographic – 18 -25 years old – don’t plan out farther than 6 months – 1 year. This will result in under 100 goals at a maximum.

Lastly, there were a number of UI changes I have to make. Most of them are similar to the previous iteration but with the exception of making the Goals easier to read, as it was not included in the last iteration. The UI changes will be very important as most users I interviewed were ambivalent about using a goal setting app, even though they set goals and tracked the progress of them

Object: Entry 6

Project Proposal

Description

My interactive object will be a Cthulhu mask made from recycled materials. The mask will contain three separate interactive systems. The first will be moving eyebrows, the second will be voice activated lights on the mouth tentacles to accentuate speech, and the last one will be a heart monitor which propagates lights through the mask in a breathing manner.

The mask will build off my previous experience making this mask. I liked making the mask as an art project. I would love to refine my technique and build onto the existing skill set.

Material List

  • Mask Material – Likely leather and fabric
    • Tentacles – clear tubing
    • Leather for top of mask
    • Sunglass lenses for four eyes
  • Sound Sensor – https://www.sparkfun.com/products/12758
  • 2x LED strip – Owned
  • Eyebrow Sensor – https://www.adafruit.com/product/2699
  • 2x Servo Motor
  • Heart Rate monitor – https://www.sparkfun.com/products/12650

Capstone: Entry 7

What do prototypes prototype?

  • Create prototype for audience
  • Should show roles, implementation, look and feel

For my prototype, I would like to make a working prototype of converting a data stream into visual graphics. Specifically, I would like to work toward an Authenticity app and the fashion side of this. Though it is nebulous, I think by using sample data from Google trends and Twitter data I could compile the relative popularity of common brands such as Nike and Adidas by urban area.

By creating a focused data set and having set desired outcomes, I could work towards a more nebulous idea of assigning regional popular to various items using data scrapped from various websites. There will be the added challenge of having to backpropagate my data based on future sales releases and data from the aforementioned companies.

However, if scarpaing the data from Instagram, Twitter, and Google proves harder then expected (as they are tightening their APIs), I may also look into fake fashion writing by analyzing top fashion blogs and associated images and counterfeiting them. This coulld also be incorporated into taking pictures of viewers and spitting out a fashion/tablod piece on them.

App Studio: Entry 6

For this stage of iteration 2, I pivoted away from solely tracking users and focused more on creating a goal oriented app with the added feature of tracking time and relating that to goals.

I spent most of my time creating a new prototype as both a visual for user’s and a road map for myself. I was then able to use the road map from the prototype to prioritize working what features to work on. Android, as I have previously found is fickle and, with each new update, changes the fundamental way in which things are coded.

Despite this I was able to learn some more about fragments and data storage and how best to implement them into my app. Time tracking, though previously fundamental to my app, will have to wait until I have a firmer grasp of Android Studios. Understanding how the app can work outside its sandbox, how apps can best store data, and how to programatically make beautiful UIs will have to come first.

https://xd.adobe.com/view/2f1b99de-0155-42bd-44a0-d375e1e8d8e3-592a/
https://github.com/akierson/manageTimeBetter